You can, of course, buy a box of festive cards, or you can send a vacation photo off to be combined with a sprig of holly and turned into holiday greetings. But you’re a weaver, so you have handwoven fabric to show off! Why not do that right on the cards you’ll be mailing over the next few weeks?
Getting Ready
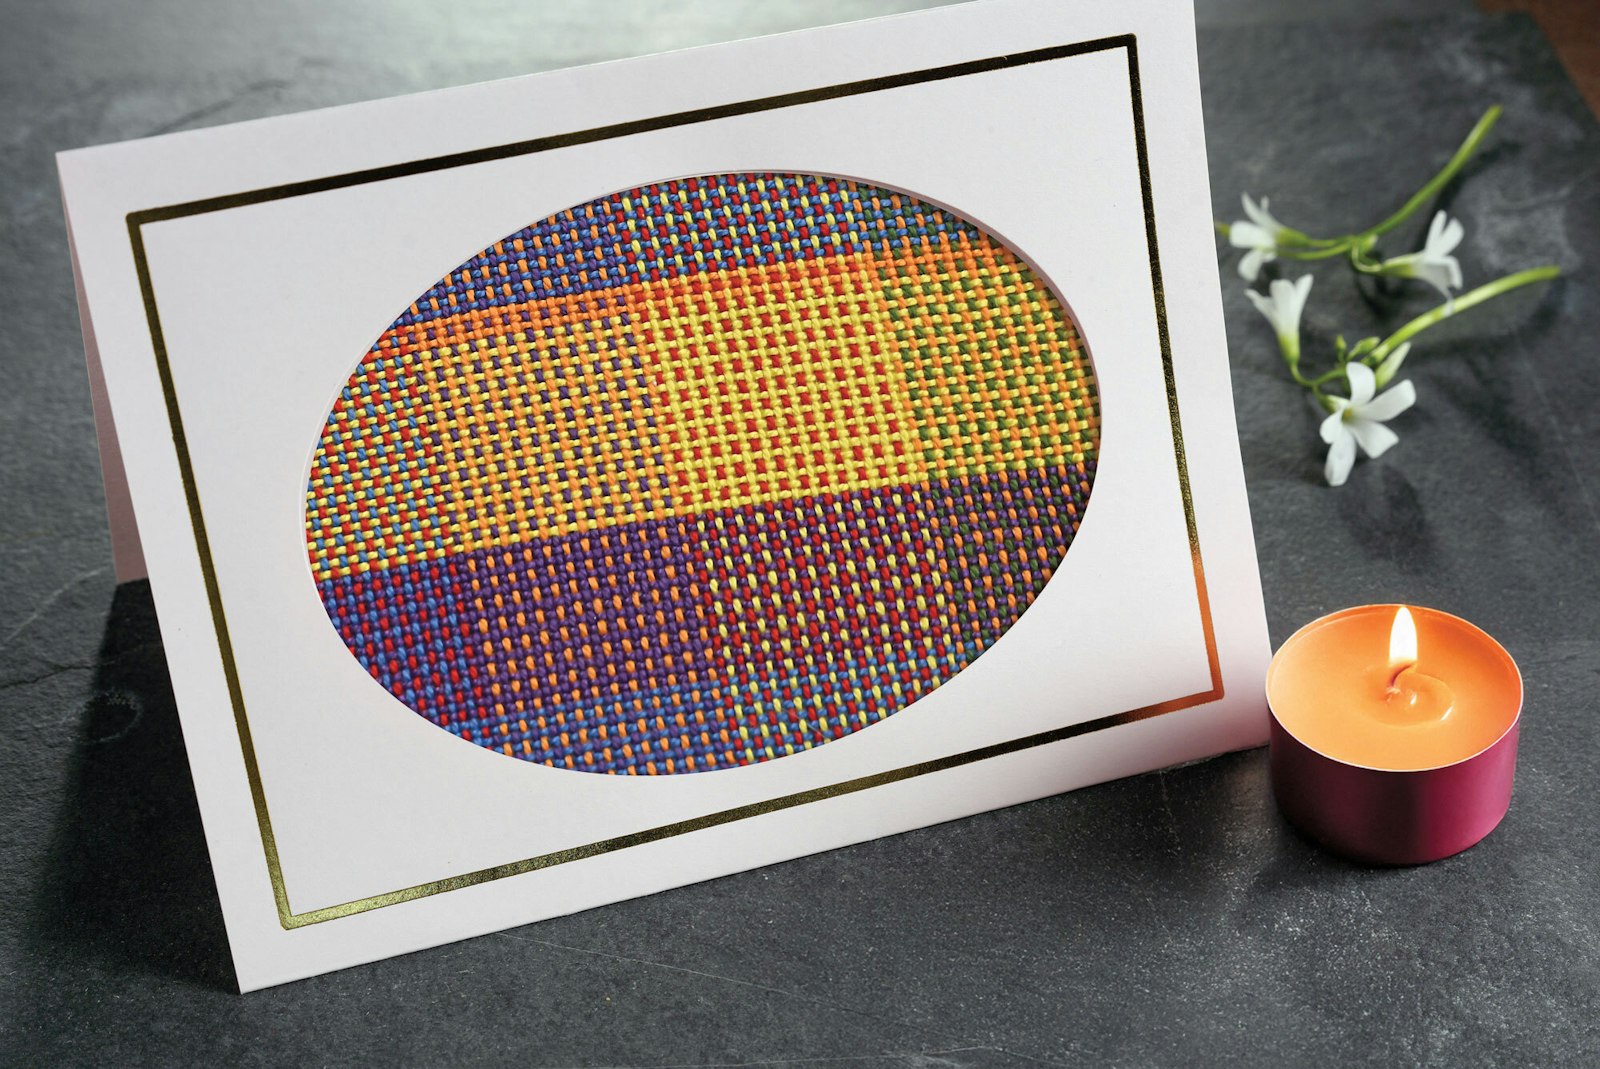
 Blank cards with die-cut openings. Illustration by Long Thread Media; background by Colin-Watts / Unsplash
First, you’ll need some blank cards. For this project, you might consider tri-fold cards with die-cut openings. When you fasten a bit of weaving in a tri-fold card so it shows through the window on the front, the back of the weaving is covered and the inside of the card is ready for your personal message. (If you plan to write across the entire width inside, you might want to add your weaving after that’s done—not that any of us have experience struggling to write over rep weave samples...)
An online search for “blank cards with openings,” “needlework cards,” or “photo cards with frames” will give you lots of options (see Card Resources below for a few of these).
If you have access to a Cricut machine, you can make cards with openings in any of those shapes—or maybe you’d prefer them in the shape of a fir tree, or a big snowflake? If you don’t have your own cutting machine, your local library may have one available for borrowing.
You could also consider fastening your neatly trimmed weaving to the front of blank folded cards or panel cards without openings, if you like the more casual look of exposed fringed ends.
Select Your Fabric
 Take a look through your pile of samples—they’ll make wonderful cards. Photo by Lynn Rognsvoog
Something old: You don’t need to put on a new warp for this project. Pull out the samples that are piling up and gathering dust in your space, and trim them to fit into your blank cards. Should you worry about whether the samples include typical holiday colors? Personally, we don’t. Do you see weaving errors in your work? Cut around those parts (or if they’re interesting, include them).
The weavers on your holiday list will delight in deciphering the structure or fiber on their cards, while non-weavers will be thrilled and amazed that you made the fabric—and shared it with them.
Something new: If you feel inspired to make something special for your cards, may we suggest weaving rosepath borders with seasonal motifs?
We collected a sampling of border designs here. Scroll down for trees, snowflakes, and Santa. If you’d rather design your own borders, here’s how to do it.
Thinking ahead: As you settle on next year’s projects, consider weaving a little extra on each warp to set aside for the cards you’ll make at the end of the year. Try out some holiday weft colors, or add a few picks of something sparkly. You’ll thank yourself later!
Card Resources
Blank cards with frames:
Other blank card styles: