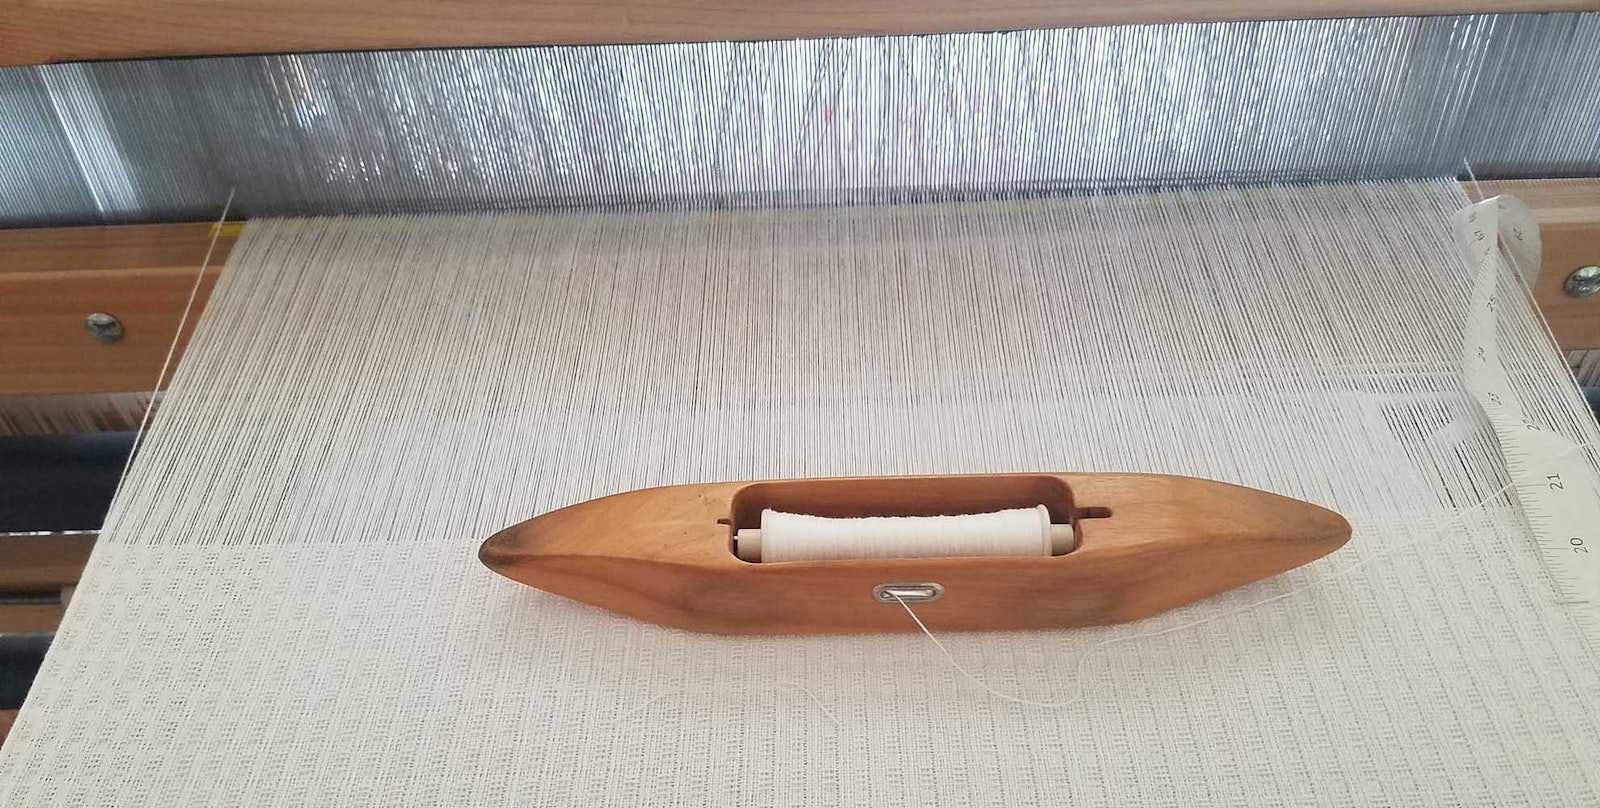
Last weekend, I finished threading and sleying the warp for my Sweet Orange Huck towels using the 15-shaft blended draft I designed based on two overshot drafts and huck lace. This week, I also registered for the Handweaver’s Guild of America’s towel exchange. I’m happy that they are still having the exchange even though Convergence was cancelled due to COVID-19. For the exchange, I need to weave 5 towels and submit them by August 31.
Threading heddles and sleying the reed are two of my favorite weaving tasks. I love how the cross keeps the ends in order and how what looks like a tangle of threads straightens out and becomes organized as they pass through the heddles and reed. As I was working, I was reminded how many of my students struggled with threading and sleying. In retrospect, I wish I had worked harder to show them how to prepare for the tasks rather than simply starting them. As in most tasks in weaving, preparation and planning make things go much smoother—probably a metaphor for life, too.
I know there are a lot of Weaving Opinions out there on all weaving topics, but here is my method. This is based on warping back-to-front and threading from right to left. Adapt it to your own warping and threading orientation.
- Count your heddles to be sure you have enough on each shaft and push them into the center. This doesn’t have to be a perfect count, but you need to know you have enough on each shaft. Push any excess heddles to the edges of the shafts.
- Print out or copy your draft so that you can clearly see one repeat of the threading and any border or balance ends.
- Mark the threading sections whether they are a repeat, balance, or border, in groups of 4 ends. I use 4 because I have 4 slots between my fingers that I use to hold the ends in order. You might want to use 2 or 3 depending on your pattern and your dexterity. (On my towels, there wasn’t a border or balance but a 40-end repeat that worked perfectly with my method.)
- Accurately count the heddles you need for the first section of ends and push them out of the center group to the right. My heddles are Texsolv so they don’t slide but if you have metal heddles, you may want to place a strip of cloth or cord between the two groups of heddles to separate them. (For my towels, I counted out and slid over 40 heddles at a time.)
- Move the first 4 (or 3 or 2) heddles further to the right.
- Pull the first 4 ends out of the cross through the gap between the first 4 heddles and the first section heddles, putting them in order starting with #1 in the finger slot next to your little finger on your right hand and ending with #4 held by your thumb and forefinger.
- Transfer the 4 ends to your left hand so that #4 is on the far left, as you do so, grab #1 and thread it in the first heddle. Thread the remaining 3 ends and tie them in a slip knot to prevent tangling.
- Repeat steps 5 through 7 until you have finished your first section, whether it is a repeat, border, or balance. If you counted your heddles correctly, you should have enough, and there shouldn’t be any leftovers. If that isn't the case, check for errors.
- Start the next section at step 4.
I used this method to thread 561 ends and then sleyed them, again using my finger slots to hold them in order. I had 2 crossed ends and 1 end that didn’t quite make it through the heddle eye.
Whatever method you use to thread and sley, I encourage you to prepare for the process rather than jumping in haphazardly. It may take a bit more time in the beginning, but it will be easier and quicker in the long run.
Weave well,
Susan