The other day, I took a good long look at a carpet that’s been on my floor for ages. I love the pattern and design, but over the years, I have gotten comfortable walking on it without noticing its beauty. On this day, I took a moment to really admire the colors and fall in love with it all over again. For the first time, I noticed the rug’s border. The border pattern’s colors and proportions complement the center field beautifully. I am embarrassed to share that this was never apparent to me before, and it made me think about borders on textiles.
Not everything we weave requires a border—for example, woven yardage for a garment will not benefit from a woven border. So when is it a good idea to thread and weave a border on a project, and what is the purpose of that border? I thought about it for a moment and decided that borders on weaving are much like a frame on a painting. A border creates a boundary to draw your eye to the center of the piece where the pattern is carefully designed and woven. It seems to me that if a piece is to be viewed straight on and in its entirety, a border is often a necessary part of the design.
Scarves, shawls, throws, and kitchen towels can all slip under the border radar. They either drape around a person’s neck or shoulders or hang on the handle of the kitchen drawer. A carefully planned border might be wasted on a scarf or towel because it will be hidden in the folds.
Rugs, blankets, placemats, and table runners, on the other hand, are all examples of textiles that are viewed straight on and could use a border framing them. Of course, in my mind, the epitome of the perfect border-worthy textile is the coverlet. During the eighteenth and nineteenth centuries, handwoven coverlets took on special prominence in the home and were proudly displayed on the bed. When the bed was made, the coverlet’s borders hung down over the bed frame and could be viewed on three sides. The top of the coverlet was tucked around the pillows and sometimes a bolster. Because the top would be hidden, coverlets typically had borders on just three sides, rarely four. Sometimes, not only did these coverlets have distinct borders woven into them, but they also featured fancy fringes that were handwoven and sewn onto the edge—those textiles were meant to be showstoppers! Four-shaft overshot coverlets often had a simple twill border, while Jacquard-woven coverlets had carefully planned borders depicting motifs such as pine trees. I know of one professional weaver who offered his customers four different border options. It was a simple matter to change out the punch cards that wove the border patterns.
Looking at the overshot patterns of Bertha Gray Hayes and Marguerite P. Davison, it’s clear that they, too, loved coverlets. In the 1920s and 1930s, when these ladies were weaving, overshot coverlets were clearly out of fashion, yet their love for the patterns pushed them to look at the drafts and reduce the overall size of the patterns to re-create them in miniature. This made the patterns more attractive and suitable for smaller items such as table runners, pillows, and placemats, the new trend for setting the table with individual place settings.

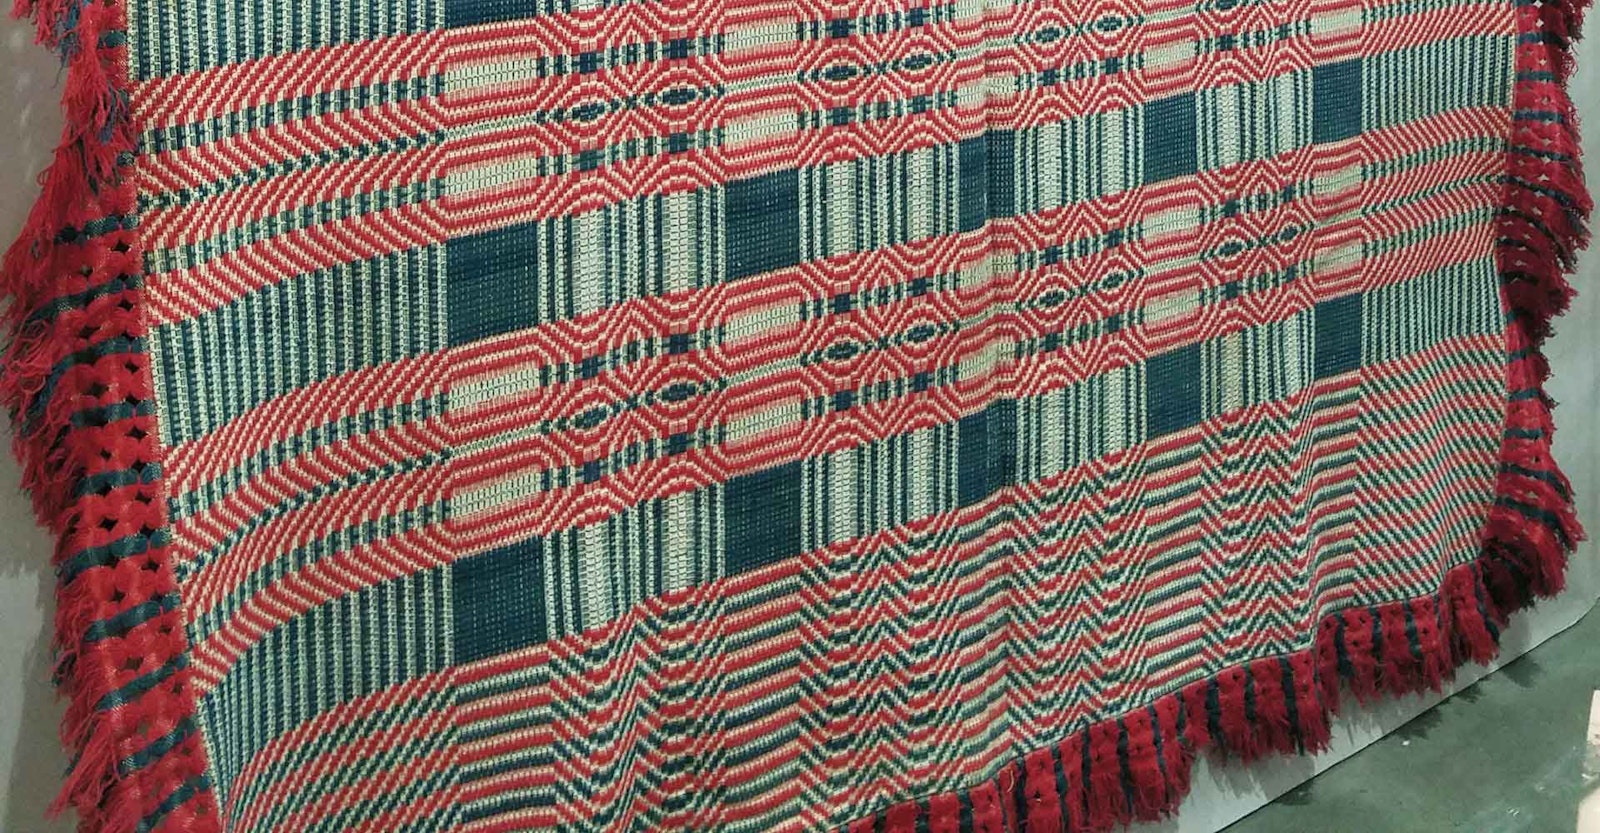
Left: Tom’s rug recently inspired him to think more about how borders enhance and improve some handwoven projects. PHOTO COURTESY OF TOM KNISELY. Right: Anita Thompson’s Royal Holiday Runner from the November/December 2016 issue of Handwoven is a perfect example of how a good border helps to “frame” a piece of weaving. PHOTO BY JOE COCA.
When you go to the classic books by Hayes and Davison, there are numerous pattern drafts to choose from but no suggestions for borders. Oh, how I wish these famous authors had taken time and included information on adding border threadings to their collections of patterns! Many unknowing weavers simply thread these pattern drafts from selvedge to selvedge without adding a border that would keep the patterns from running off the edge of the piece.
One of the easiest border threadings that you can add to many drafts is a straight-draw twill threading, but a point-twill or rosepath border can be lovely and complement your pattern as well. When I am planning a border, I reserve 10 to 15 percent of the total warp ends to be used for that purpose. For example, if I am planning a warp with 400 ends total, I reserve 40 to 60 threads for the borders. Because there are two sides, this gives me 20-plus ends for each border, which, if sett at 20 ends per inch, gives me a 1- to 1½-inch border on each side. Of course, you can always add or reduce the size of your border to suit your taste—remember to think of it as a frame around a painting. I have seen small portraits with wide frames and huge works with narrow frames. You’re the artist, so the choice is yours.
Let’s say you have warped your loom with a favorite pattern and added a 1-inch border on each side. Perhaps you threaded the borders with a simple twill: an ascending twill to the right, a descending twill on the left. Perfect. You’re all set and ready to weave. Now stop for a moment and think about what you are going to treadle as you begin to weave. If you have written down the treadling sequence from the draft book and start there, you will see the pattern and two nice borders developing on the right and left sides. If you continue this way, the finished piece will look a little odd, like a painting on the wall with framing only on the sides and nothing on the top and bottom. I suggest you frame the entire piece with borders on all four sides. To do this you need to start with a beginning border, then weave the pattern treadling sequence for your desired length and finish with an ending border treadling. I usually weave the beginning and ending borders so they are about the same height as the side borders are wide. Adapt the threading you used for your side borders to your treadling, following the rules for tromp as writ, also known as “weave as drawn in.” You will see the beginning border develop right before your eyes, and then as you start to weave the pattern, you will notice the border turn the corner and weave up the sides. When you get to the other end, finish your piece with an ending border that is also woven tromp as writ based on the second border that you threaded.

Example of a simple twill draft with borders in both the threading and the treadling.
This is just one example of an approach to weaving borders. There are numerous other ways to frame your work. Sometimes simple stripes woven on all four sides are all you need to give your piece a more finished and defined look. Either way, take some time today to think about and plan a new project. Maybe even add some borders.
Happy weaving.
Tom