Having woven for many years, I didn't think I had much to learn about heddles but when I read Tom's article originally published in Handwoven November/December 2022, I found out I was wrong! ~ Susan
I recently received an email from a weaver having trouble getting her loom’s shafts to rise evenly. Not only were they lower on one side and higher on the other, but the shafts sometimes stayed up without returning to their neutral position. Luckily, this weaver sent me pictures of the loom and warp to analyze. From my vantage point, it was easy to see what the problem was—because I have made the same mistake many times before. The issue was due to having too many heddles on one side of the shafts instead of having the weight of the heddles balanced evenly on each side. This led me to think about similar errors I have made and several ways I have learned to manage heddles.
My studio looms have been set up to have plenty of heddles on each shaft to accommodate most patterns that I want to weave. Narrow looms have at least 100 heddles on each shaft, while wider looms have between 150 and 200 heddles per shaft. From time to time, I need to move heddles to accommodate an unbalanced threading such as Bronson lace, but usually the heddles are evenly distributed among the shafts.
Before I start threading, I unlock the heddle bar hooks in the middle of the shafts’ frames and slide the heddles to the left side of the loom. I hate to admit how many times I have pushed a great number of heddles to the left without even thinking about how the uneven weight will affect the shafts’ ability to rise and fall correctly.
Let me give you a simple example. Imagine that I am about to thread a warp of 400 ends using a simple eight-shaft, straight-draw threading. I will need 50 heddles on each of the eight shafts. Now imagine that I am threading this on a loom with a 46-inch weaving width that carries 200 heddles on each shaft. Remember, I am only using 50 heddles per shaft, so there will be 150 unused heddles on each shaft. If, without thinking, I slide all the heddles to the left before beginning threading, I will have a lot of unused heddles—and extra weight—on the left side of my loom. The unbalanced shafts will then not rise evenly. The weighted-down left side might even cause the shafts to bind up in the guide tracks. This is especially common on looms that push the shafts up from a central point; if you have a jack loom that lifts the shafts at their corners, this might not be as much of a problem. Rising-shed or jack looms have jacks that either push the shafts up at the end or pull the shaft up from its upper corners. Macomber and Harrisville looms are two examples of rising-shed looms that pull the shafts up using chains or cables.
A word to the wise: Count your heddles before you start threading! When you have a lot of heddles available, leave a few unthreaded heddles on the side on which you start threading to balance the weight of your shafts. It only takes a few minutes to count and make sure that you have enough heddles to complete your threading draft and to even out the weight of your shafts on each side.

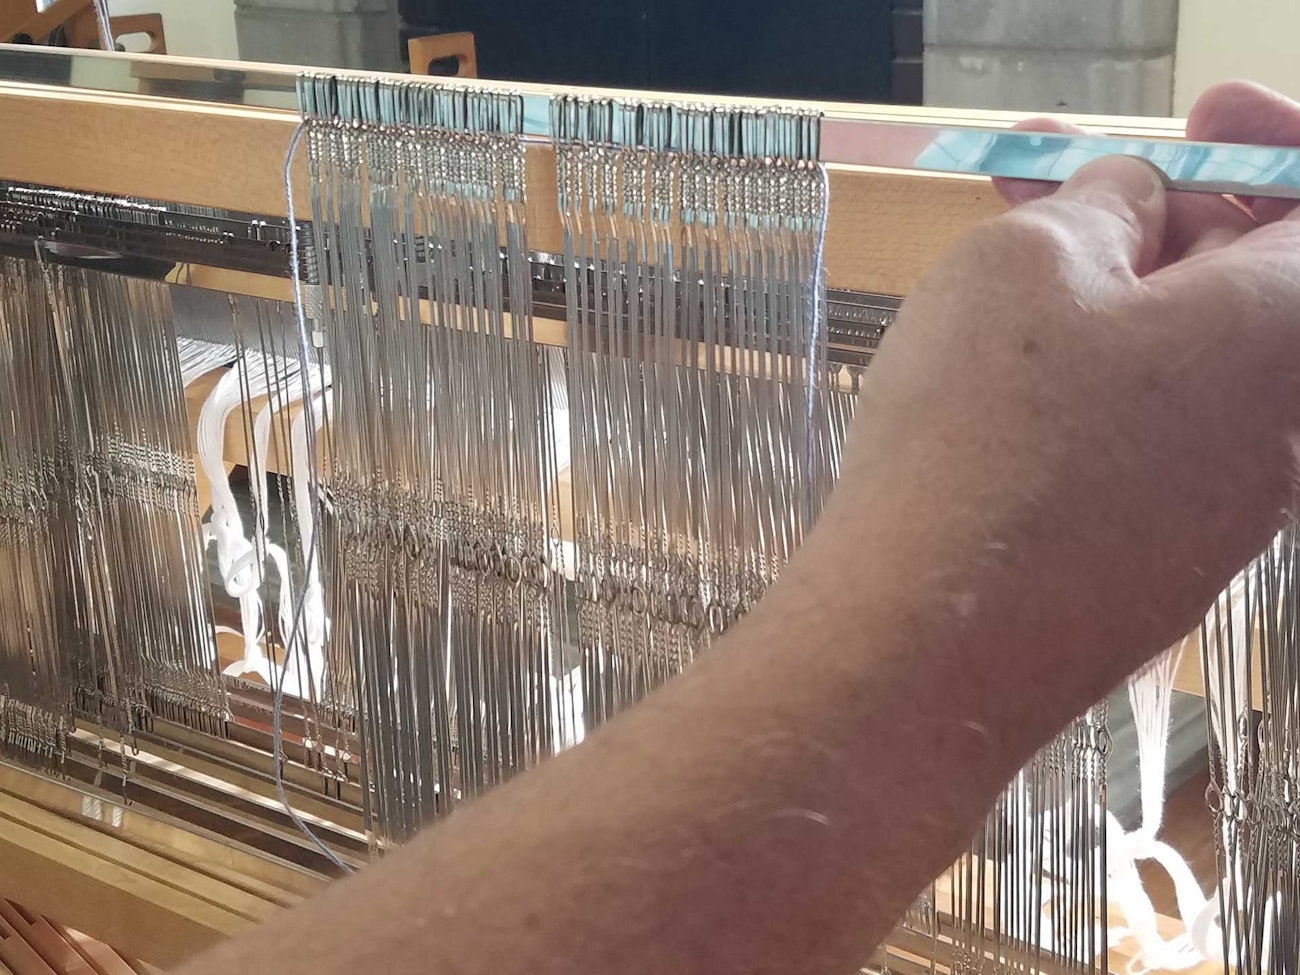
Before removing a grouping of heddles, Tom pulls a string through the top and bottom heddle holes and then ties it in a knot. This way, all the heddles stay together and in the correct orientation as he moves them. Photo by Carol Munshower
I prefer to warp using the front-to-back method. Before beaming the warp, I take a moment to center the reed and lock the heddle bar hooks back into place. Doing so stabilizes the heddle bars and prevents them from bending and coming out of the frame and dropping onto the floor.
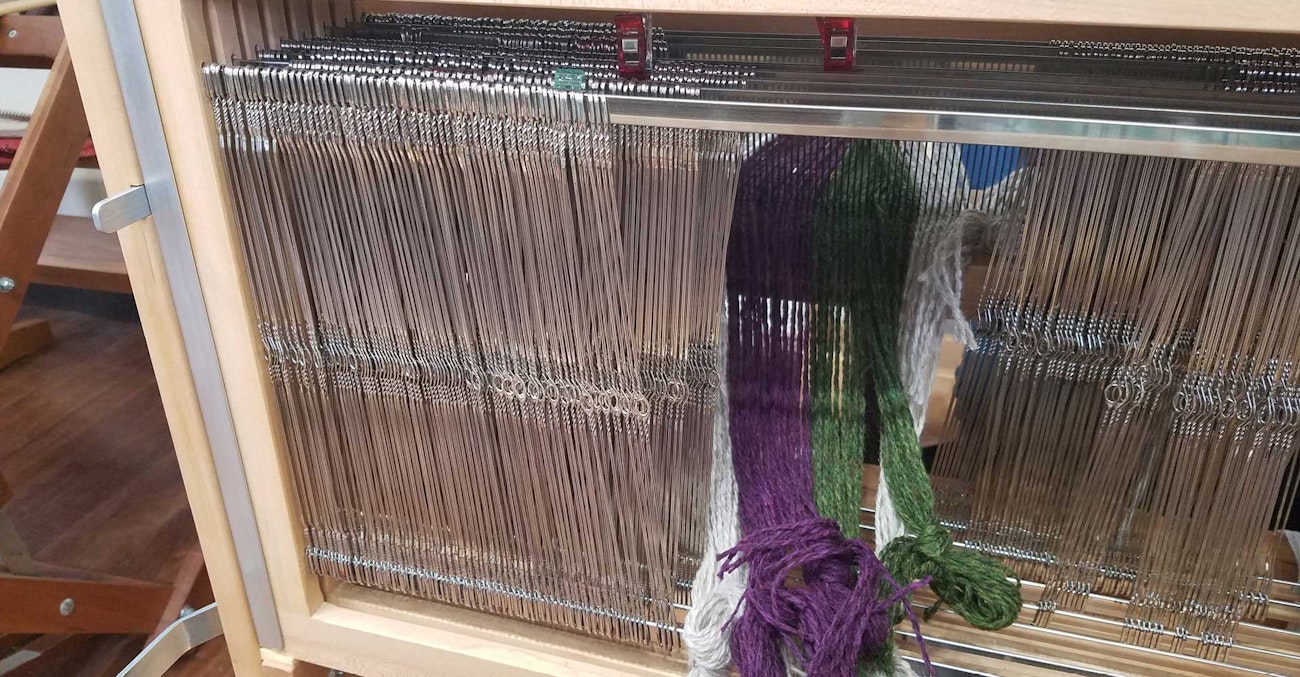
When the loom is warped and ready to weave, I push the unthreaded heddles to the far outside edges of the shafts and hold them back so they don’t migrate toward the warp and push against it. You can hold them back with tiny slide-on plastic clips attached to the heddle bar. These clips are normally used to hold papers together, and you can find them easily in any office supply store and even some weaving stores.
 Tom’s warp is sleyed and ready to be threaded in his heddles. Notice the clips used at the top of the heddle bars. Photo by Tom Knisely
No matter how hard you try, sometimes you will need to move heddles from one shaft to another. My preferred method is to take a length of cotton cord about 30 inches long and thread it on a tapestry needle. Let’s say that I want to move 20 heddles from one shaft to another. I run the needle along the upper heddle bar of the shaft that I plan to remove the heddles from. This draws the thread through the loop ends of the heddles and keeps them in order. I then drop down to the lower heddle bar and draw the needle along the bar, picking up the heddles in order again. When I have successfully threaded the heddles on the cord, I tie the two ends of the cord together. The heddles can now be slipped off the end of the heddle bar, and they will stay in their correct order for slipping onto the heddle bars of the other shaft. This method resembles what you find in packs of new heddles when you purchase them. You can also use two pipe cleaners in place of the cord and tapestry needle. Just push the pipe cleaners through the loops at the top and bottom of the heddles and twist the ends together to hold the heddles on the pipe cleaner.
Another helpful hint about heddles is that some manufacturers color the ends of their heddles. You will find them painted either green or red on one end. You might also notice that there is a slight directional bend to the heddle eyes to make threading your heddles easier. I am right-handed, so I place the heddles onto the shaft’s heddle bars with the colored end up. This angle of the eye is perfect for me to see and thread my loom. A left-handed individual might find it easier to place the painted end down on the shafts to direct the heddle’s eye into a position that is more comfortable for threading.

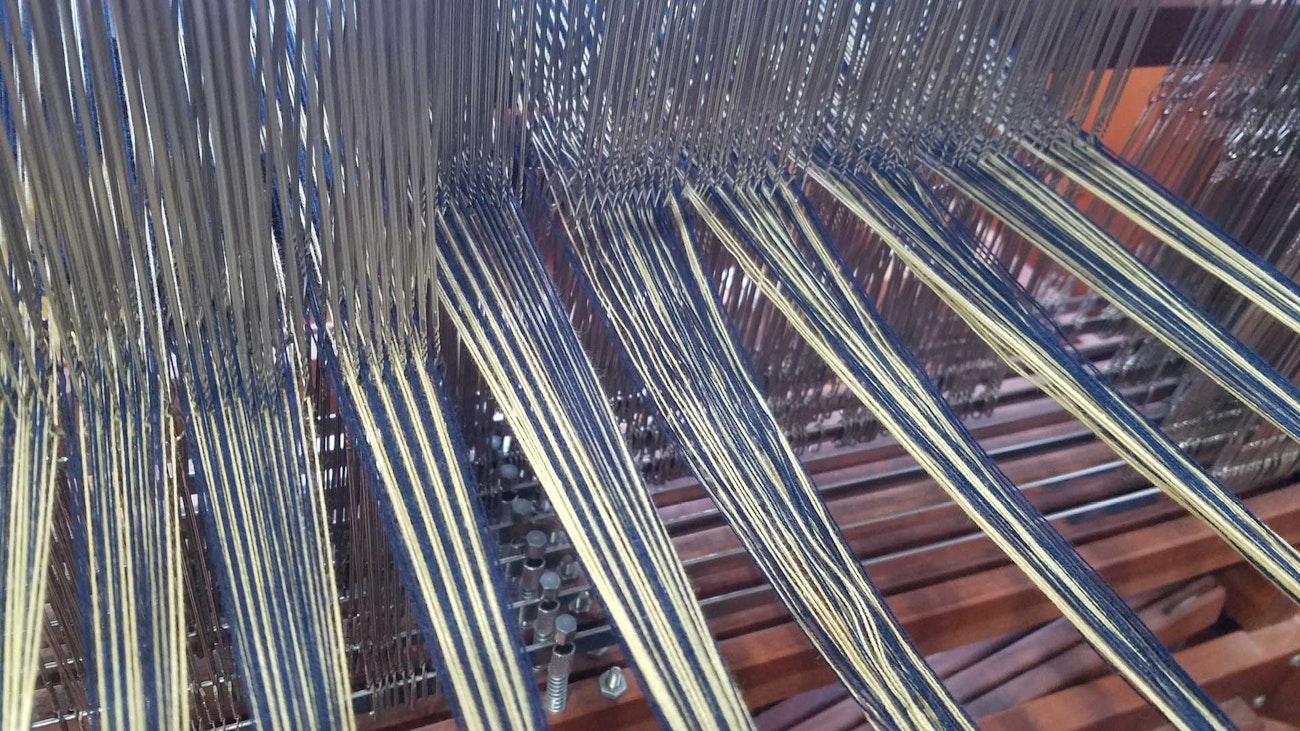
A warp partially threaded on shafts 1–4 and partially on shafts 5–8, a trick Tom developed after running out of heddles while threading a 4-shaft draft. Photo by Tom Knisely
What about string or Texsolv heddles? The color coding applies only to metal heddles; with nylon string heddles, there is no designated top or bottom and no directional twist to the eye. As a matter of fact, they are so lightweight that many weavers tell me they prefer them to metal heddles because they reduce the weight of the shafts. I wouldn’t be surprised if this also might just lessen or even eliminate the unbalanced weight problem—food for thought.
Another trick I’ve learned when threading a warp that requires only a few heddles on each shaft, such as a rug warp, is to slip unthreaded heddles among the threaded ones. An example would be threading a 34-inch warp on a loom with a 36-inch weaving width. With hundreds of heddles on the shafts, if you are only threading a few from each shaft, you can end up with a jam of unused heddles at the ends of the shafts. This will most likely cause distortion in the warp and lead to tension problems at the selvedges. As I see it, you have a couple of choices. You can remove the excess heddles, or you can slip empty heddles between the threaded heddles and let them ride up and down within the warp in the same way as if they were stored at the edge of the shaft. Thread a group of ends and then slide 2 or 3 empty heddles from each shaft between that group and the next threaded group. I promise you it works.
Here is another idea that might save you from pulling your hair out. I recently jumped right into threading a warp without counting the heddles. I thought, “Oh, that should be enough.” The warp was 16/2 cotton sett at 30 ends per inch. There were 600 ends. Halfway through threading, I ran out of heddles on shafts 1 through 4. I immediately thought I was going to have to move heddles from the back shafts to the front shafts. Luckily for me, I was threading this four-shaft draft on an eight-shaft loom, and it had plenty of heddles on the rear shafts. I shifted my threading to shafts 5 through 8 and was able to finish threading the warp without moving heddles. In the end, half the warp was threaded in a straight draw on the front four shafts, and the other half was threaded in a straight draw on the back four shafts. I adjusted my tie-up to include the newly added shafts, and it wove perfectly. No one looking at the towels would know the error of my hastily threaded ways. Of course, now you do.
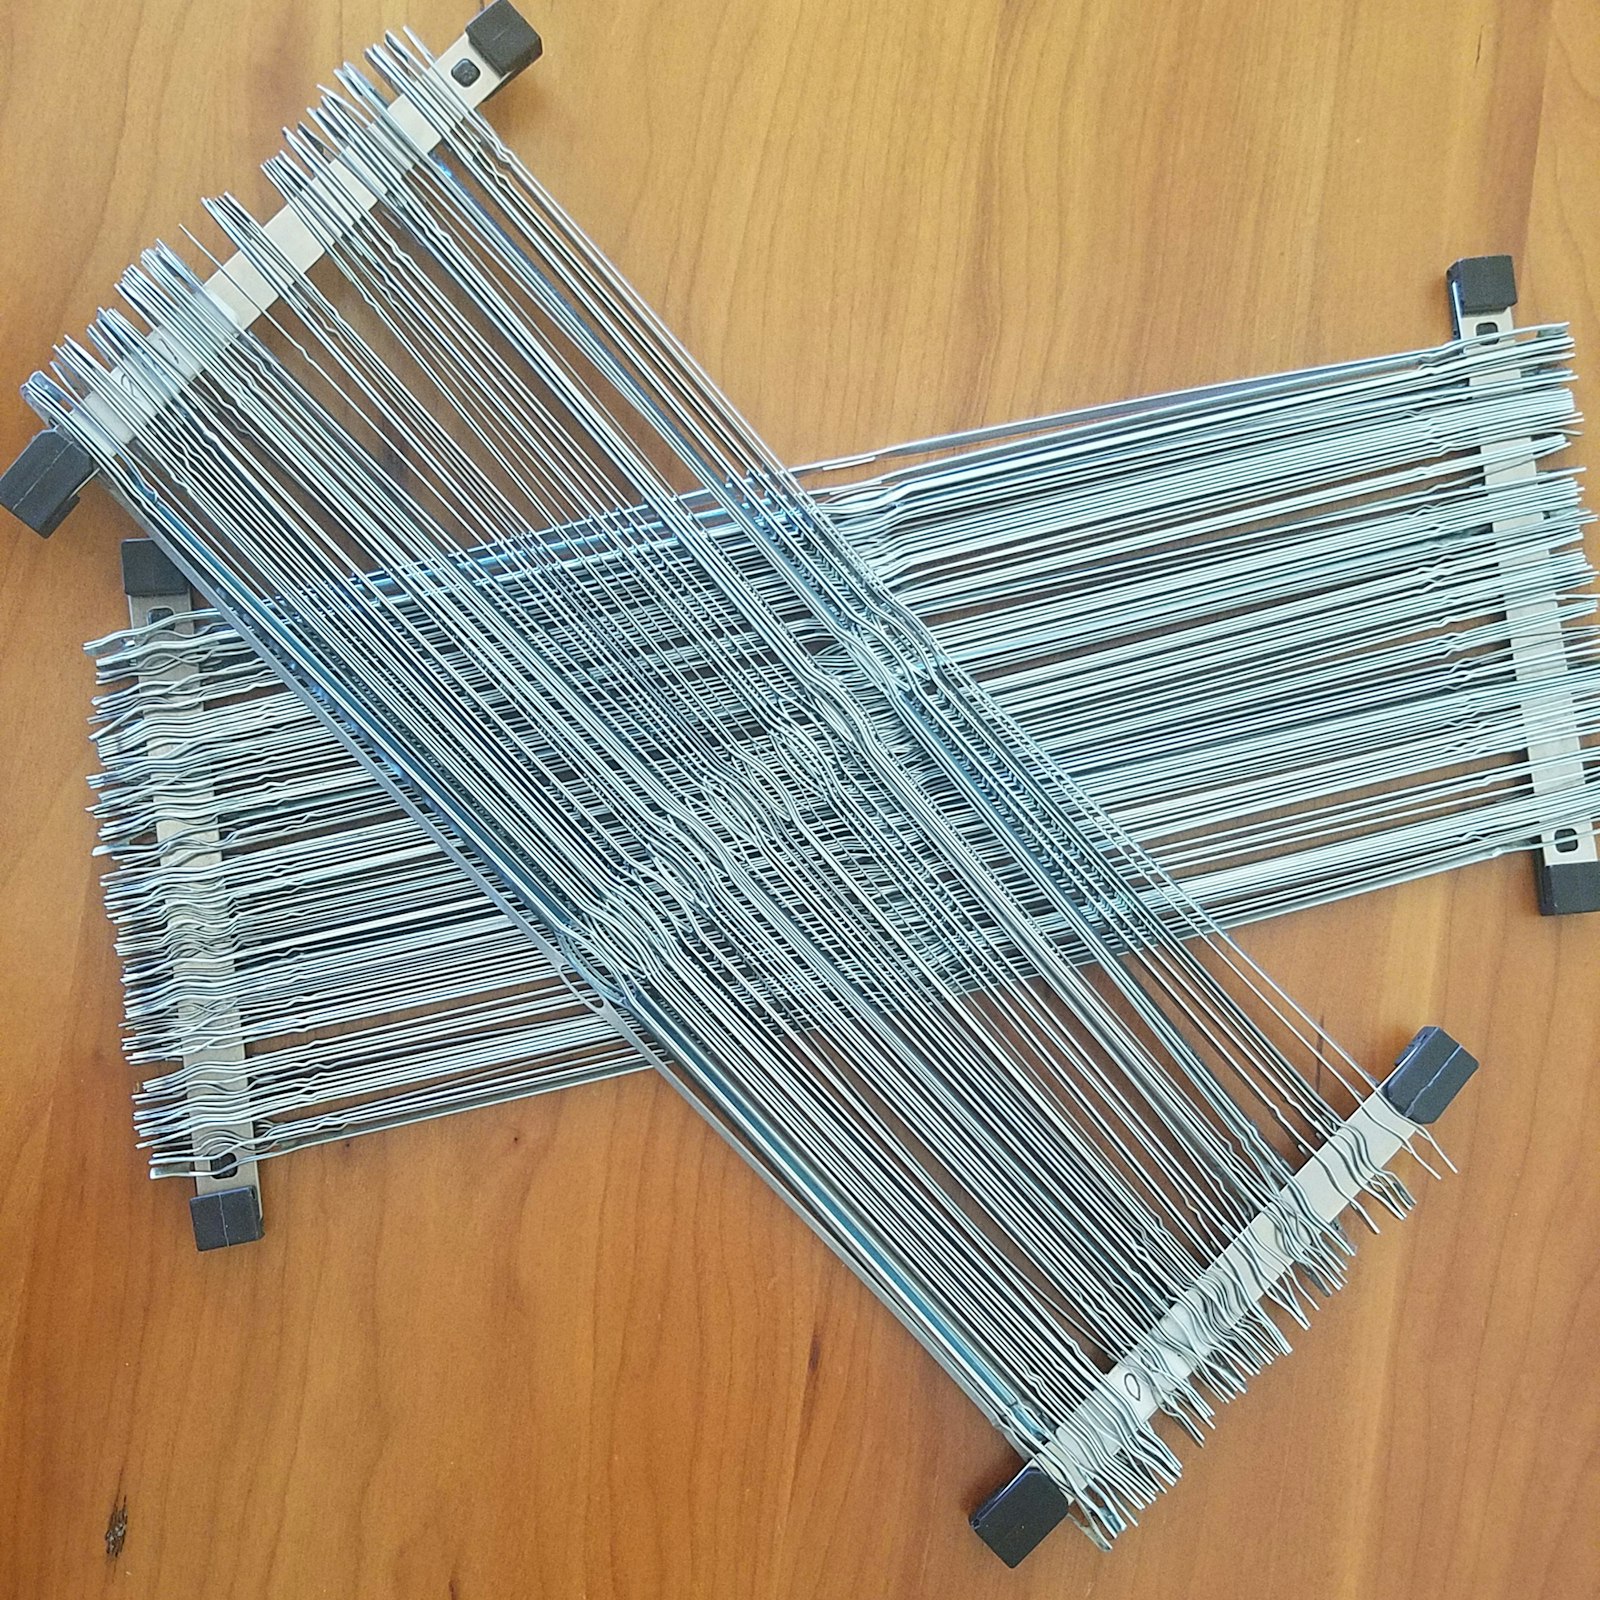
Here is one more story that might be helpful to you one day. I admit that this old weaver can still learn a few more tricks. Recently, my friend Gloria was threading a loom in our studio. Her project was a four-shaft doubleweave blanket with a width in the reed of about 33 inches on a 36-inch loom. The loom was an eight-shaft Mighty Wolf, and it had lots of heddles on the rear shafts that weren’t being used. As I prepared to remove the heddles, Gloria said to me, “Do you think we could just slip the heddle bars out along with the heddles and leave the shaft frames in the loom?” “Well, yes we can!” I said, and that’s what we did. It worked like a charm. We secured the heddles in the middle of the bars with the little clips that I mentioned earlier. I popped the metal heddle bars out of their frames and kept them in order. When Gloria’s blanket was off the loom, I simply replaced the heddle bars and heddles back into the frames that they came from.
I hope you have discovered some helpful hints about managing heddles. As the inspiration comes, I will keep passing it on.
Happy weaving.
Tom

