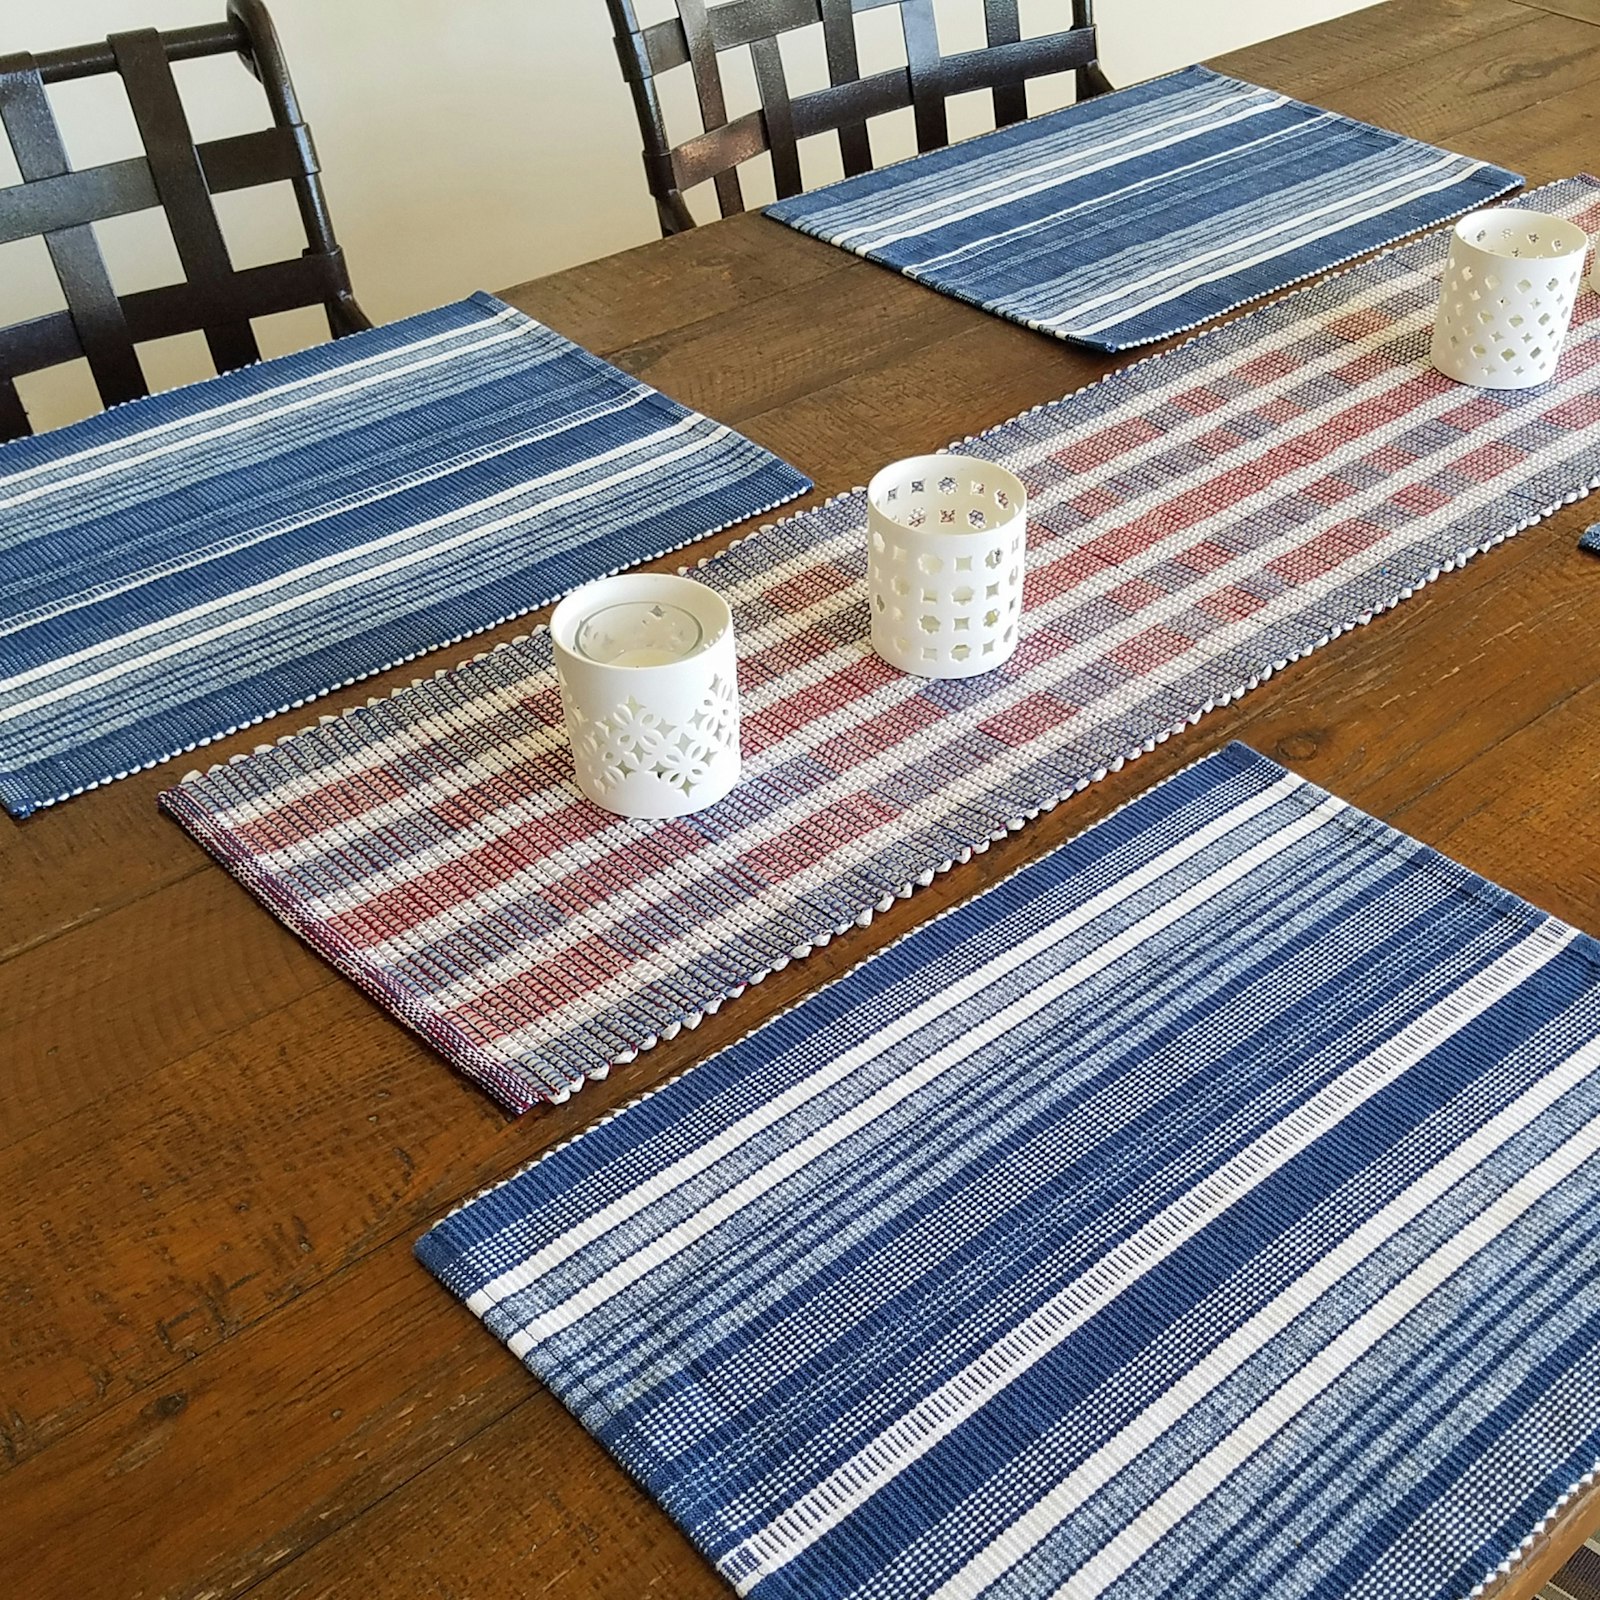
A while back I wrote about starting a table runner using 5/2 pearl cotton as a warp and as weft, some plastic strips used as packing material that I had discovered in a package we received. I finished the runner, as you can see in the photo at the top. My goal was to weave a runner that went with the blue and white placemats that are also in the photo, but it wasn’t a complete success. Although I used the same blue and white yarns that are in the placemats, the addition of red and the silvery look of the plastic where it peeks through the warp pushed the runner into another color palette. I’m pleased with the results but may have to give the idea of weaving a matching runner yet another try.
With extra warp on the loom, I decided to do some experimentation. I had sett the runner at 12 epi, a wide sett for what was essentially rep weave. I decided to try a couple of different setts to see how the colors looked at 40 epi and then at 24 epi. It’s not hard to change setts but you do need to be a little bit careful. Here is the process I start even before cutting off.
- Pull the warp forward so that when I cut off the project, I will have enough warp length to be able to re-sley the reed and tie the ends in knots.
- Stabilize the warp beam so that it can’t roll and include the warp apron rod if I’m at the end of a warp. I do both; in other words I tie the warp beam to the back beam, and I also tie the apron rod to the back beam with shoelaces on both sides.
- Stabilize the beater for sleying.
- Take the warp out of the reed and tie it in bundles with loose overhand knots in front of the heddles as I work, just in case.
- Remove the old reed and put in the new reed.
- Sley the new reed, centering the warp. When possible, I like to work with reeds that are shorter than the width of my loom so that I don’t have to worry too much about centering my warps. I just scoot the reed over when I’m done sleying. If you don’t have that option, you will need to figure out the width of the warp at the new sett and center it.
- Tie the ends with overhand knots for every inch or so of warp width.
- Undo the shoelaces and wind the warp back a few inches if needed so the ends are at the appropriate spot for either lashing on or tying onto the front apron bar.
- Adjust the width on the warp beam. If you are changing the sett only a little, you might get away without changing the width of the warp as it goes around the back beam. In my case, I was at the end of a warp, and because I have a warp beam with a circumference of 30”, I could easily see and move the back bundles closer to each other for the different setts. If you are working on a project, I recommend putting lease sticks back into your warp in the plain-weave sheds and rolling it forward onto your cloth beam until you can get at the tie-ons and move them to the correct width. Then re-tension your warp as you normally would and wind back onto the warp beam.
 Note how the sett changes the intensity of the warp colors. The tiny coaster at the left is the most vibrant of the three pieces.
I wove a very small coaster at 40 epi and then a larger hot pad at 24 epi. For the hot pad, I tried with limited success to weave tubular hems. They are a little bit bulky but maybe not bad for the first time trying that idea. I used cotton for the coaster, but I used the plastic strips for my heavy weft for the potholder. At the tighter sett, it has much less of an impact on the overall color of the piece, although I’m not sure I’ll really use it as a hot pad considering that it’s plastic!
Weave well,
Susan