Part 1 of this series teaches you how to plan a path on your warping board, and how and why to create a porrey cross, along with providing some general tips about winding a warp. Part 2 of this series covers how to wind warp stripes, some tips for keeping track of how many ends you‘ve wound, and how to take your newly wound warp off the warping board without losing control of all those ends.
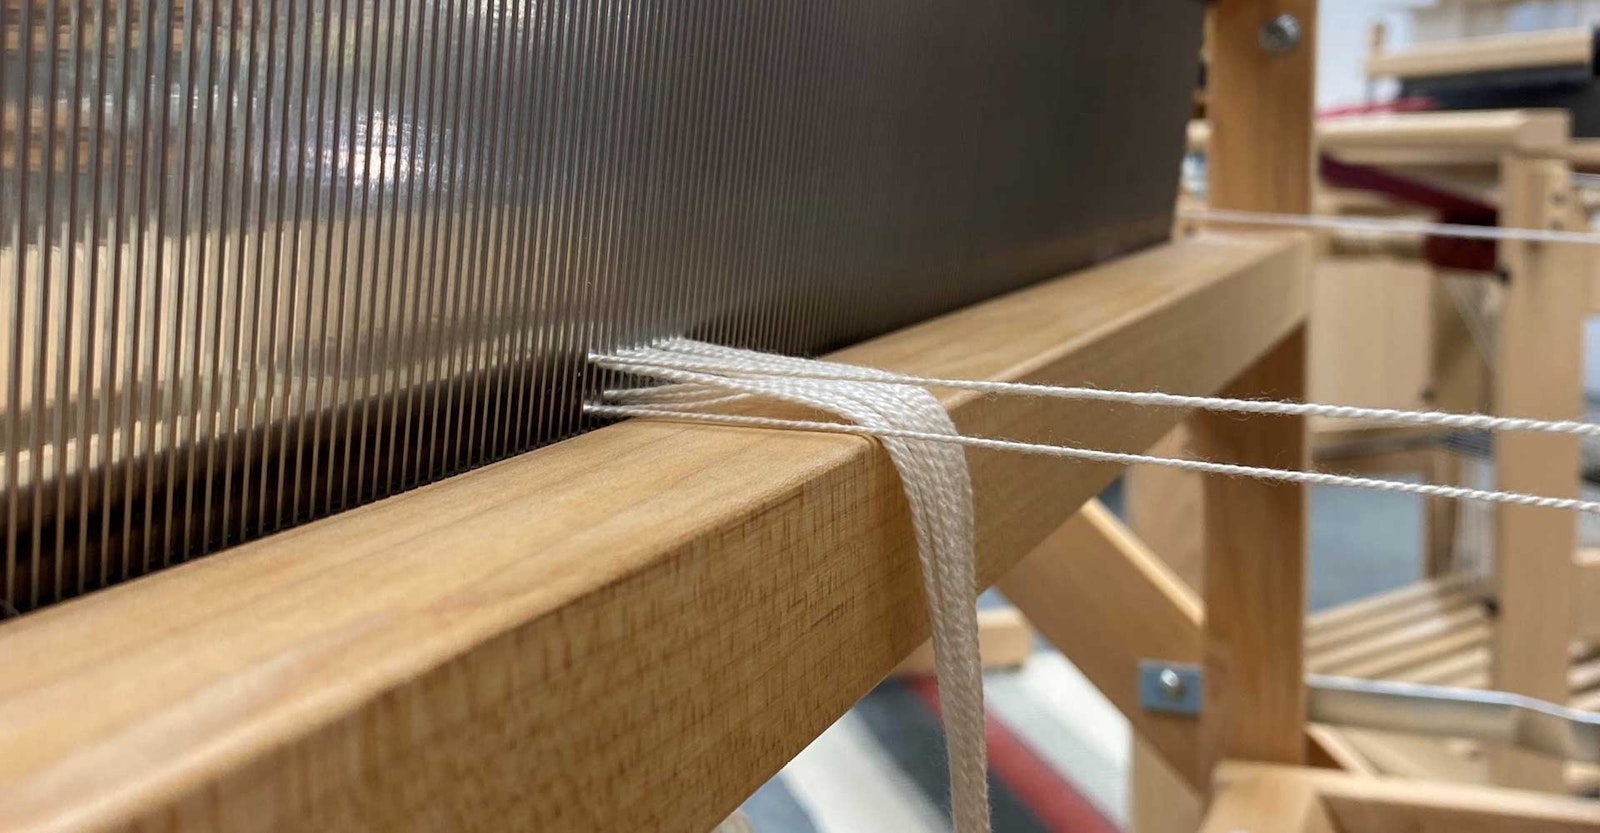
In this installment, we‘ll talk about sleying and threading. At the Yarn Barn, we teach front-to-back threading, but most of these techniques also apply if you work back-to-front. Whichever way you choose to warp, be tidy—care taken at this stage pays off with fewer errors, fewer tangles, and fewer broken ends. Best of all, it gets you weaving faster.
Preparing the Loom
Before you begin, count the heddles on each shaft and redistribute them as needed. Inserted eye heddles and flat steel heddles have a left or right orientation. Flip them top to bottom to change the direction if needed.
Evenly divide any extra heddles on each side of your loom. Leaving all the empty heddles on one side can abrade warp ends or unbalance the shaft. If your warp will fill the shaft frame completely, remove all extra heddles or plan to distribute them among the threaded heddles as you work. If your loom has heddle clips or hooks in the middle of the frames, release them so the heddles can slide freely and push them all toward the middle.
Finally, determine your comfortable working height. Raise the shafts and tie or brace them in place. Get a chair or stool that puts your eyes at a good level for sleying the reed and threading the heddles. If your loom‘s back beam is removable, take it off. Add a lamp for extra light, if needed.
Center the reed in the beater. If your beater has a pin to hold it in a fixed position, use it. If not, tie the beater to the breast beam and castle so it doesn’t move during sleying.
Set a pair of lease sticks (flat, smooth sticks about 1 inch wide with holes on both ends) that fit your loom’s width in front of the beater.
Situating the Warp
Orient the warp according to the draft as you sit at the loom to weave. If you have multiple warp chains, put them in the correct order. If you haven’t already cut the threading end of the warp chains, do so now.
Cut two pieces of a nonstretchy cord 18 inches longer than the depth of the loom. Tie one end of both cords to the back beam, one on each side of the loom. Bring one cord end toward the front of the loom, through the castle and beater, and then pass it up through the hole in the first lease stick and down through the hole in the second lease stick. Tie the cord to the breast beam so the cord is taut.
Your warp chain should still have the tied porrey cross. Slide the loose ends of the lease sticks through the warp bundles, positioning one on either side of the porrey cross with the cut ends of the warp toward the beater.
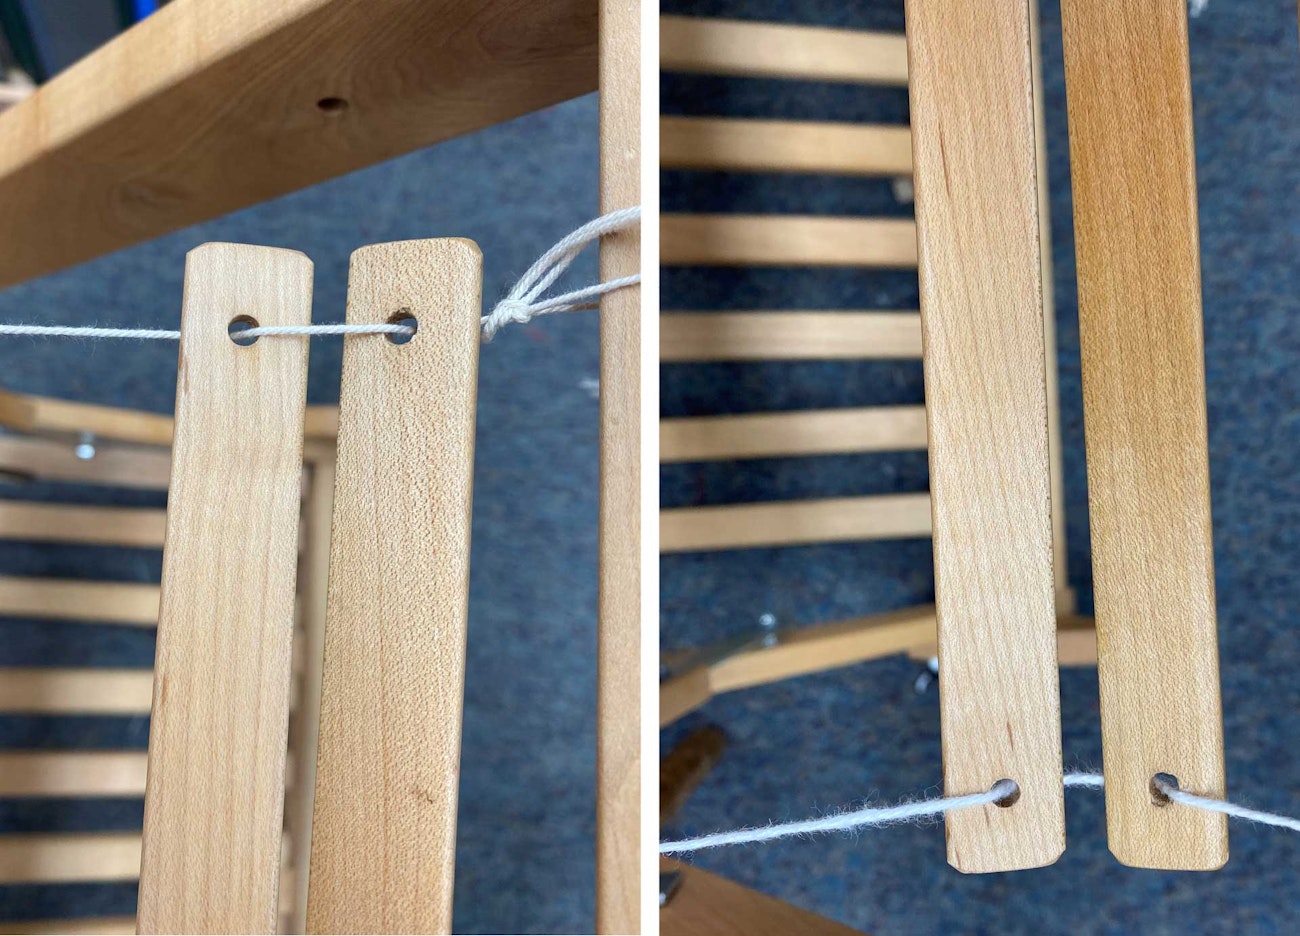
Left: On one side, bring the cord up through the first lease stick and down through the second before tying it to the breast beam. Right: On the other side, bring the cord down through the first lease stick and up through the second before tying it to the breast beam.
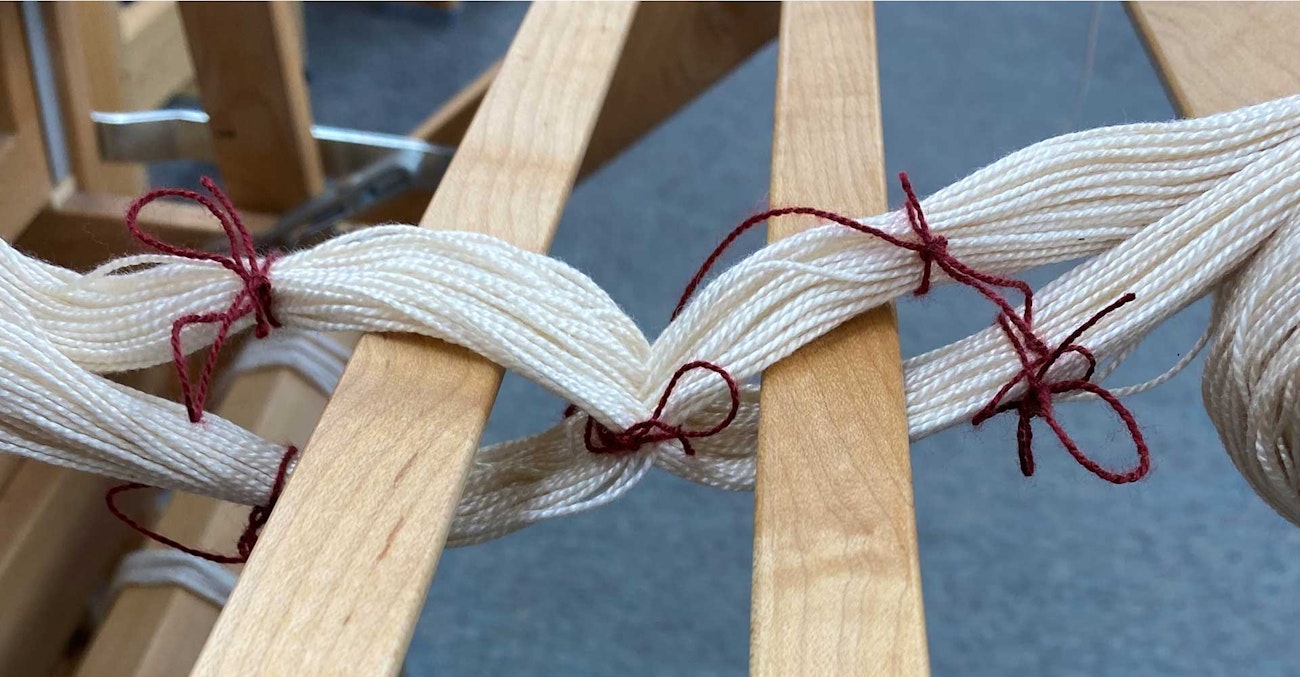
Lease sticks slide through the sides of the porrey cross, keeping the warp ends in order.
Pass the second cord through the harnesses and beater and thread it through the lease sticks, but this time take the string down through the hole in the first lease stick and up through the hole in the second one; this change in direction will hold the sticks flat while letting them slide along. Tie the second cord to the breast beam.
Wrap the rest of the warp chain around the breast beam several times to secure it, to keep the warp untangled, and to prevent it from pulling out of the reed. Unchain it as needed as you sley.
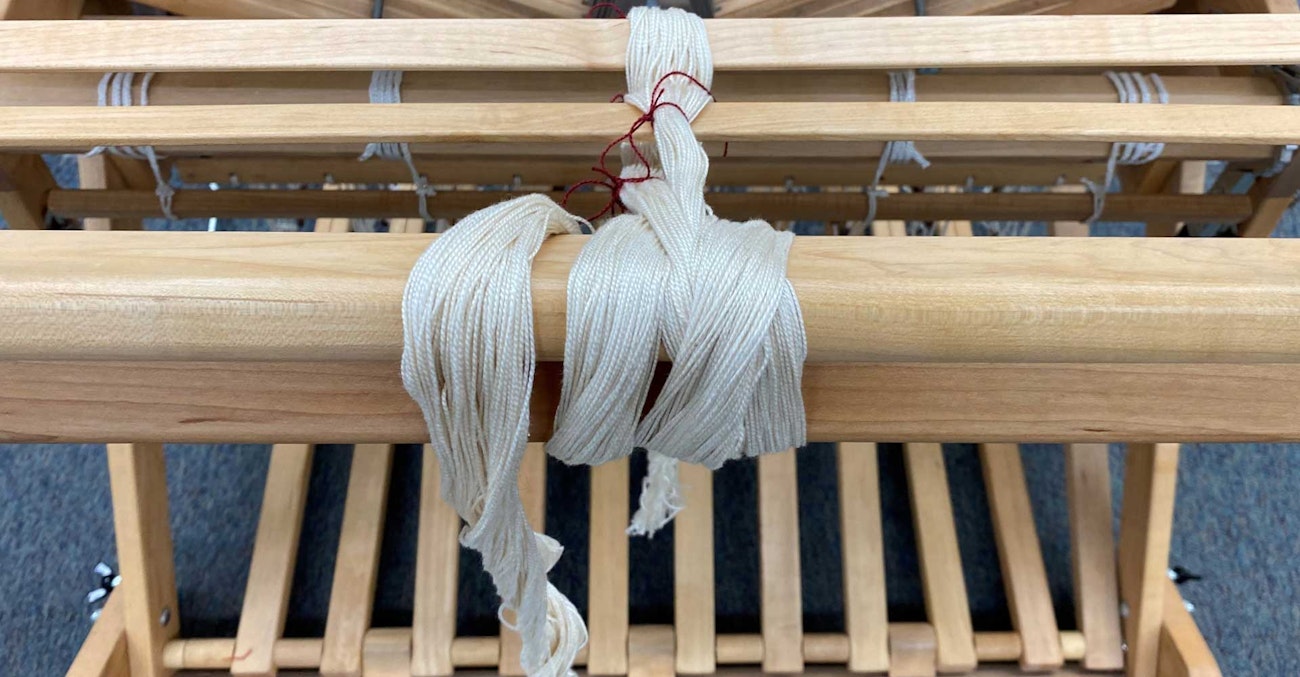
Notice that the warp passes over the breast beam rather than under it on the way to the reed.
Sleying the Reed
From this point on, be sure to tie the ends that you‘ve already sleyed or threaded in bundles behind the reed or harnesses to keep them secure.
Remove all five ties from around the porrey cross. Find the center point of the reed. Your starting dent is half of the width of your project from this point, either to the left or to the right. Select the first end in the porrey cross. Use your reed hook to pull it through your starting dent but don’t pull the end out of the porrey cross as you sley the reed. Find the next end in the porrey cross, and continue sleying the appropriate number of ends per dent according to the draft. After you have sleyed a few ends, tie them together behind the reed to prevent them from slipping out. Continue across the warp.
Sley any floating selvedges, each in its own dent, on the sides of the warp.
Sleying Tips:
-Good lighting is essential during sleying.
-Insert the reed hook into each dent from the back, select the next warp end, and pull the end through the reed.
-If you‘re sleying multiple ends in a dent, it‘s fine if the last dent holds fewer ends than the others.
Threading the Heddles
If the warp ends don‘t have enough slack to reach through the heddles, pull the warp forward and then retighten the chain around the breast beam. Release the beater and let it rest against the castle.
Orient your draft correctly: Sit at the loom as if to weave. The rightmost end marked on the draft will be the rightmost heddle threaded on your loom. The bottom row on the threading draft represents the shaft closest to you.
Take your draft to the back of the loom but don’t change the orientation of the paper to the loom. The bottom of the page should still face the breast beam. Place the draft where you can see it (set don your knees, on the lower edge of the harness frames, or on a handy surface), or tape it on the castle.
You can thread the heddles working from left to right or from right to left. Each symbol or number on the draft represents a warp end, and in most cases each end will have its own heddle. You may have sleyed the reed with more than 1 end per dent (for example, 2 per dent to get 24 ends per inch in a 12-dent reed), but that doesn‘t matter as you thread the heddles. In a very few cases, multiple threads serve as 1 warp end and are identified as such in the draft; those should all be threaded in the same heddle.
Push the lease stick that is closest to the beater all the way up to the reed, and then look at the first end in the porrey cross. Does it go over or under the lease stick at the beater? You will alternate between over and under as you select each end to thread from each dent, even when the dents hold different numbers of ends (for example, 1-2-1-2).
Why do we go to the trouble of making sure that the reed and heddles are threaded in the same order as the porrey cross? As you beam a warp, if the ends are all in order with no crossing, you minimize tangling. Crossed ends make for warp snarls, which slows the beaming process. They can also cause tension problems that lead to broken threads.
Reclip the hooks on the heddle frames if applicable, allowing the warp to flow around them with minimal thread displacement. Slide all the heddles for the first side you‘ll thread to the center.
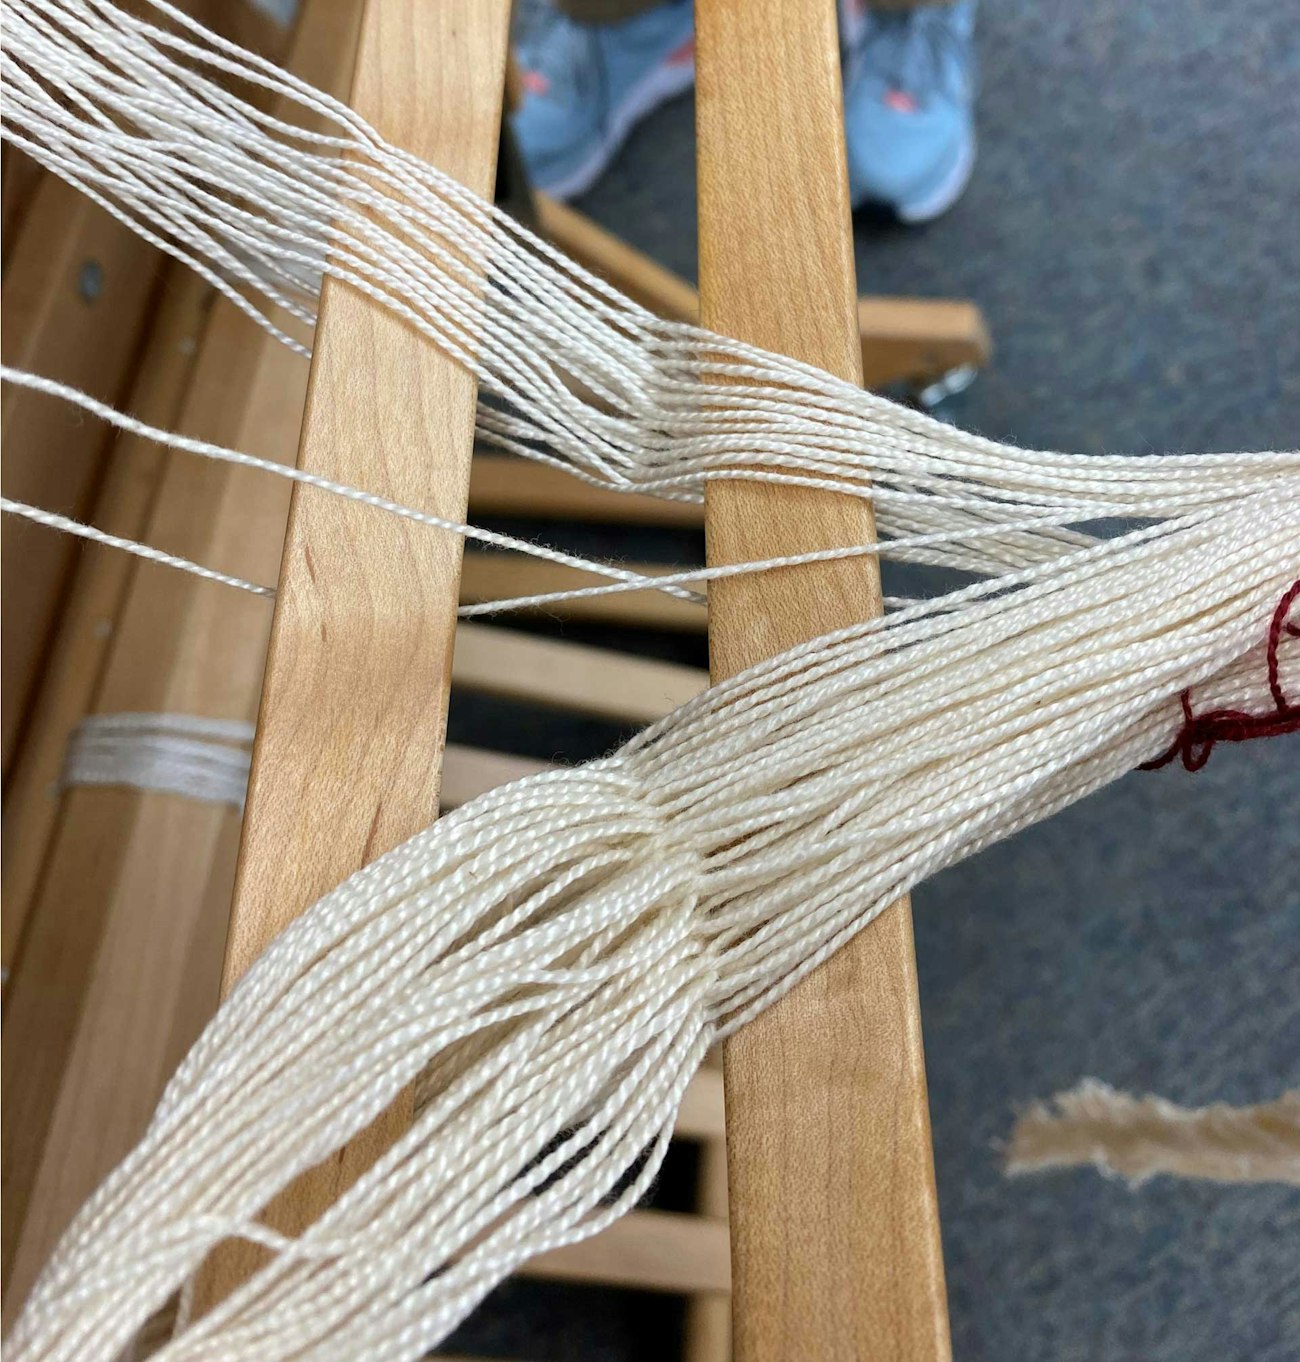
Keep your porrey cross intact and your hands free while warping through the use of lease sticks.
Work methodically in chunks: On your draft, count the number of ends in a repeat or small section of the threading, as well as how many of those ends are on each shaft. On each shaft, separate the heddles you‘ll use for the first section from the rest.
Following the draft, select the first warp end from the porrey cross and use your fingers or a threading hook to pull it through the first heddle on the first shaft. Pull the second end through a heddle on the second shaft. Repeat, threading the heddles according to the draft and alternating over and under ends out of the porrey cross as you go.
When you finish a section, you should have used all the heddles you counted out for it—if you ran out of (or have leftovers), go back and check your work. When you are sure the ends in each section are threaded correctly, tie them loosely in a bundle to secure.
Repeat the threading process section by section. When you reach the center of the warp, move any leftover heddles to the far side of the loom. Select the next group of heddles for threading, as you did for the first half.
Tips for Avoiding Threading Errors
- Use signposts in the draft to verify that you haven’t made mistakes. For example, if the stripes in a warp always start on shaft 2, note that. If you are ready to start a stripe but the next end will be on shaft 1, go back and find your threading mistake in the previous section.
- Work from a copy of your threading draft that is increased in size for better visibility, and record your progress on it as you thread.
- Check and bundle batches of warp ends as you go, using stopping points that make sense to you. For example, you might go back every two repeats to make sure the threading is correct, then tie the ends in a loose bundle.
MORE: For a print-friendly version of this information, check out the Best Practices eBook. You'll learn next steps as well—including winding on, getting good tension, interpreting drafts, and fixing mistakes.
SUSAN BATEMAN, weaver and teacher, started Yarn Barn 50 years ago. Her hobbies include weaving, working on the farm, volleyball, and bridge.
MELISSA PARSONS has been weaving since 1988. She started working with Susan Bateman at the Yarn Barn in 1992.

