Part 1 of this series teaches you how to plan a path on your warping board, and how and why to create a porrey cross, along with providing some general tips about winding a warp. Part 2 covers how to wind warp stripes, some tips for keeping track of how many ends you‘ve wound, and how to take your newly wound warp off the warping board without losing control of all those ends. Part 3 covers how to prepare your loom for dressing, tips for using lease sticks and situating the warp, and how to sley the reed and thread the heddles. Part 4 covers winding on an evenly tensioned warp.
You’ve been busy—you‘ve wound a warp, gotten it on your loom, and sleyed and threaded the ends. In this Best Practices installment, we‘ll cover how to find and fix mistakes, and (finally!) tie on and get you weaving.
Recognizing and Correcting Mistakes
I’m afraid we’ve got some bad news for you—you’ve probably made a mistake or two as you sleyed and threaded your warp. Here’s the good news: Most threading and sleying mistakes can be easily found and fixed.
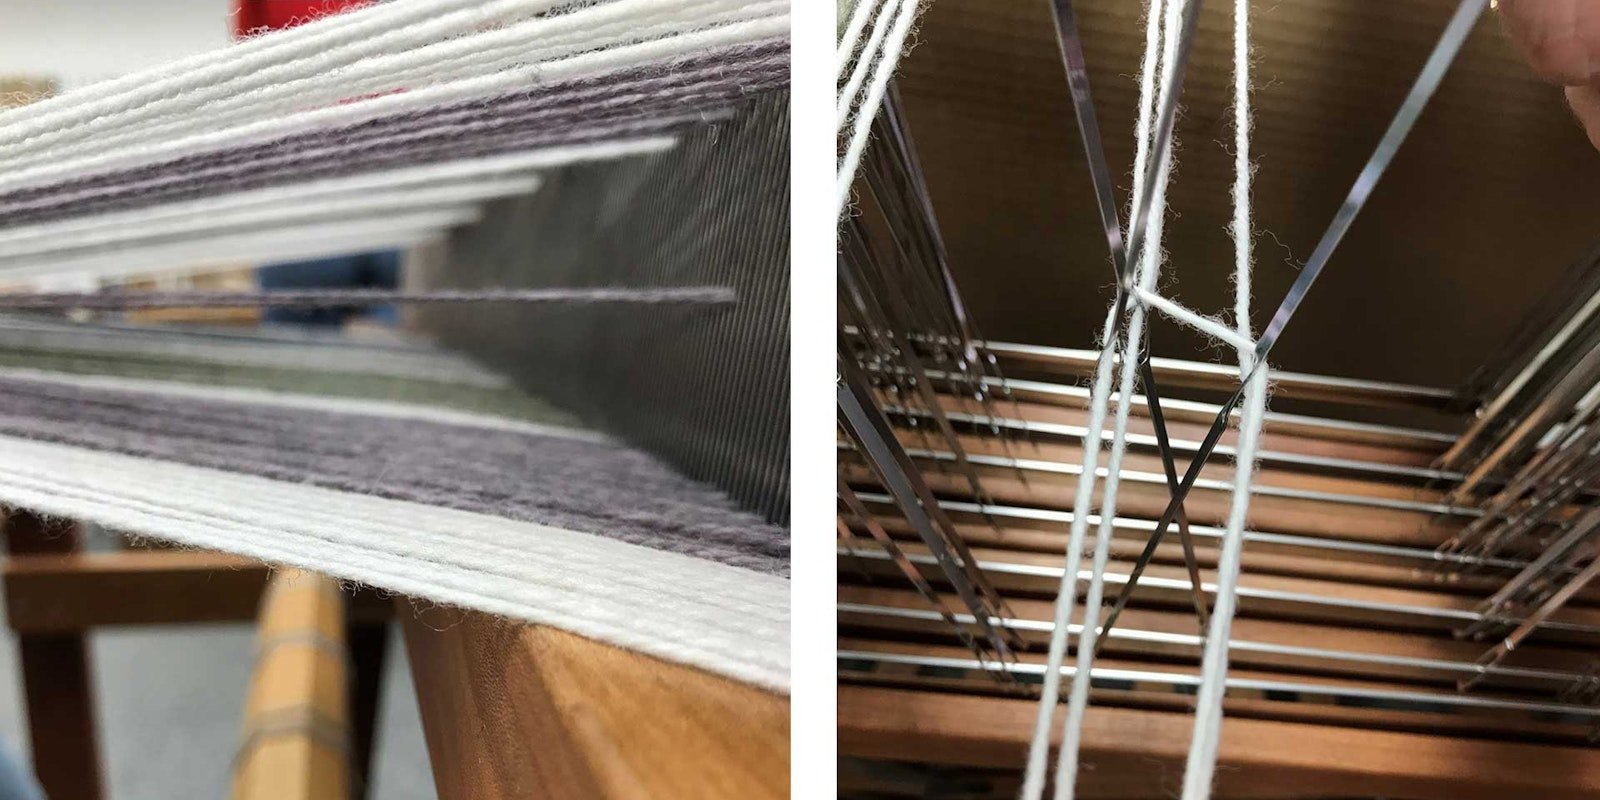
After your warp is wound onto the back beam, grasp it and put it under tension. Step on the first treadle and look through the shed from the side to see if it is clear. If it’s not clear, two ends may be twisted between the heddles and the reed. If this is the case, pull both ends out of the reed. Separate them to determine the correct order and then re-sley them. Step on the treadle again to check your work, and then move on to the next treadle. Repeat this process with each of the remaining treadles.
An end wrapped around a heddle can also cause tangles in the shed. Step on the treadles one at a time, follow the path of any clumped ends, check the heddles, and make the necessary correction.
Stepping on a plain-weave treadle makes it easier to spot sleying errors. Look for missed dents or for doubled-up ends that show up as unevenness in your warp. To correct this problem, don’t pull multiple warp ends out of the reed. Instead, shift the ends one at a time with your reed hook: Reaching from the front to the back of the reed, catch each end behind the reed and pull it through the desired dent. To make space for doubled-up threads, start at the closest selvedge and shift ends one at a time to free up a dent.
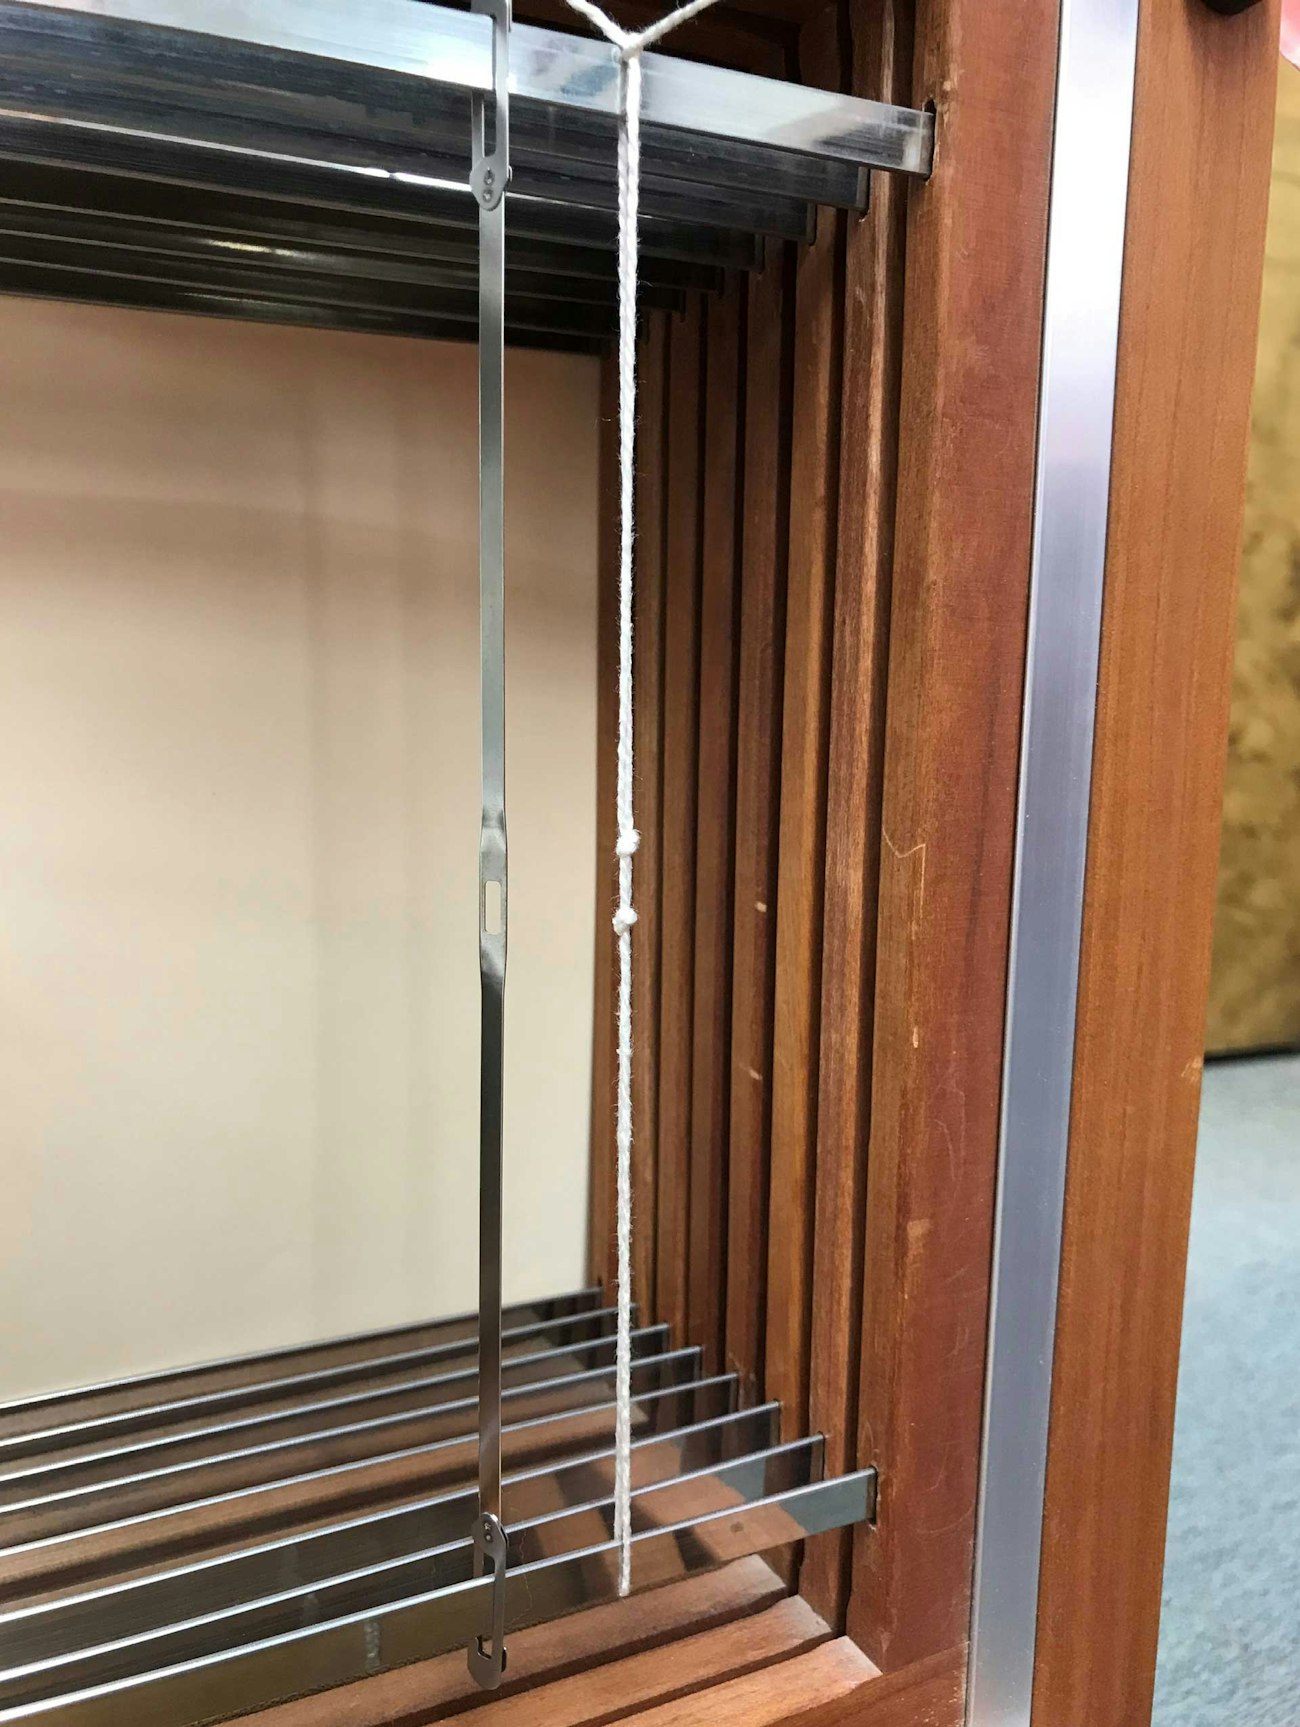
A string repair heddle next to a flat heddle
If you have a warp end in the wrong heddle, you can use a snap-on repair heddle to correct it. Simply snap the heddle into the correct place, and then pull the end out of the wrong heddle and put it into the repair heddle. When you’re doing this, take care not to twist the end around any adjacent heddles or warp ends.
If you don’t have repair heddles, you can [make a string heddle](https://handwovenmagazine.com/a-no-tears-repair-heddle](https://handwovenmagazine.com/a-no-tears-repair-heddle/). If you discover multiple threading errors in a section of the warp, you may need to rethread that entire portion from the front of the loom.
Finally, check the path the warp ends take from the back of the loom to the front. If they are deflecting around the heddle bar hooks, release the hooks, slide the heddles over so that the warp ends take a straight path, and then reclip the heddle bar hooks.
Tying Onto the Front Apron Bar
After you’ve fixed any errors, you’re ready to tie onto the front apron bar. Although all parts of winding on are important for even tension, this is a critical step. Here is where you can obtain even tension...or doom yourself to struggle for the rest of the project.
Position the end of the warp and the apron rod so that you have enough length to tie onto the bar without wasting warp. If needed, release a bit of warp or wind on a little more, or turn the cloth beam to adjust the position of the apron bar. Comb though the warp with your fingers to get rid of any tangles (it’s okay to do that now).
You’ll probably develop your own style for the next few steps, but we’ve found it best to alternate sides while tying the warp to the apron bar. Either start at the center and work your way out, or start on the outside and work your way to the middle—whichever you choose, make a few ties on one side and then a few on the other.
To make each tie, grasp a group of warp ends that is no more than 1 inch wide in the reed and pull firmly. Pinch the bundle between the finger and thumb of your other hand and pull. Loose threads will move toward you, and you can tighten them up.
Just as you did when tying onto the back, divide the bundle of ends in half, making sure you don’t have any crossed threads. Bring the two half bundles over and around the apron bar and then up on either side of the bundle. Make a half knot on top. To tighten, put your thumbs on each side of the knot, against the tails, push toward the beater, then pull outward. Leave as a half knot. Move on to the next group and continue until the entire warp is tied in half knots. Ensure that your warp bundles come directly toward you from the reed and not at an angle.
Close your eyes and run your fingers across the warp, feeling for irregularities. Loosen or tighten any sections where you feel a difference in the tension. This can be a slow process, but it is worth taking the time to make sure the tension is perfect. Uneven tension is the primary cause of broken ends. (You can even use a relatively weak yarn for a warp as long as you tension it properly.)
Using the alternating sides method, turn the half knots into bows or half-bow knots. Either type of bow lets you release the knot easily to adjust the tension, and it makes it easy to take the fabric off the loom.
Weave a plain-weave header and then check for dips or undulating picks. These indicate uneven tension. Loosen and retension if necessary. If the tension is very uneven, take out the header, go back, and retie the warp.
Is your tension even? Congratulations! You’re ready to weave!
MORE: For a print-friendly version of this information, check out the Best Practices eBook. You'll learn next steps as well—including fixing warping mistakes.
SUSAN BATEMAN, weaver and teacher, started Yarn Barn 50 years ago. Her hobbies include weaving, working on the farm, volleyball, and bridge.
MELISSA PARSONS has been weaving since 1988. She started working with Susan Bateman at the Yarn Barn in 1992.