You know what’s scary? Dipping your first ever handwoven baby into water for the first time. My heart was actually pounding this morning as I held my suddenly very flimsy-feeling twill alpaca scarf over the sink of warm water.
Would my tucked-in weft ends really stay put, or would they unravel, leaving giant gaps in the weaving? Would the fibers fluff up the way they were supposed to, or would my too-loose interlacement (I was told most beginners beat too hard, so I went ahead and did the opposite) leave me disappointed? Would my beautiful blues bleed into each other irrevocably, or would they hold?
Now, I had sunk many hours into research before attempting my first wet-finish, watching Laura Fry’s video Wet-Finishing for Weavers as I combed Handwoven back issues for tips. Laura really made me feel like I could do this.
Her video lays out all the finishing-related weaving techniques you need to know, including how the different fiber types, protein and cellulose, react to the pressures of heat, agitation, soaps and other chemicals, and compression. She also strongly advocates for sampling every time you try a new-to-you yarn or weave structure…and I had not sampled. But her explanations and demonstrations were so thorough, I felt pretty confident I was set up to succeed.
I knew my water wasn’t too hot. I knew I was using the right kind of detergent. I knew I wanted to agitate slightly by hand to fluff up my alpaca fibers. But I was petrified! Suddenly, I understood why wet-finishing is one of those weaving techniques many weavers don't want to bother with.
But I went for it, plunging the scarf into the soapy (but not sudsy!) water and starting to shift my web of fibers around. I knew I wanted to even out my picks per inch, so I focused on gently pulling on the bias, weft-wise, and warp-wise, trying to help those fibers settle into their natural alignment.
And it held together! After rinsing and then rolling some of the excess water out with a towel, giving the fibers a good press as I did so, I laid my scarf out on the table. Finally I saw for myself the magic of wet-finishing. It was already clear that my weave and patterning looked much more even along the length of the scarf.
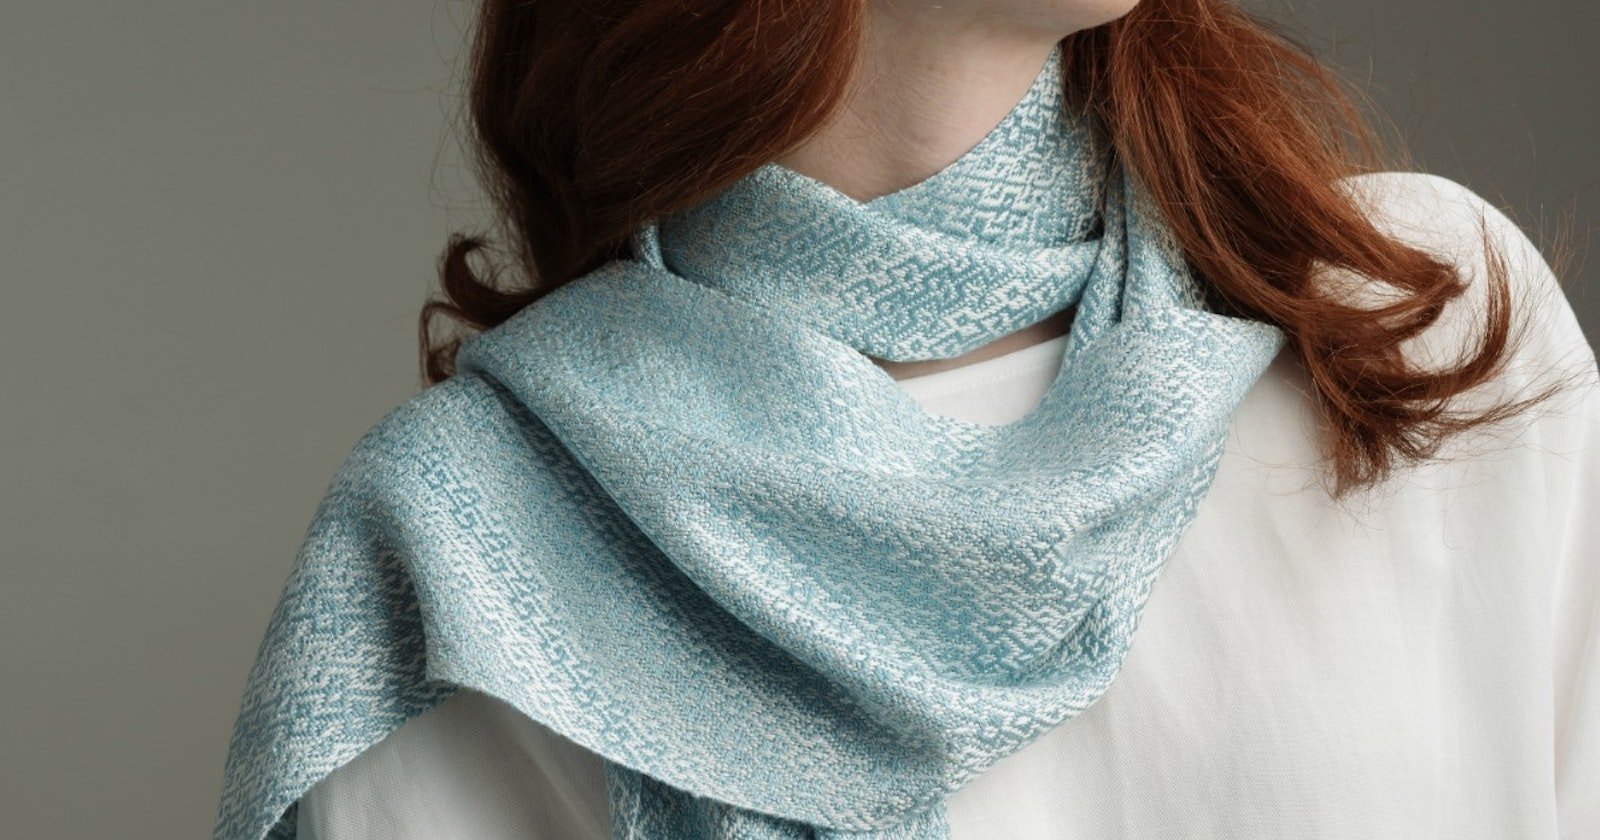
I let it dry while I went to work (Colorado is the perfect place to live if you like it when things dry quickly). When I returned home, I was rewarded with fluffy alpaca fibers fulled to just the right degree, closely interlaced warp and weft, and a remarkably more even looking weave overall. My selvedges had even straightened out. Success!
Now I just have to work up the courage to take a pair of scissors to the thing so I can sew the ends together into an infinity scarf.
If wet-finishing weaving techniques leave you feeling a bit more insecure than you’d like, I can’t recommend Laura Fry’s video Wet-Finishing for Weavers highly enough. No matter what kind(s) of fibers you’re using, what finish you want on your final cloth, or what kind of drape you’re looking for, she can help you get the results you dreamed of while you were warping.
As she so eloquently puts it, “It’s not finished until it’s wet-finished!”