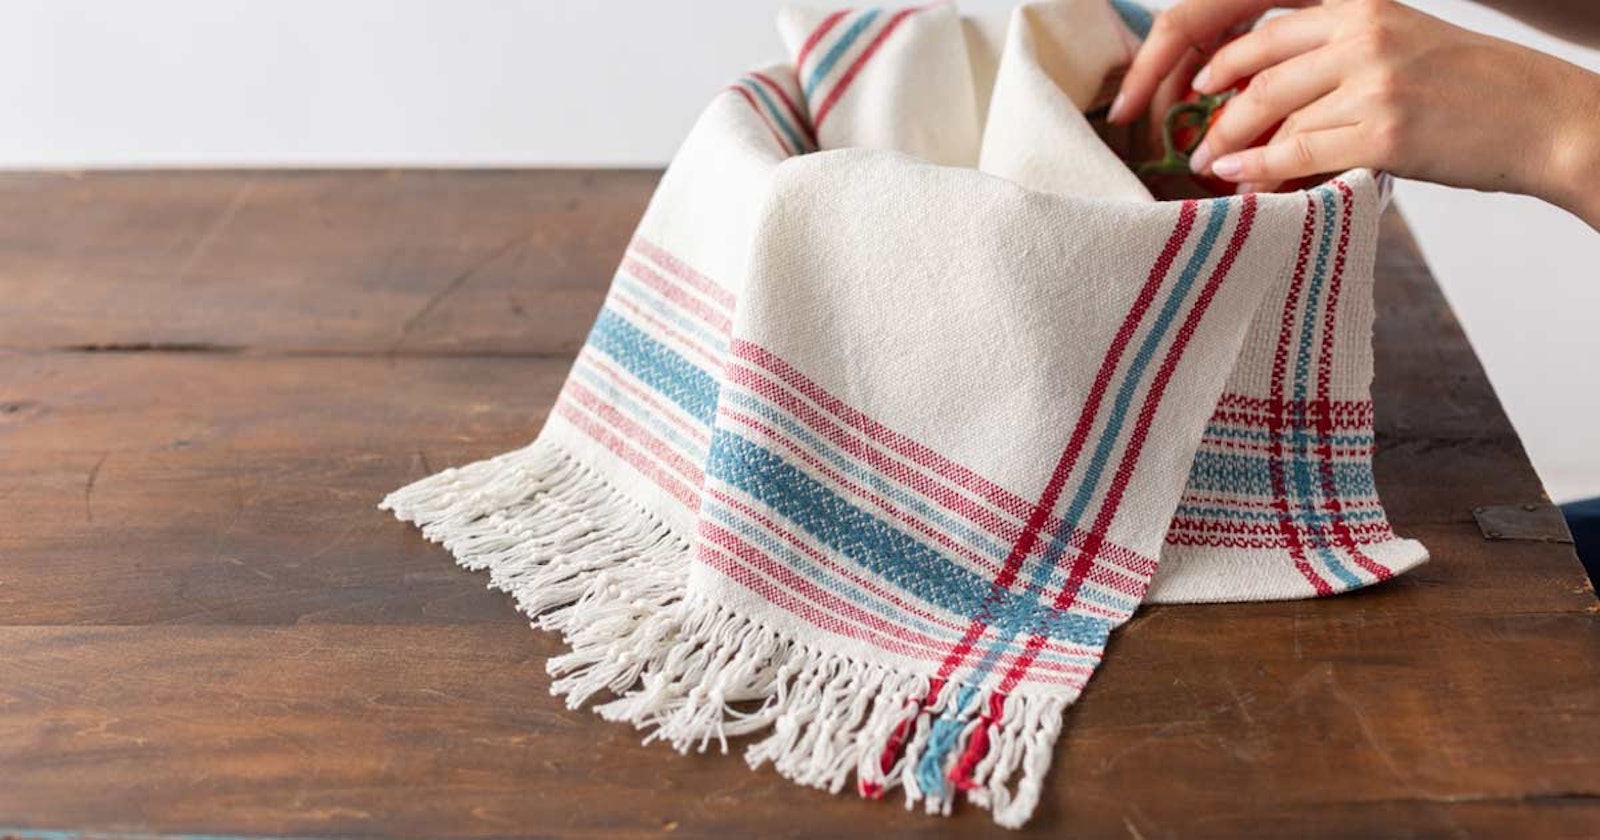
Recently, I designed a towel for the September/October 2019 issue of Handwoven that required fancy fringe. The towel was meant to be a show towel of sorts, something that would traditionally be hung and admired rather than used, so I needed a fringe that would look lovely when hung and displayed but wouldn’t be so lovely as to be impossible to wash. I realized I needed a lattice fringe.
My first step in choosing my lattice fringe was to open my trusty copy of Finishes in the Ethnic Tradition. If you’re looking for something beyond handweavers’ usual trifecta of finishes (pressed hem, knotted fringe, and twisted fringe), this is the book you want. (Although, if you're more of a visual person, Sara Bixler's video on fringe finishes is an excellent resource as well!) As I perused the pages, I found several examples of lattice-type fringe but decided to settle on 2 rows of alternating overhand-knotted fringe.
I was a little worried that it would be tedious or difficult, but really it was easy-peasy and I could zone out and listen to podcasts while I worked. Curious about my methodology? Here’s how I achieved my lattice fringe:
1. Gather your materials.
You’ll need plenty of ball-point sewing pins. You’ll also need a strip of something that’s firm enough to hold steady but porous and thick enough for you to stick in straight pins. You can use a blocking mat, a strip of Styrofoam, or a thick piece of cardboard.
Finish your cloth accordingly. First, make sure your weft is protected either by hemstitching (my preference) or with overhand knots. Whatever method you choose, you’ll need an even number of fringe bundles. Before cutting off the loom, make sure your fringe will be long enough. For my towels, I left about 8" on either end for fringe and trimmed it to 7" off loom.
2. Pin your cloth.
Keeping your cloth as straight and even as possible, pin one the length of your cloth to the surface. You don’t need to densely pin the whole length of your project. For my project, I put a pin every few inches and then more densely pinned sections of around 2" and then moved pins as I finished each section.

Pin your cloth as evenly as possible to a firm but porous base. Densely pin a section about 2" long and then place a second row of pins your desired know length away from the edge of the fabric.
3. Prep your pins.
Decide how far from your cloth's end that you want the first row of lattice fringe knots to be. (For the sake of clarity, I’ll use 1" as the distance in these instructions.) Place pins 1" away from the edge of the woven item and space them however far apart your fringe is spaced.
4. Prep the fringe.
Starting on the left-hand side, gather your first bundle of fringe. If you’re doing 3 or more rows of lattice fringe, divide your first bundle in half and set half of those threads aside—you will not be knotting this half of the fringe for this row. If you, like me, are only doing 1 or 2 rows of lattice fringe, do not divide the first fringe bundle. Take the second bundle and divide it in half. Putting half of the threads aside, combine the other half with the working ends of the first bundle.
5. Start knotting.
Take your combination bundle of fringe and start to tie an overhand knot very loosely so there’s a large opening. Slip the open knot over the head of the first knotting pin. Gently tighten the knot so it ends up snug at the base of your pin, adjusting as necessary to make sure your threads are taut and even. Split the third fringe bundle in half as you did the second one. Take the unknotted ends from the second bundle and combine them with half of the ends from the third bundle and repeat the knotting process. Continue splitting and knotting bundles along the width of your project, moving pins as needed, until you reach the last bundle of fringe. As with the first bundle, if you’re planning on 3 or more rows of fringe, split the last bundle in half and put half of the threads aside. If you’re planning on 1 or 2 rows, use the entire fringe bundle in the last knot.

Begin by tying your knots largely and loosely. Before pulling tight, slip the knot over the head of a pin, as shown in the left photo. Then, carefully pull your knot in tightly until it's snug against the base of the pin. Adjust your knot and threads as needed to make sure they're taut and even.
6. Knotting the second row.
Pin a 2" section of the first row of lattice fringe knots, keeping them as straight as possible. Place a second row of pins 1" or your chosen distance from the first row of knots and 2" from the edge of the fabric. This time, as you work from right to left, use all the ends in the bundles on the left-hand side. (If you’re knotting 3 or more rows, then this will be the half that you put aside unknotted before.) Take your second bundle of fringe and split it in half as you did before. Setting one half of the ends aside, combine the other half with the first bundle of fringe and knot as you did the first row. Continue along the width of the cloth, moving your pins as needed.
7. Continue accordingly.
If you’re only knotting 2 rows at this point, you can remove your pins and trim the fringe so that it’s even. I suggest using a self-healing mat, a flat edge, and a rotary cutter. If you’re knotting 3 or more rows, repeat steps 5 through 7 until you have your desired number of knotted rows and trim fringe so it’s even.
Wet-finish as normal and enjoy your beautiful lattice fringe!
Happy Weaving! Christina
Explore more weaving finishes in Handwoven!