From a purely physical perspective, using a warping board doesn’t top the list of ergonomic issues for most weavers. Viewed holistically, though, winding a warp is a complex task. There’s the mental activity of counting, the need to apply even tension while winding threads, anxiety about getting the warp on the loom, and all that repetitive motion. Add your personal concerns (e.g., shoulder injury, or fibromyalgia), and there’s ample motivation to apply these basic ergonomic principles as you wind your next warp:
Fit the environment to yourself.
Select a board whose proportions match your arm span, adjust the board height according to how your body feels each day, and make sure you have adequate light without glare.
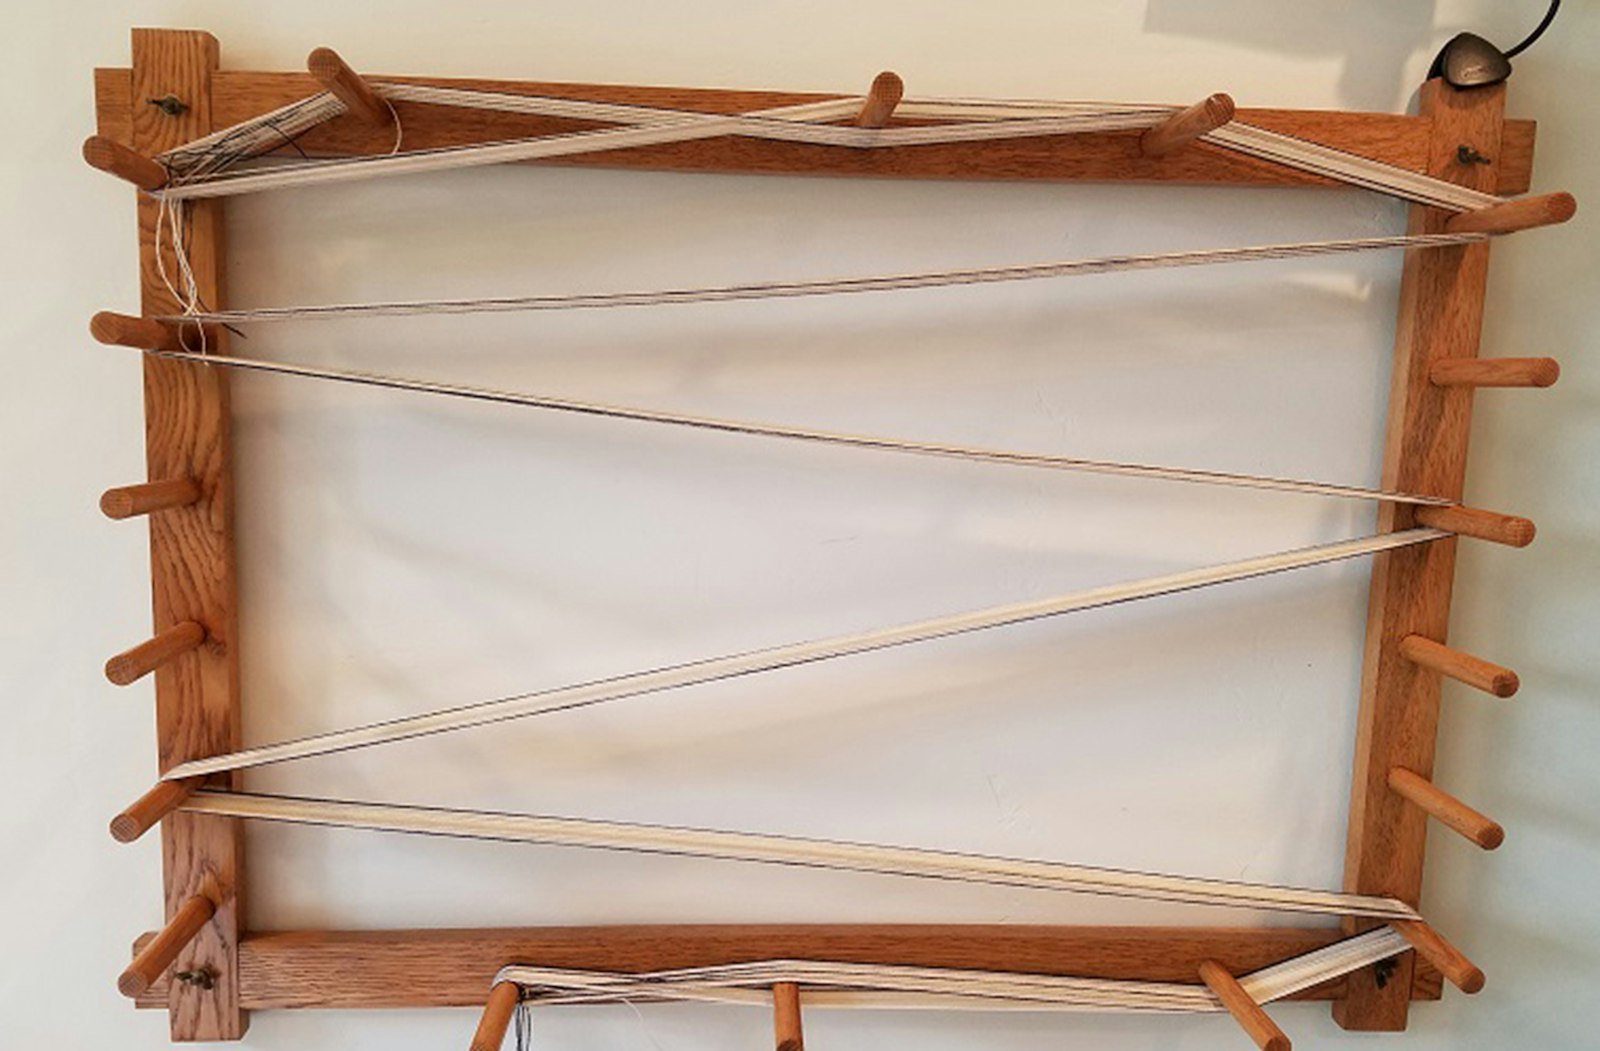
Using notched pegs, fiber artists Ann Keuper (left) and Julie Hul (right) created a height-adjustable wall mount to accommodate weavers who work and study at their studio in Tucson, Arizona. Because winding a warp is a dynamic activity with wide arm movement, it’s not surprising that most people stand. For those who sit, a stool that tilts from its base to move with the body can reduce reaching and straining.
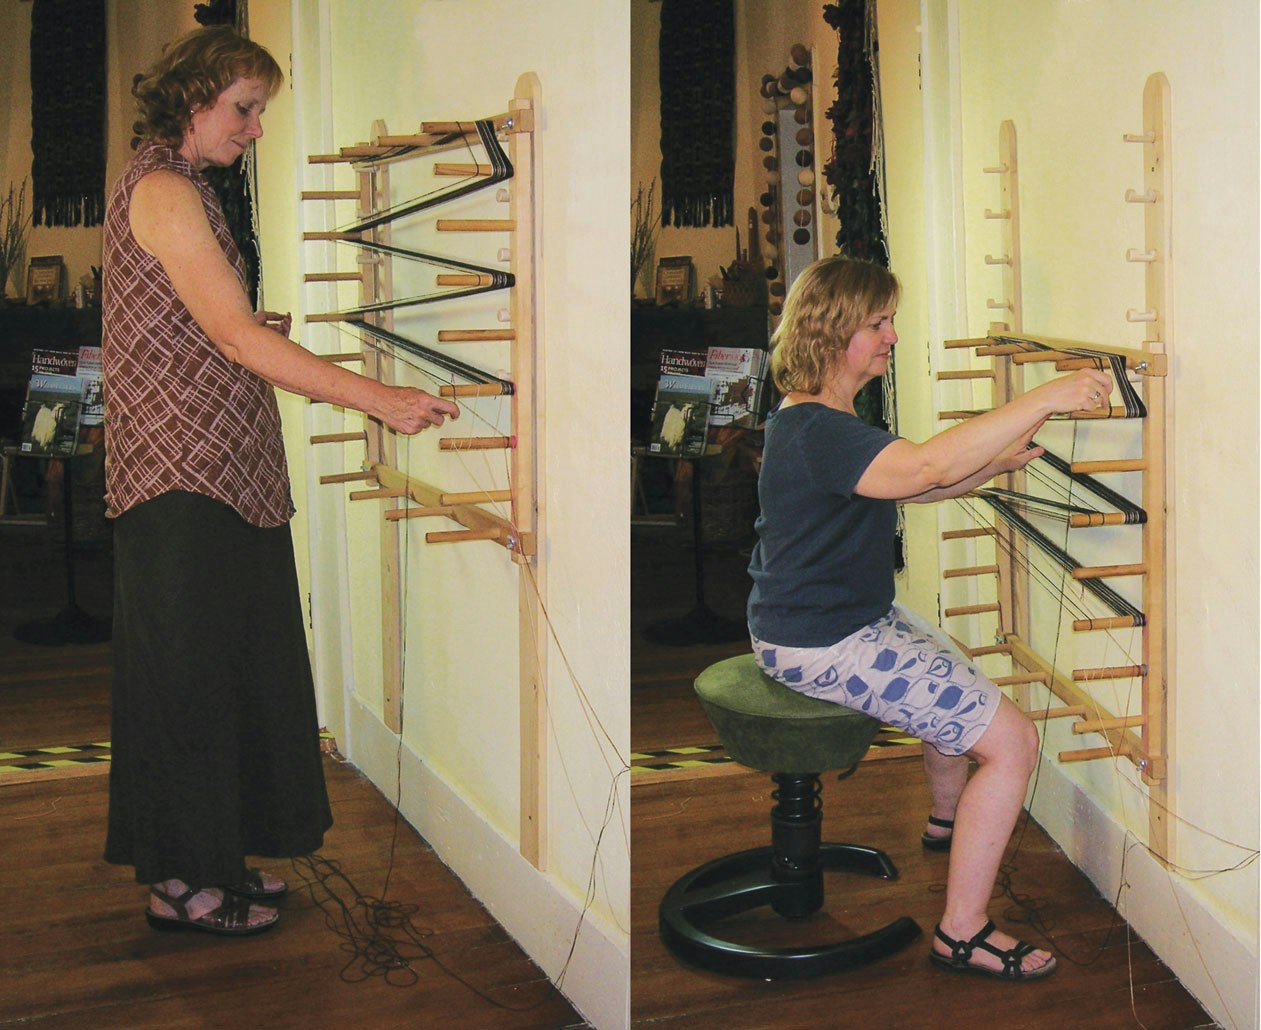
This height-adjustable wall mount accommodates weavers of different heights or those who wish to sit while they warp. Photos by Karen Piegorsch
Find your personal balance of eyesight and movement needs.
For a starting point, have the cross at eye level, then adjust the board height to accommodate your movement pattern; consider changing eyeglasses if there’s a mismatch between your focal distance and your comfortable arm reach.
Use your large muscles wherever possible.
Position your feet to create an open base; shift your body weight side to side as you wind to minimize shoulder strain.
Keep your posture balanced.
Let your knees be unlocked. Keep your head upright over your shoulders, your elbows near the body, and your hands moving between shoulder and waist height. Use both hands in a symmetrical rhythm.
Use minimal effort.
Monitor your breathing, be deliberate about ambient sound, trust yourself, and enjoy the process.
Respond to changes from project to project.
Readjust the board position if your body rhythm changes with different warp lengths or yarn characteristics.
Fit the tools to your space.
In studios where warp preparation is infrequent, or wall space is at a premium, a portable stand is a practical way to have height adjustability. One such stand is the Spriggs tripod stand that tapestry artist Lyn Hart of Tucson, Arizona, uses in her studio.
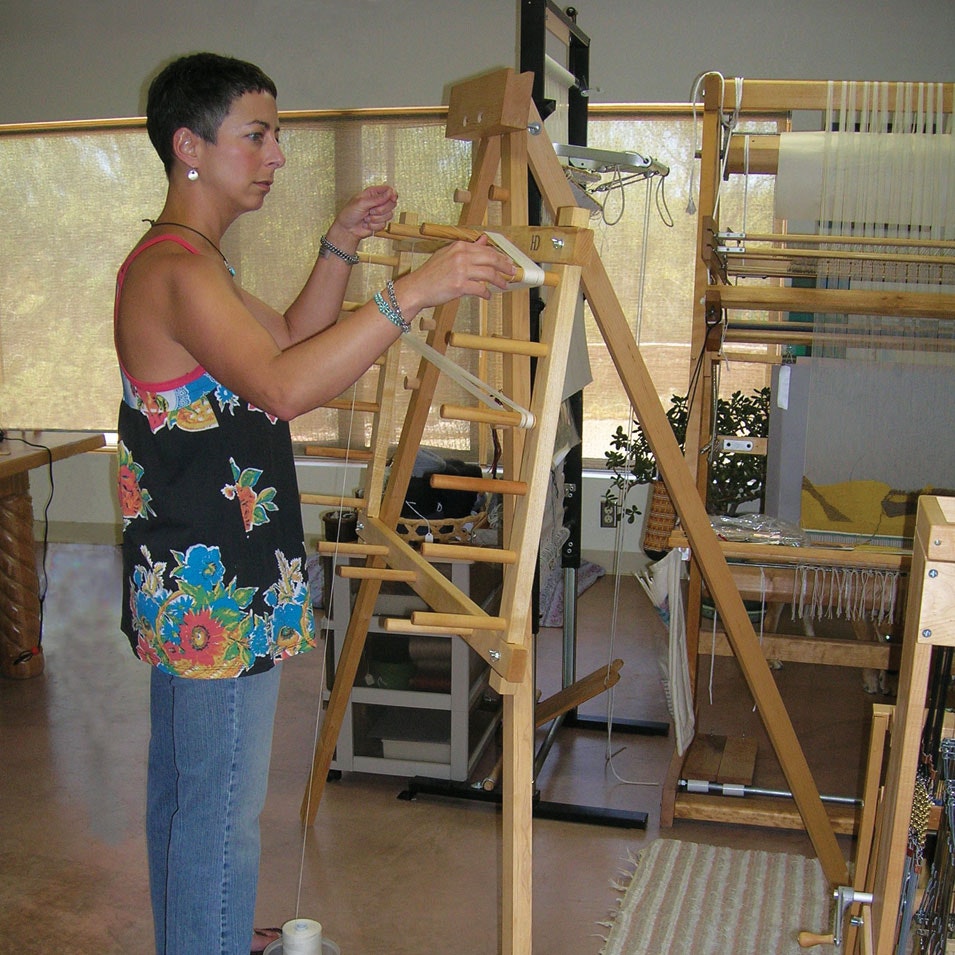
Tapestry artist Lyn Hart of Tucson, Arizona (www.desertsongstudio.com), uses the Spriggs tripod stand from Hill Creek Fiber Studio.
Originally published on February 28, 2022; updated on April 29, 2024.