Someone told me this story. It may very well be an urban legend because it started with, “One of my friend's sister's friends,” but here it is: For special occasions a family always had the same layer cake. They would make a bowl of batter for one layer, bake it, then mix up the batter again and bake a second layer. They did this for years and were comfortable with it. One day a rebel in the family asked why they didn’t just make one big bowl of batter and bake both layers together. That led them to ask their grandmother who had started the cake tradition. Turns out that back in the day, she had a very small oven that would only hold one pan.
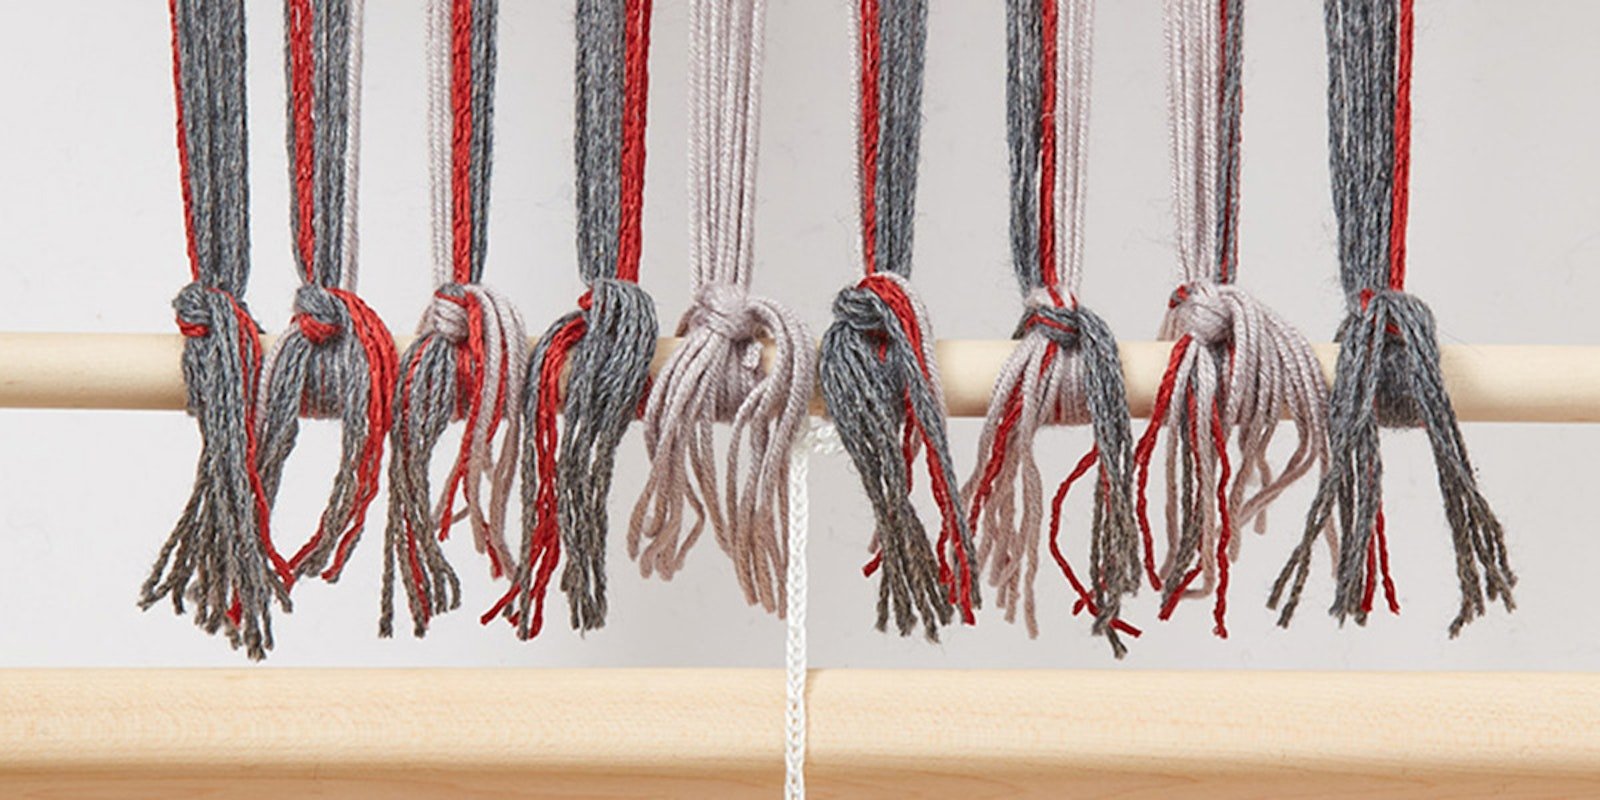
I learned how to weave using front-to-back warping. Since then I’ve learned to warp back-to-front and sectionally, but to this day my comfort zone is front-to-back warping. I know all the arguments for and against the different methods, but you can’t mess with comfort zones. As a beginner, I was taught to use lark’s head knots on the cloth beam and on the back warp beam. I did that for years.
Then one day, someone taught me how to lash onto the cloth beam. I was hesitant at first, but after a few tries, I was able to do it quickly, saving myself time in tensioning, and for hemmed projects, reducing loom waste. Today, I usually lash on rather than tie on when using both my floor and rigid-heddle looms. I prefer it so much that I even do it for fringed projects.
Watching other people tie onto the warp beam has taught me a couple of methods that I’d like to share with those of you still tying on with lark’s head knots. I’m not sure if they save time but they can reduce loom waste.
Method one:
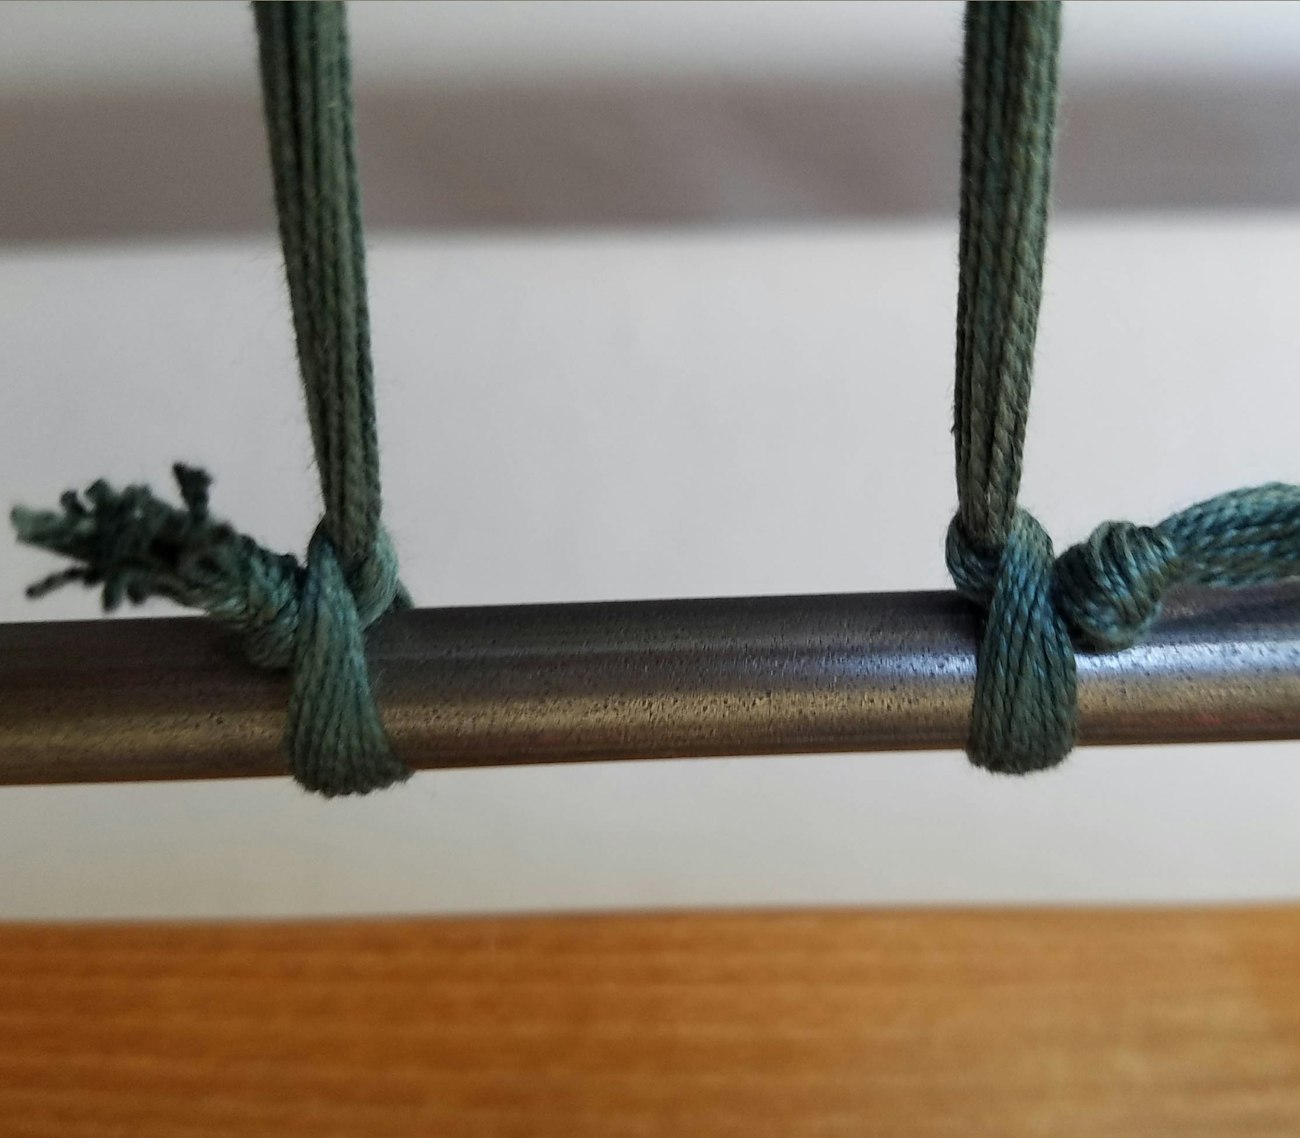
1. As you thread, even up your ends and tie them in bunches close to the tips using overhand knots. Each bunch should hold the equivalent of about 1" of ends based on your sett.
2. When you have finished threading, pull each bunch of ends over your warp beam, and around it, tucking the knots inside the loops. Tension on your warp will hold the bunches in place.
Method two: (Note: I use this primarily when I’m threading the front shafts on my 8-shaft loom, so that my warp ends can extend into the space used by the back shafts.)
1. Cut 15" pieces of braided nylon, one for each inch of warp width. Tie the ends together with an overhand knot to form a loop. The loops are reusable, so make a lot while you are at it. (I prefer braided nylon because it doesn’t ravel. You could also use sturdy linen but don’t tell me about it if you do—I love linen.)
2. As you thread, even up your ends and tie them in bunches using overhand knots close to the tips. Each bunch should hold the equivalent of about 1" of ends based on your sett.
3. Attach the loops to your warp beam by bringing the knotted end through the loop. Arrange the loops along the width of your warp.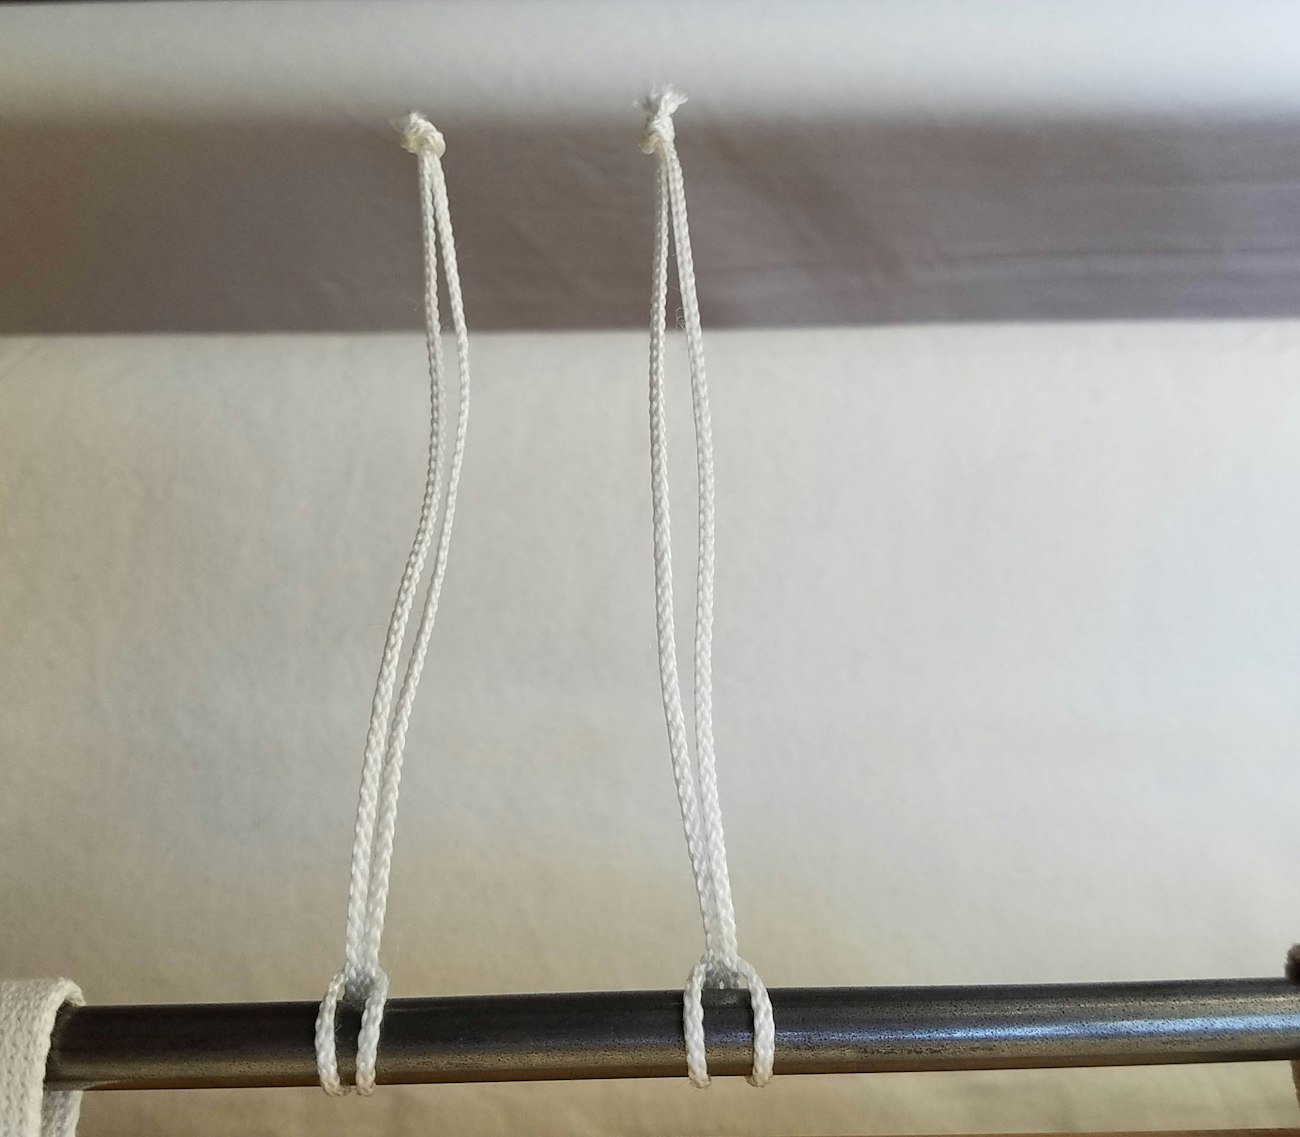
Loops on the loom ready to attach to warp ends. Photo by Susan E. Horton
4. When you have finished threading, pull each bunch of ends straight back to one of the nylon loops. Bring the nylon knot through the loop again and cinch that loop around the bunch of ends above the knot.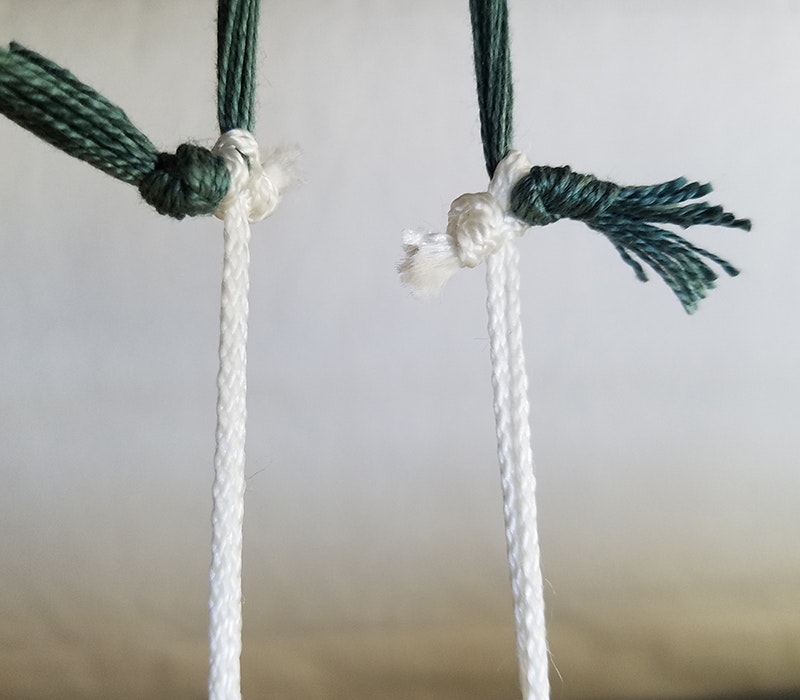
Nylon loops attached to the knotted warp ends. Photo by Susan E. Horton
Lark’s head knots are great in all sorts of situations, but I encourage you to step out of your comfort zone and try lashing on and/or one of my 2 methods for tying onto the warp beam. Who knows what you might want to try next? Deflected doubleweave? A three-layer cake?
Weave well,
Susan