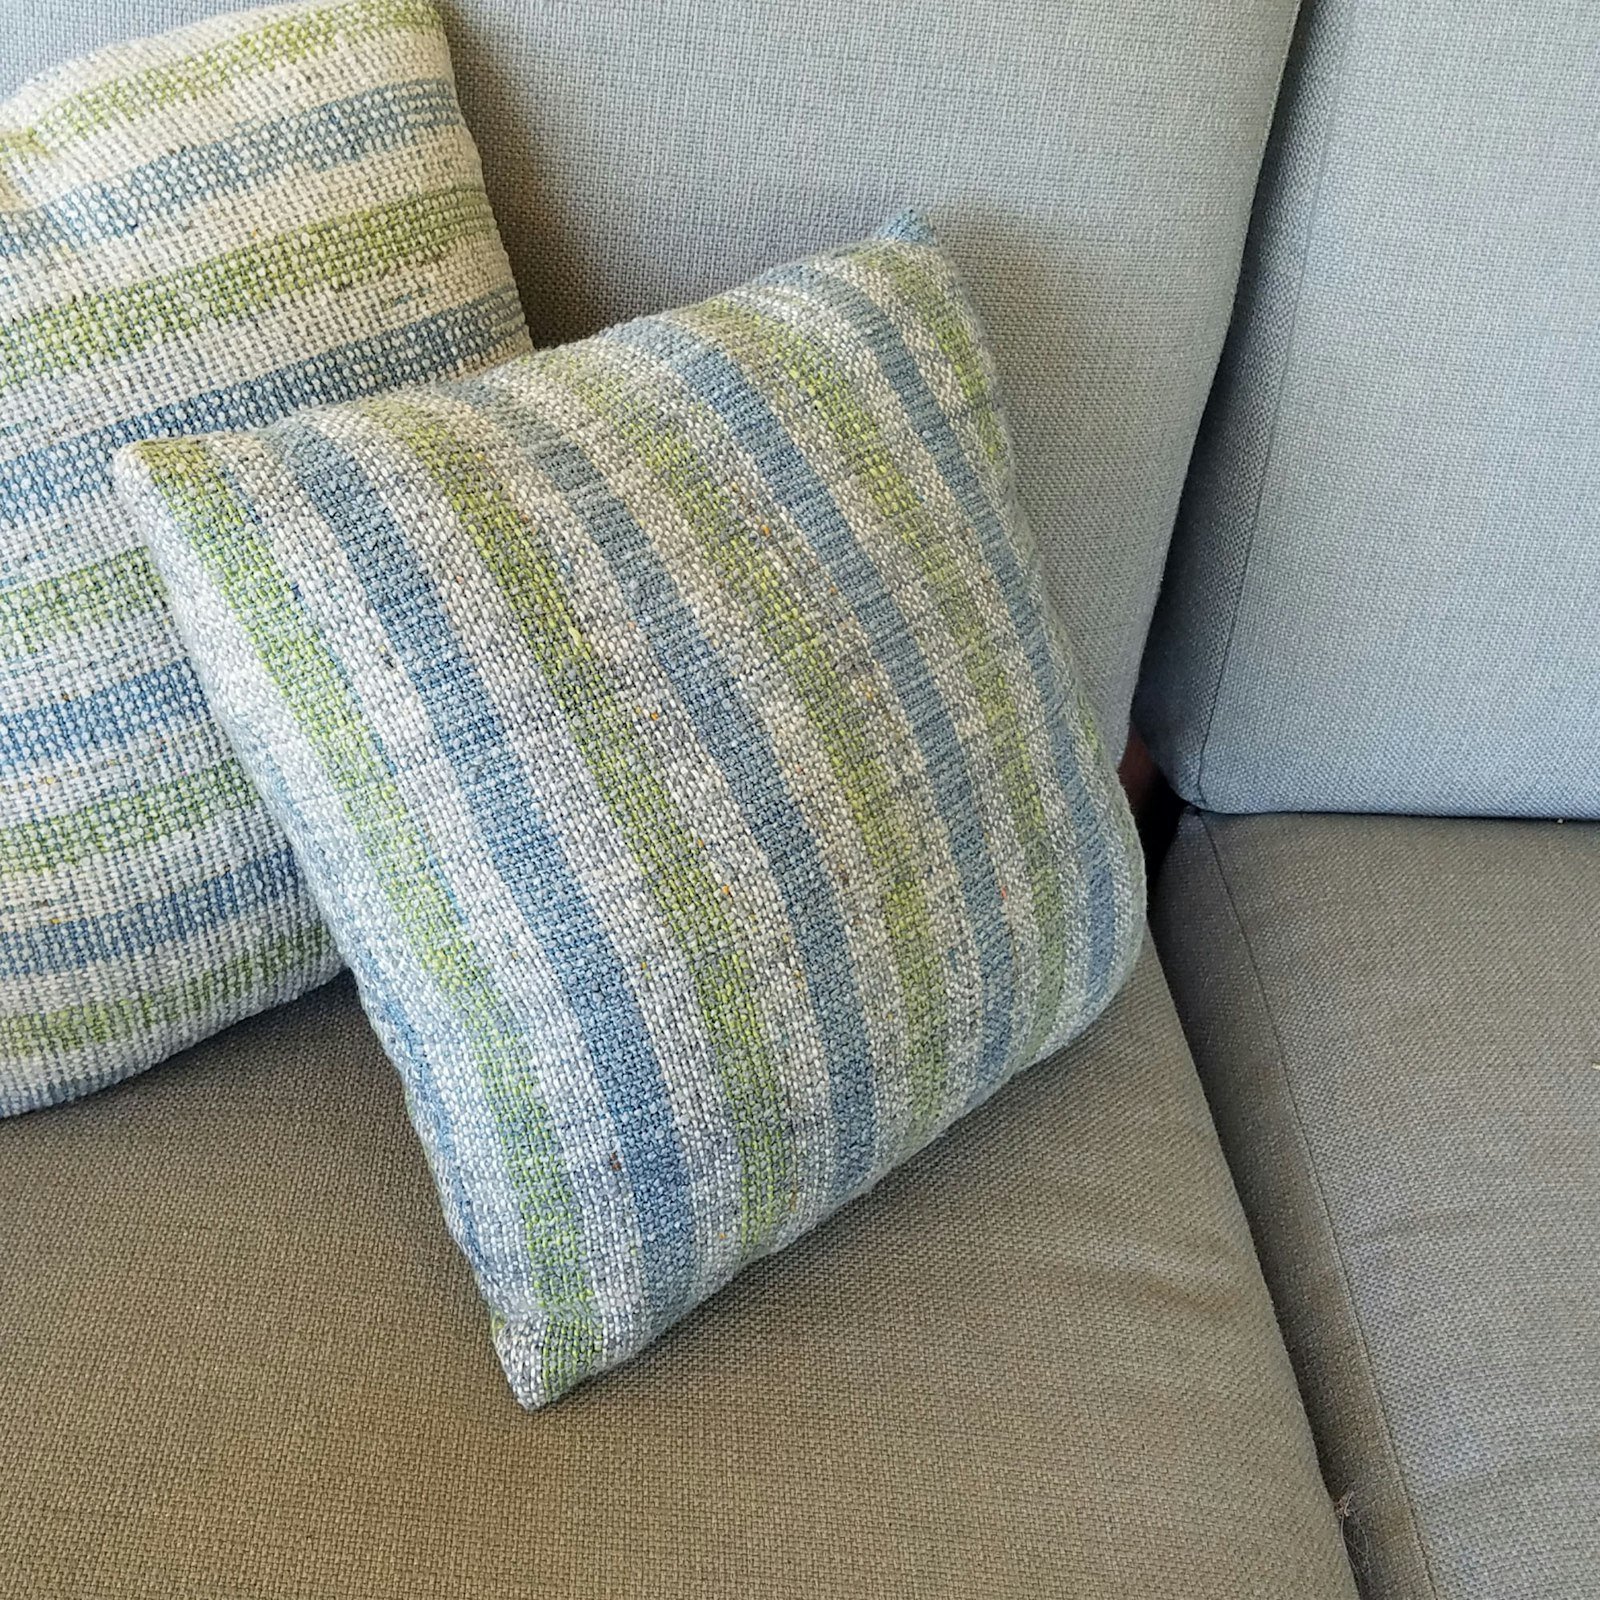
Last May, I hastily warped my rigid-heddle loom on Friday night for a weaving demonstration at the Huntington Gardens the next day. I warped stripes of 3/2 cotton, Gist’s Mallo, and some white handpainted cotton. I had some mystery chenille-like cotton that I had dyed with indigo to use for weft. I hadn’t sampled and had no expectations but thought it could be a shawl. Halfway through I decided it might be a mobius shawl so I wove with that in mind, leaving enough warp on one end for fringe and putting in a thinner weft on the opposite end for seaming. After wet-finishing, it was about 15½“ x 63”.
The fabric, while beautiful, wouldn’t behave when I tried making it into a mobius. It was much too stiff for a shawl. I pinned, adjusted, tugged, and implored, but it wouldn’t cooperate. Enter the “shillow” or perhaps the “phawl,” a shawl that becomes a pillow. After giving the fabric a long time out, this past weekend, I decided it would make great pillows for our porch furniture. It matched perfectly and, by pure chance, I had enough to make two 14” pillows.
Working on the September/October 2022, Cut and Sew issue of Handwoven not only inspired me but also gave me some confidence and tips for working with my fabric. In addition, I used a couple of techniques I learned a long time ago when I was making pillows with commercial fabric. Here’s how I made my pillows with tips in order of construction:
- Fuse lightweight interfacing to the entire back of the fabric. Cut the pieces apart and apply Fray Check to all cut edges. Although it may seem easier to fold the fabric around for one seam, for a more professional looking pillow, cut fronts and backs.
Trim the corners to eliminate dog ears. I learned this from a home décor book I have had since the 1990s. (See Resources.) Here’s how:
ADVERTISEMENTa. Fold the top of the pillow front into fourths. Mark the halfway point of each side between the fold and the corners.
b. Open up the pillow front. Working on the wrong side, put a mark at the corner that is ½” from both sides. Draw lines between the marks along the sides and the marks in the corners.
 Trimming the pillow fronts and backs as shown here and described in the steps will eliminate dog ears in the finished pillows.
c. Trim along the lines on all four corners.
d. Put the pillow front on top of the pillow back with right sides together. Trim the corners of the back to match the front. If you feel it needs it, add Fray Check to the cut edges.
Make one of the sides that are selvedges your zipper opening or the final opening that you’ll stitch to close the pillow. The opening or the zipper should fit into the straight portion of the seam. Sew the slanted portion of the seam caused by the trimming you did in tip 2 using double stitching at the opening.
Match up warp stripes, pin and sew those two seams first using a ½” seam. Then sew the remaining seams. Trim off corners leaving ¼".
Turn the pillow cover right side out and use a blunt object (not a pencil!) to push out the corners. I used a blunt wooden weaving needle.
Stuff the pillow cover using a pillow form that is larger. For my 14” pillows I used 16” pillow forms. In general, I like to use a form that is 2” larger than the pillow cover, although in this case, 15" forms might have been sufficient. It takes some doing to stuff the form in, but the end result is a more robust pillow.
If you didn’t use a zipper as I didn’t, use long pins to close the final opening and stitch it closed by hand with tiny stitches and doubled thread. Follow warp threads to keep your stitching straight.
Weave well,
Susan
Resources
Singer. Sewing for the Home. Minnetonka, MN: Cy DeCosse, 1988.

