Do you remember learning to cook? Maybe your mom or grandma taught you, or you learned in a class at school. Or maybe you learned from the many fantastic cooking shows on TV. The nice thing about cooking is that we are surrounded by other people who know how to do it, so if we have a problem, it’s easy to find help. When you learn to weave, that is not always the case. For example, the only weaver in my family was a great-aunt in Norway, who was long gone when I started to weave.
When took my first class at The Weaver’s School, I fell in love with weaving, deeply and forever, and it all seemed so easy and made so much sense. Then I came home to my full-time job and full-time family with small children. By the time I got to my loom again, I could hardly remember where to start, and there was no one to ask. (I didn’t even know about guilds.) But start I did, buying yarn, warping, and weaving fabric for a baby blanket.
I made every mistake possible on that project. First, I bought some clearance yarn, a weird, nubby wool/synthetic blend from the bargain shelf at Robin and Russ, reasoning that it would be washable, perfect for a baby blanket. I had no clue that the stretchy yarn was unsuitable for warp and that the nubs would catch on the reed. Then, because the yarn was such an incredible deal and I had so much of it, I warped up enough for two blankets because then I could have a handwoven blanket ready for the next baby. Such a deal! But then the weaving began, the tension problems set in, the warps broke, one after another, and I grew to detest that cloth. I became expert at repairing broken warps, but several yards in, I decided that finishing that warp would put me off weaving forever. I cut it off the loom, and the fabric is still in the back of a closet somewhere, waiting until I have the patience to work in the repaired ends and come up with a use for it. (For the record, I did give the baby a nice handknitted sweater.)
Tom Knisely in Learn to Weave
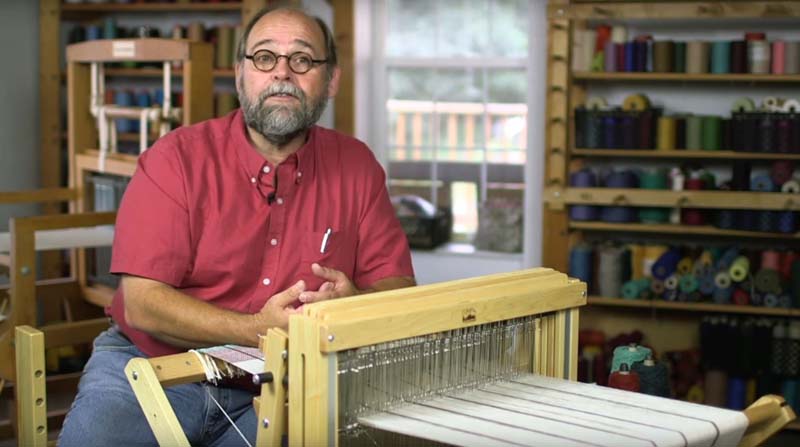
What I really needed after my first weaving class was advice on how to get started weaving by myself: simple projects for practice, a basic warping reference that I could go back to again and again, demos on how to solve common problems, and basic knowledge about tools and materials. That’s why I was thrilled to work with master weaver Tom Knisely last year on a video that provides just that,
Learn to Weave: Making Good Cloth on a Multi-shaft Loom
. Whether you’ve been to a weaving class before or are striking out on your own, Tom teaches you everything you need to get started, from the basics of project planning and warping through finishing your cloth, and his friendly teaching style makes it clear and simple.Learn to Weave: 5 Tips from Anita
To help you with your first project, here are some tips that I’ve learned from my own experience and from many years of working with Tom and other master weavers in the Handwoven community:
1. Start small.
Put a couple of yards of warp on your loom and weave a nice scarf. You’ll get immediate satisfaction, and you can concentrate on the process more than the project.
2. Start simple.
Choose a twill or other simple pattern so you can practice threading repeats and checking them.
3. Use friendly yarn.
Experienced weavers have a “palette” of standard yarns on their shelves, and there’s a reason for that. Standard sizes such as 10/2 and 8/2 cotton and worsted weight wools make desirable weights of cloth and behave well on the loom. Spend the money to get full cones of good yarn that can become part of your own “weaver’s palette.” (Cheap yarn is not cheap if it causes problems or doesn’t get you good results.)
4. Stop, look, correct.
If you see something going wrong in your project—selvedge problems, tension problems, a mistake in the threading, etc.—stop and correct it. Everyone, and I mean everyone , no matter how experienced, runs into problems sometimes. It’s best to correct them at the beginning if possible, so check your weaving after the first inch. If the fell is uneven, check the tension and retie any loose warp bundles. If you have a threading error, fix it right away. It’s better to take some extra time than to struggle with a project all the way through the weaving.
5. Rinse and repeat.
Water brings out the beauty of your weaving. As master weaver Laura Fry says, “It’s not finished until it’s wet-finished.” So after you finish the hems or fringes on your first piece, agitate it by hand just until the fibers relax into their new grid. (If it’s wool, be careful not to felt. If it’s cotton, you can machine wash it.) Then quickly begin another project, trying a new yarn or a new draft.

Learn to Weave: Making Good Cloth on a Multi-shaft Loom
Confident, successful weaving comes with practice, and you can learn a lot from fast, simple projects. So, if you’re starting to weave, take a class, find a guild, buy a good video like Tom’s, or all of the above, and then get thee to the loom!
Happy weaving, Anita