(Plus: How to Weave on a Cardboard Box)
It is a great pleasure of social media to watch artisans at work. Agile spinners take their hands off the spinning wheel or drop spindle long enough to snap a photo or shoot a video, and we get to watch them spinning yarn or knitting or weaving or what have you.
One of my favorite people to watch is handspinner and tapestry weaver Sarah Swett. (Sarah is also one of the few to maintain her blog regularly, posting words and photos each week.)

Spinsters
I recently looked back 20 years into Spin Off’s archives and found a series of articles about weaving tapestry written by and about Sarah. The look of Sarah’s work has evolved over the years, but her passion for spinning the yarn—knowing her work from the very source—has not.
“I can produce miles of relatively consistent yarn, but I do not consider myself to be an innovator or a perfectionist. The pleasure is in the process, the rhythm, the feeling of the yarn forming between my fingers. While I learn more about spinning with each skein of yarn and with every issue of Spin Off, it is my connection with the fiber itself—its history, its characteristics, and how best to use it—that continues to grow. This connection feeds my continued commitment to the simplicity and beauty of the process, to the tools that I use, and to the spinners with whom I spend time.” —Sarah Swett, “Tapestry Weaving,” Spin Off Winter 1997
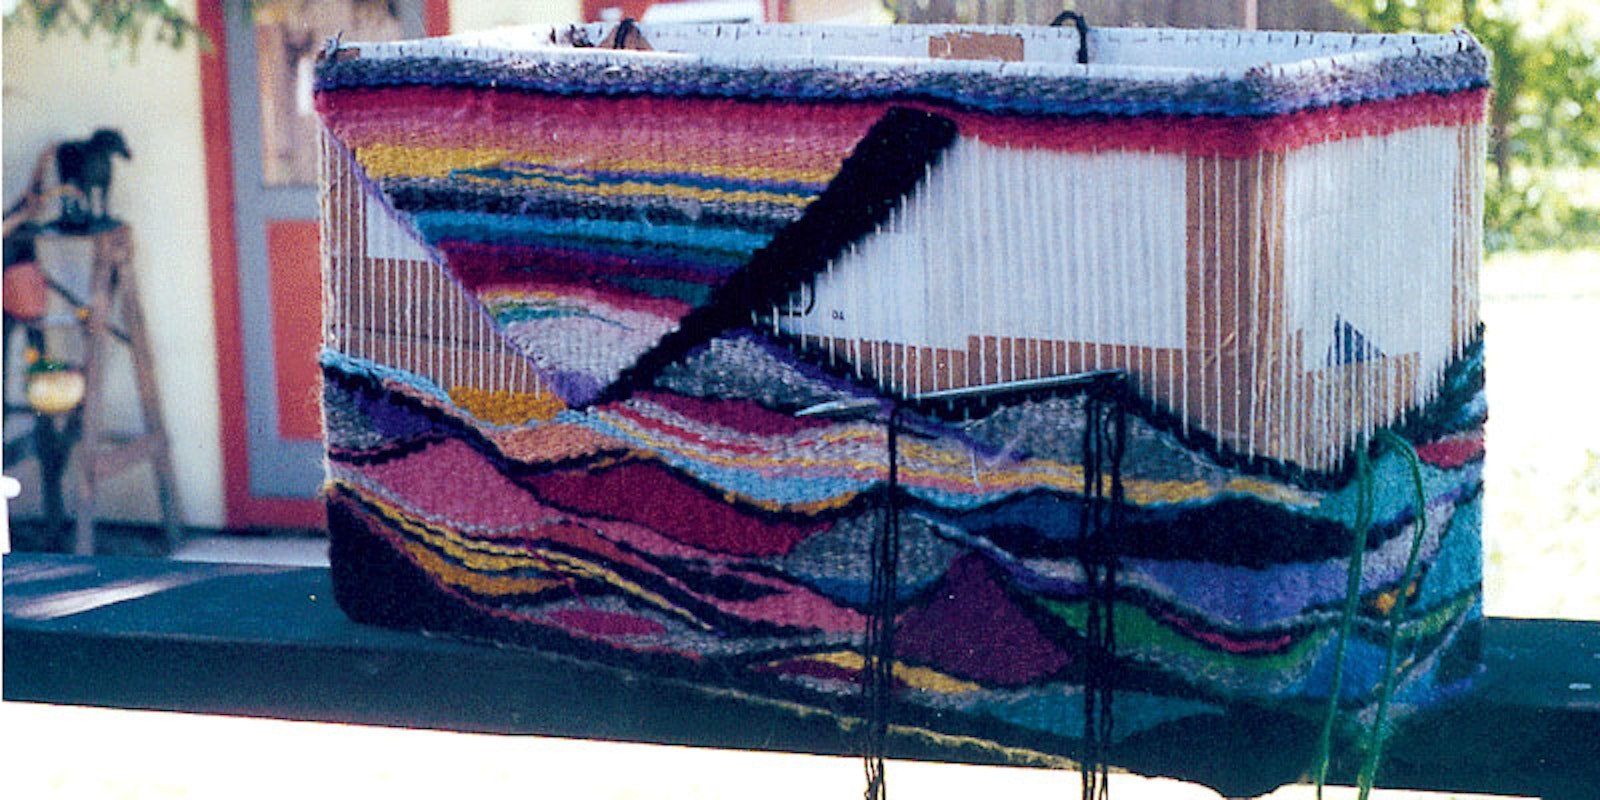
How to Weave a Bag on a Cardboard Box
In the Winter 1997 issue of Spin Off, Sarah shared directions for weaving a sturdy tapestry bag on a cardboard box; here’s an excerpt. For complete directions, check out the issue.

Warping: Start at one corner on one of the long sides. Leave a tail of yarn on the inside. Bring the warp through the first notch, down the side, across the bottom, and up the other side to the corresponding notch. Hook the warp in this notch and back out the adjacent one. Wrap back to the next empty notch on the opposite side.

Warping: Continue until both opposite long sides and the bottom of the box have been warped. Do not cut the warp. Measure out enough additional yarn to warp the other two sides of the box and the bottom again. Leave all of this dangling from the last notch.

Weaving bottom and final stage of warping: With weft, weave 1/4” on bottom, starting on the side of the box where the warp is hanging. After weaving 1/4”, thread the reserved warp in a needle and weave it through next to the weft. Alternate sections of 1/4” plain weave in weft with warp ends, securing warp in notches along both short sides of the box as you did on the long sides.

Weaving sides: End the last weft pick of the bottom at the corner where the extra warp is available. Make one extra warp end at this corner so there are an odd number of warp ends in the circumference of the box. Begin to weave around the box. Weave both up from the bottom and down from the top (it’s easier to work the last picks of the sides in the middle, rather than at the top by the loops).
—Anne Merrow
Originally posted on 12/05/2016