To weave well, you need to keep track of many measurements. I have found that different measuring tools help in different ways to improve my weaving speed and process. Among other things, the correct tools will help you better plan your projects, center your warps, track your ppi, and track your weaving progress.
My studio contains the following tools:
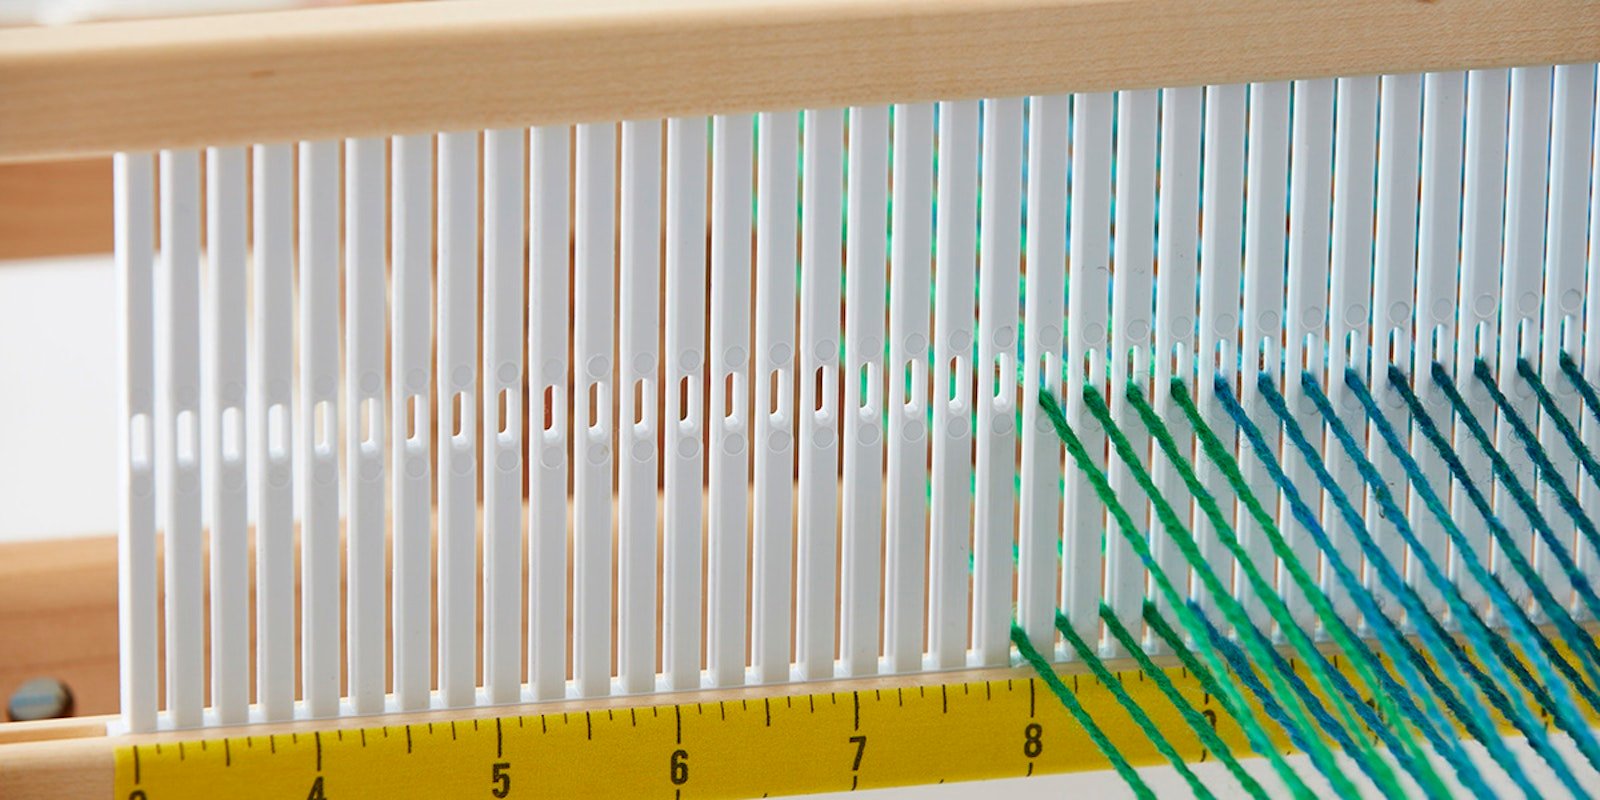
- Sticky-backed measuring tape: Center a strip of this tape along the shuttle race and also on the back beam. This will allow you to center a warp without getting out measuring tape. You’ll find it in the quilting section of a fabric store, among other places.
- Wooden or plastic ruler: Wrap your yarn for 1 inch and then divide by 2 to determine sett for plain weave. You can also use it to measure and record ppi on the loom. Place it on the fabric on the loom and snap a picture.
- Measuring tape: Use plastic measuring tapes to determine final measurements, but also use them to figure out what size you want to weave your projects. For instance, if you have a favorite towel and you like its size, measure it. Add to the length for take-up and shrinkage; add to the width for draw-in and shrinkage. Use those measurements for woven length, and width in the reed to duplicate the size of your favorite towel, or at least come pretty close.
- Paper measuring tape: Furniture stores, including a well-known Swedish chain, hand them out to shoppers. Or make your own with adding machine tape from an office supply store, marking 1-inch increments on the paper. Use large straight pins to pin either type directly on your fabric on the loom.
- As you weave, write notes directly on the paper tape about hems, repeats, color changes, etc.
- Move the pins up, leapfrogging one over the other so that one always keeps the tape in place and the tape doesn’t get rolled onto your cloth beam.
- If your project is longer than the tape, move the tape up. First, use a pin to mark the 1 yard point on your fabric. Then place the beginning of the paper tape on that pin and repin.
- If your piece reverses in the middle, weave to the middle, put a pin through the tape vertically, and pivot it around. Then weave back to the other end, following the notes you’ve written on it.
- If you are weaving multiples, mark their length on the paper tape as a guide.
- Save the tape with your weaving notes about the project.
- Kitchen scale and yarn balance: These are essential tools. Please refer to my blog post, “Hack your studio - Kitchen Scales and Yarn Balances,” about how these are used to calculate stash yardages.
 Paper measuring tape tracking weaving progress Photo credit: Susan E. Horton\[/caption\]
Start with good measurements and the correct tools, and your weaving will be smoother. Weave well, Susan

