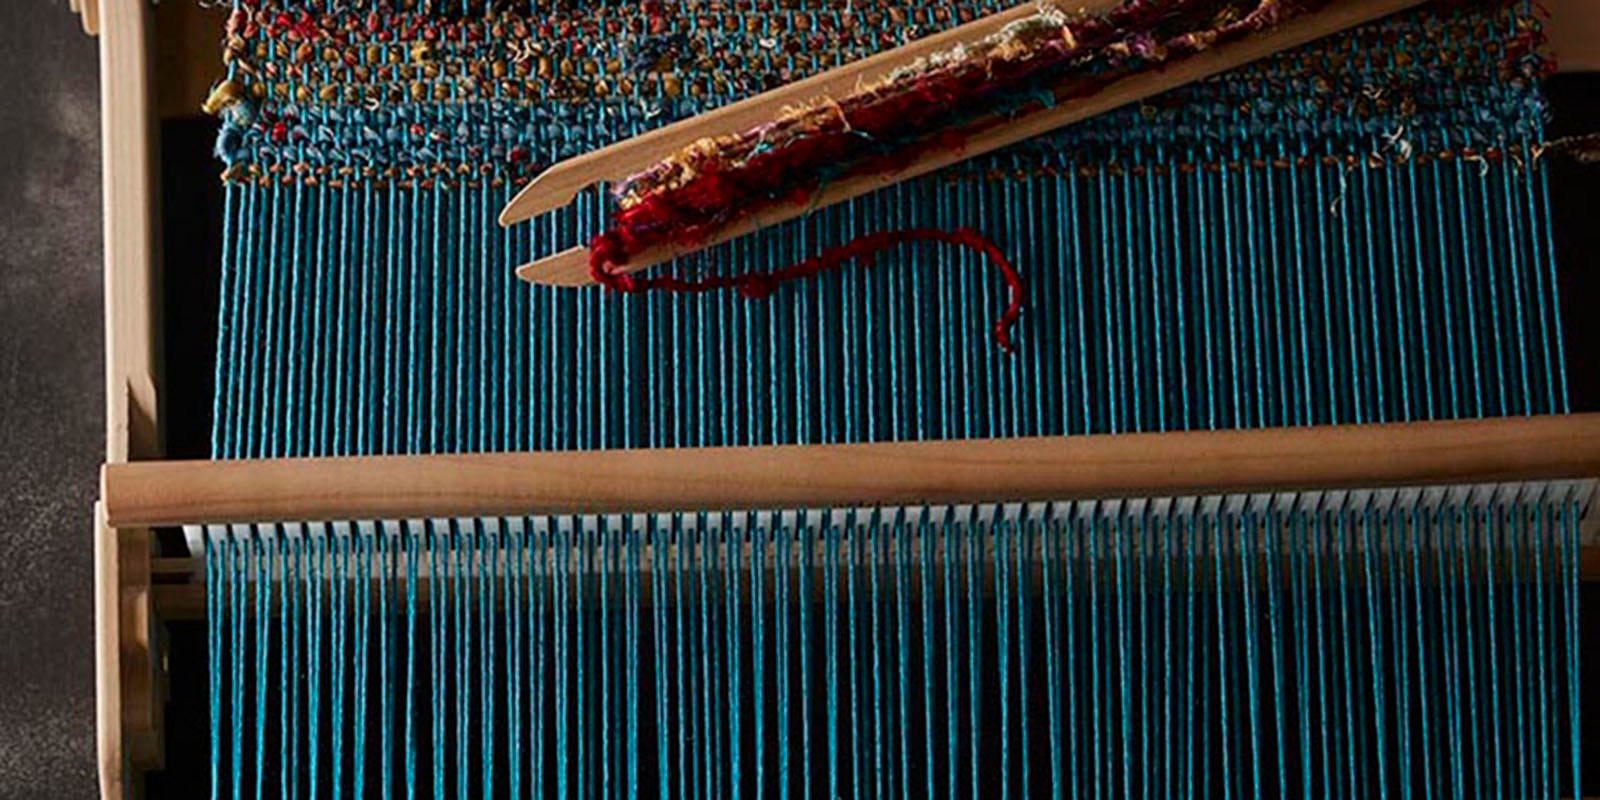
Even the most careful weaver breaks a warp end every once in a while while rigid-heddle weaving. Breaking a warp end when weaving on your rigid-heddle loom can be frustrating, but fortunately it's easy to fix! This step-by-step tutorial on how to fix a broken warp thread will teach you to quickly and easily fix these pesky weaving problems.
Step 1. First, you'll want to grab a T-pin. This is going to anchor your replacement warp thread to the woven cloth on your rigid-heddle loom. You can get T-pins at craft or fabric stores. When you've got a broken warp end the T-pin is your best friend. That flat perpendicular on the top of the pin is what's going to keep the pin from moving when it's placed in the cloth. If you don't have a T-pin, you can try using a straight pin but they will take a bit more effort to get them into place. Now, before you go any further, go ahead and put your rigid-heddle reed into the neutral position.
This is a T-pin--it's your best friend when fixing a broken warp end.
Step 2. Next, you'll want to measure out a replacement warp end. You don't have to be exact like you do when measuring yarn to warp your rigid-heddle loom, but you will want it to be the same size or longer than the warp left unwoven on your loom. Now look at your loom and figure out where the broken warp end came through the rigid-heddle reed. Remove any of bit of the broken warp end that might still be in that specific slot or hole and using your threading hook, pull one end of your replacement warp thread through the slot or hole.
Pull one end of your replacement warp end through the slot or hole that the broken warp end was originally in.
Step 3. Place your T-pin in the woven cloth parallel to the weft threads so the top of the "T" is roughly where the broken thread was in the warp about an inch down from the fell (the edge of the woven fabric). Attach your replacement warp thread to the top of the T-pin so the new thread lines up with the empty space in the warp left by the broken end. Some folks ask you to wrap the thread around the T part of the pin and say you shouldn't knot the yarn--but I've never had a problem with using a combination of a few wraps and a knot to keep it in place. So long as the yarn doesn't slip off you should be fine! Also, the new thread doesn't need to line up exactly, once you start weaving again it will move into position.
The T-pin is in the cloth about an inch from the fell and the replacement warp end is carefully attached to it.
Step 4. Take the other end of the replacement thread and wind it into a yarn butterfly. Attach the butterfly to some sort of weighted anchor so it easily hangs off the back of your loom. You can let the anchor hang lower than is pictured here, just make sure it isn't resting on the ground or a table/stand so that gravity can keep the tension right. My preference is to use an S-hook, shown here, but anything that will weight down the end without snapping it will work--many weavers use empty pill bottles filled with rocks or loose change to weight the warp. Depending on how delicate your warp end is will also determine how much weight you should use. Make sure if you tie the warp end into a knot that you can undo it because as you advance the warp the weight will move closer and closer to the loom and you'll need to adjust it.
The repalcement warp end is wound into a butterfly and tied onto an S-hook. The weight of the hook will keep the end tensioned. As you advance the warp you'll need to release more of the thread from the butterfly and re-tie it to your weight.
All fixed!
That's it! You can see that once a few picks are woven it looks just like new! Just remember to remove the T-pin (or, if you're like me, T-pins) from the cloth before wet-finishing and to snip off the broken end and the tail or the replacement. Quick, easy, and (unless you poked yourself with the T-pin) completely painless!
Happy Weaving!


