Hi Madelyn!
I have been intimidated by projects that require weaving weft stripes in different colors that repeat themselves regularly.
Can I carry the yarns along the selvedge in some way? Or do I have to cut each weft after I’ve used it, leaving a tail on the edge, and then begin again with the new color?
Thanks for your advice —Carol
Hi Carol!
I think that it‘s always somewhat painful to change weft colors, because the process disrupts my weaving rhythm. And if the weft stripes are very thin and the changes occur often, the overlapping tails of the new and old wefts can build up since the weft is twice as thick in those spots. For both reasons, whenever weft stripes are relatively narrow and the stripes use the same colors in a repeating order, I carry them up along the selvedges.
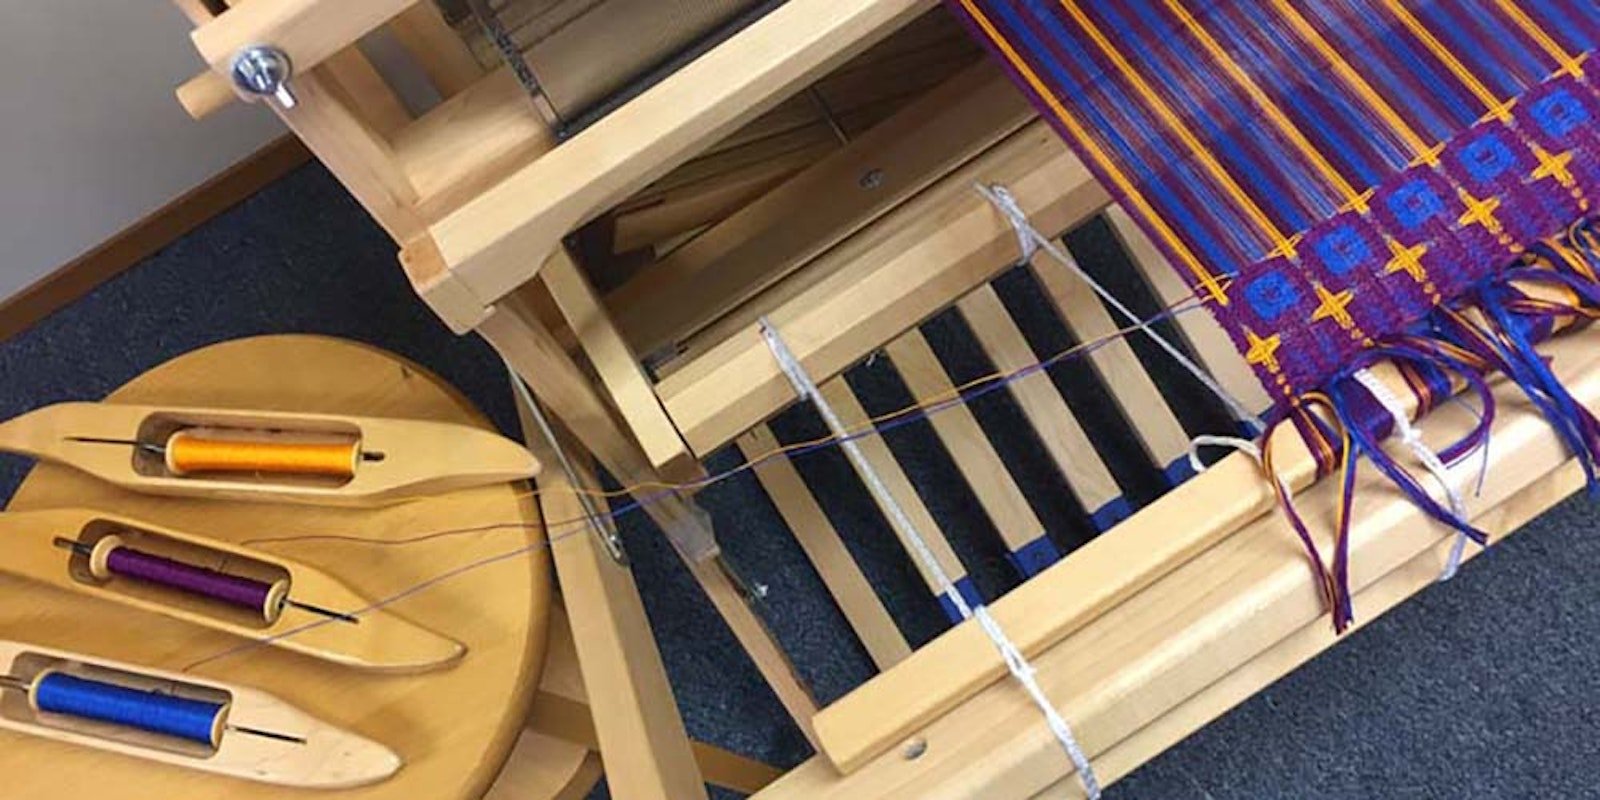
First, I place all of the shuttles on a stool to one side of the loom (see photo at top). If you‘re weaving with a more than a few weft colors, you can have another stool on the other side to carry some of the others up along the other selvedge.

Take the shuttle into the shed over the inactive wefts and floating selvedge.
Then, as I weave, I treat the inactive wefts exactly as if they were floating selvedges—for each pick, entering the shuttle over them and exiting under them (see photo above). As I take the shuttle out on the other side, I pull gently on the inactive wefts and the active weft to remove any possible weft loops (see photo below).

Pull gently on both the active and inactive wefts to eliminate any weft loops.
When the shuttle passes through the shed to come back to the side where the inactive threads are resting, I place my catching hand under them and the floating selvedge, making space for the shuttle to exit under everything (photo below).

Bring the shuttle out of the next shed under the floating selvedge and under the inactive wefts.
I then repeat the process, taking the shuttle back over the floating selvedge and inactive wefts as it enters the next shed.
This process might seem time-consuming, but your catching hand will quickly become accustomed to sliding under the inactive wefts. The only added step is pulling on them to firm the edge, but even that will become automatic. And you don’t even have to pay any attention to the order in which you place the shuttles on the stool.

The selvedge will show the inactive wefts, depending on the weave structure.
You will be able to see the inactive wefts along the selvedge (more or less, depending on the weave structure), but care in pulling the wefts as you go still produce a smooth edge—you can see an example across the top in the photo above.
—Madelyn
If you have a weaving question we would love to hear from you! Please email Madelyn!
Originally published Nov. 28, 2017; updated Sep. 23, 2024