When I see a handwoven item that has unfinished fringe, messy fringe, or fringe that doesn’t suit the rest of the design, I have a hard time admiring the rest of the piece. I believe you should put the same amount of care in twisting fringe that you put into weaving a project. That means sampling, measuring, counting, and undoing and then redoing twisted fringes that don’t suit. Start preparing for twisted fringe when calculating warp length. Continue the preparation when tying or lashing on and weaving the header. I recommend being a bit generous about the length of unwoven warp left for fringe for two reasons: mainly because you can’t make it longer if you cut it too short, but also because your warp will shrink up a bit when it comes off tension. In your calculations, remember that twisted fringe will be 25 to 40% shorter than the untwisted warp. Hemstitching on the loom before twisting fringe can make a cleaner edge but isn’t always necessary.
People ask if you should twist fringe before or after wet-finishing a piece. Either is fine, but if you wash before twisting and haven’t hemstitched, stabilize the loose ends with overhand knots tied up close to your scrap yarn header. You may also want to tie overhand knots in the warp ends so they don’t tangle in the wash water. Before hanging to dry, untie the knots, and smooth out the warp.
Sampling fringe length and thickness takes only a bit of time and is worth every minute. Before trimming your warp ends, sample with different lengths and thicknesses of fringe. There is no hard and fast rule about how long fringe should be for any project, but I tend to like long thin fringe on lightweight projects such as silk shawls and scarves because I like how it swings and hangs. I like a short thick fringe on things like blankets, runners, and rugs.
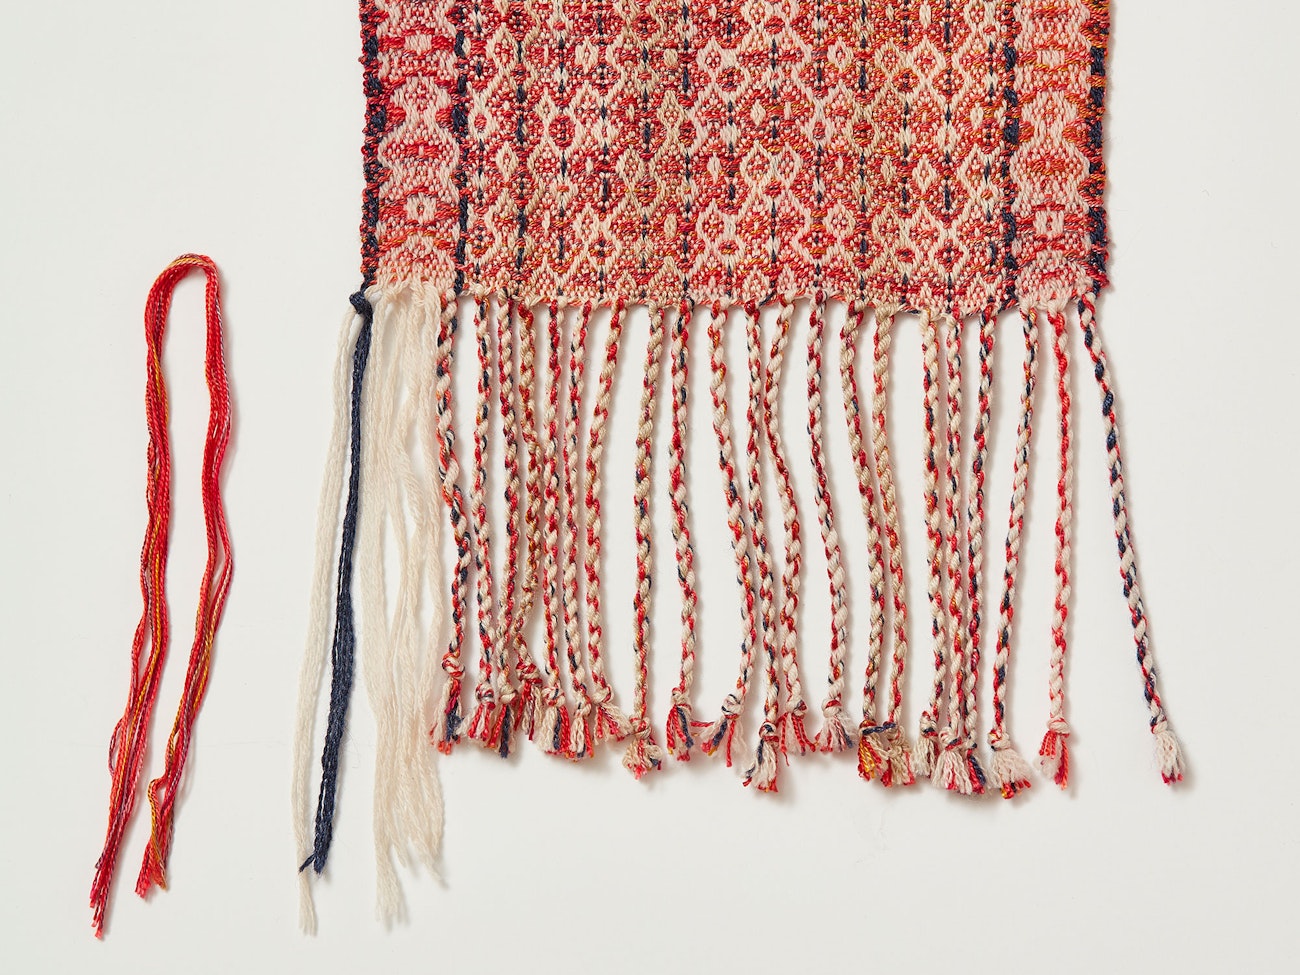
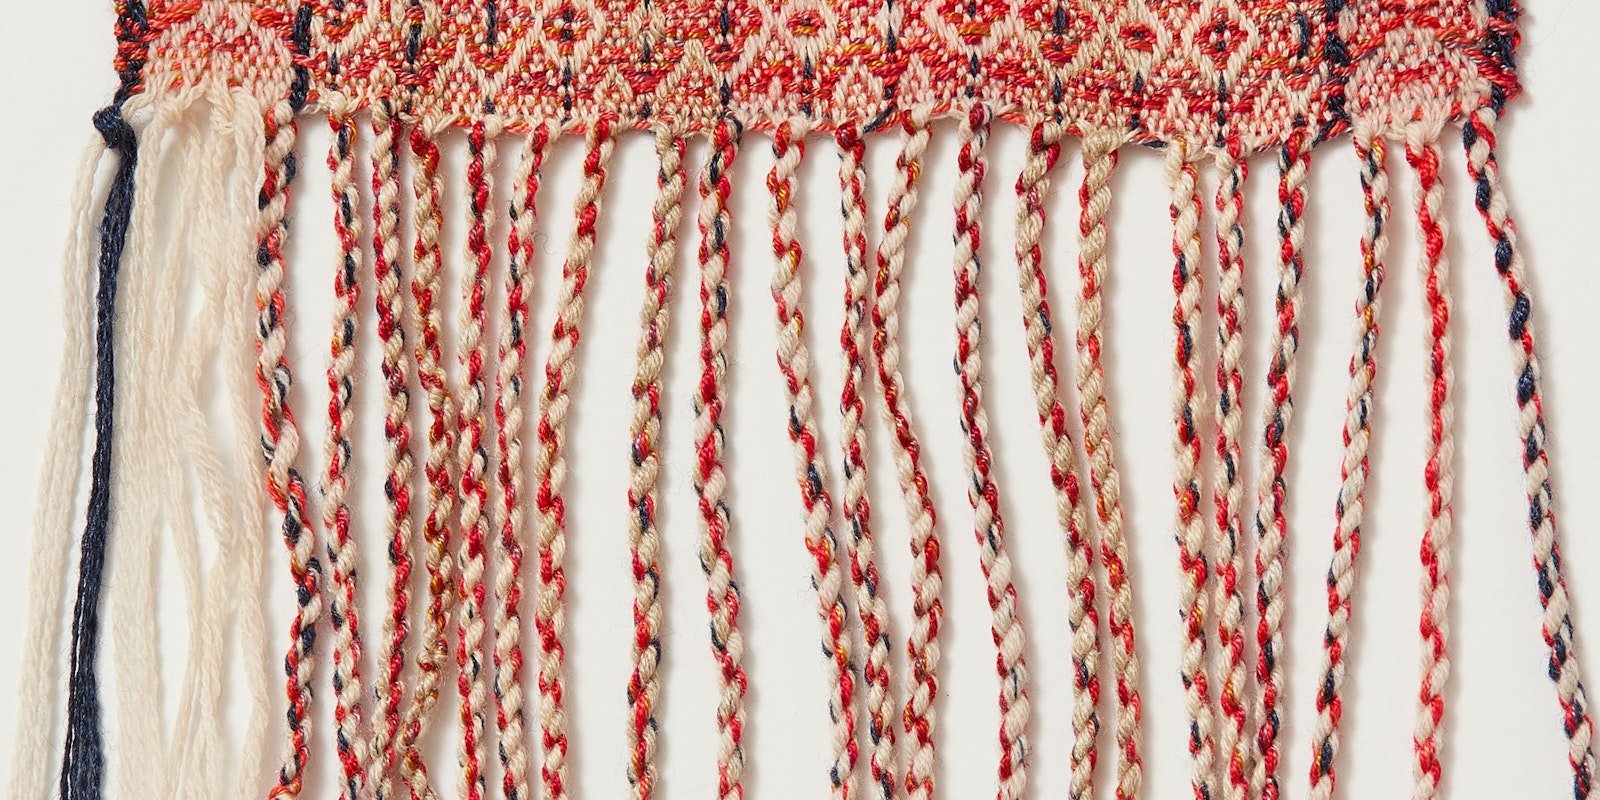
I undid a few of the fringes on this scarf to show that the fringe would be white if I hadn’t added in red weft. Photo credit: George Boe
Sometimes I add weft to my twisted fringe because I personally don’t like fringe that is a different color than the rest of a piece, which happens if the warp and weft are different colors. The other reason I add weft (or warp) to a twisted fringe is when a thin warp results in fringe that is too thin for my taste.
Here are the steps I take to make twisted fringe using a fringe twister. Twisting by hand is also possible, but a fringe twister will save you time and produce more evenly twisted fringe.
Decide whether you want to add weft. Sample as to the number of threads you want to add to each fringe bundle.
Smooth your fringe, ironing it if it is really wrinkled. Using large, sharp scissors, cut all of your ends to the same length. If you are adding weft, cut lengths of wefts twice the length of your ends.
Use small scissors to clip the scrap yarn headings at the selvedges to make them easy to pull out.
Place the item on a flat surface with a weight such as a heavy book to hold it.
Pull out enough scrap yarn to release the ends you want to twist in your first bundle, plus an extra end from the second bundle.
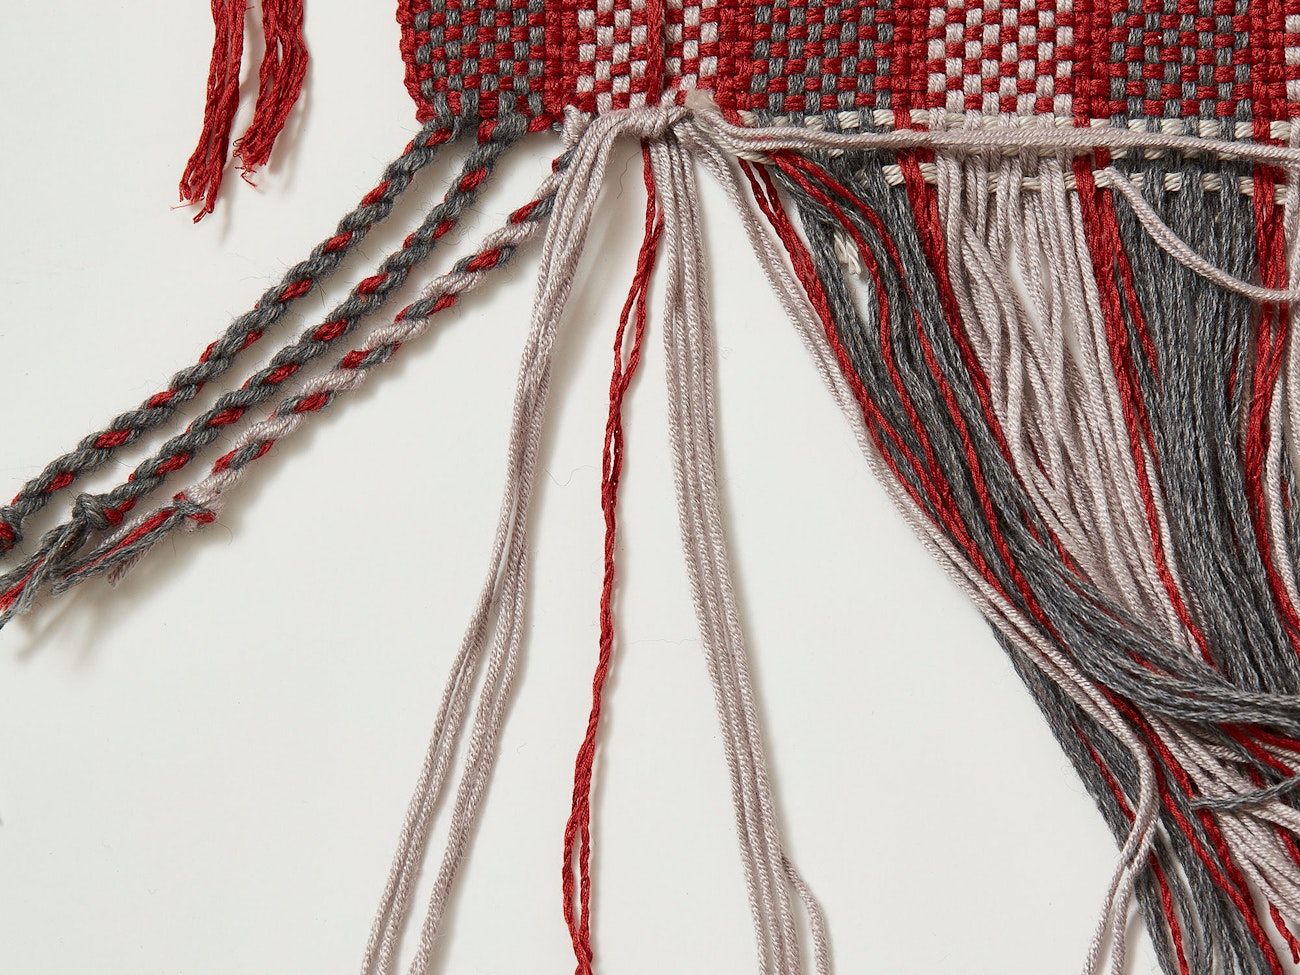
If you didn’t hemstitch, cross the extra thread you pulled out in step 5 over or under the last thread in your first bundle so that it is part of that bundle and the last thread of the first bundle becomes part of the second bundle. This creates a tighter and neater edge. If you did hemstitch, your edge will be neat, and you don’t need to cross ends from the bundles in this step or the next.
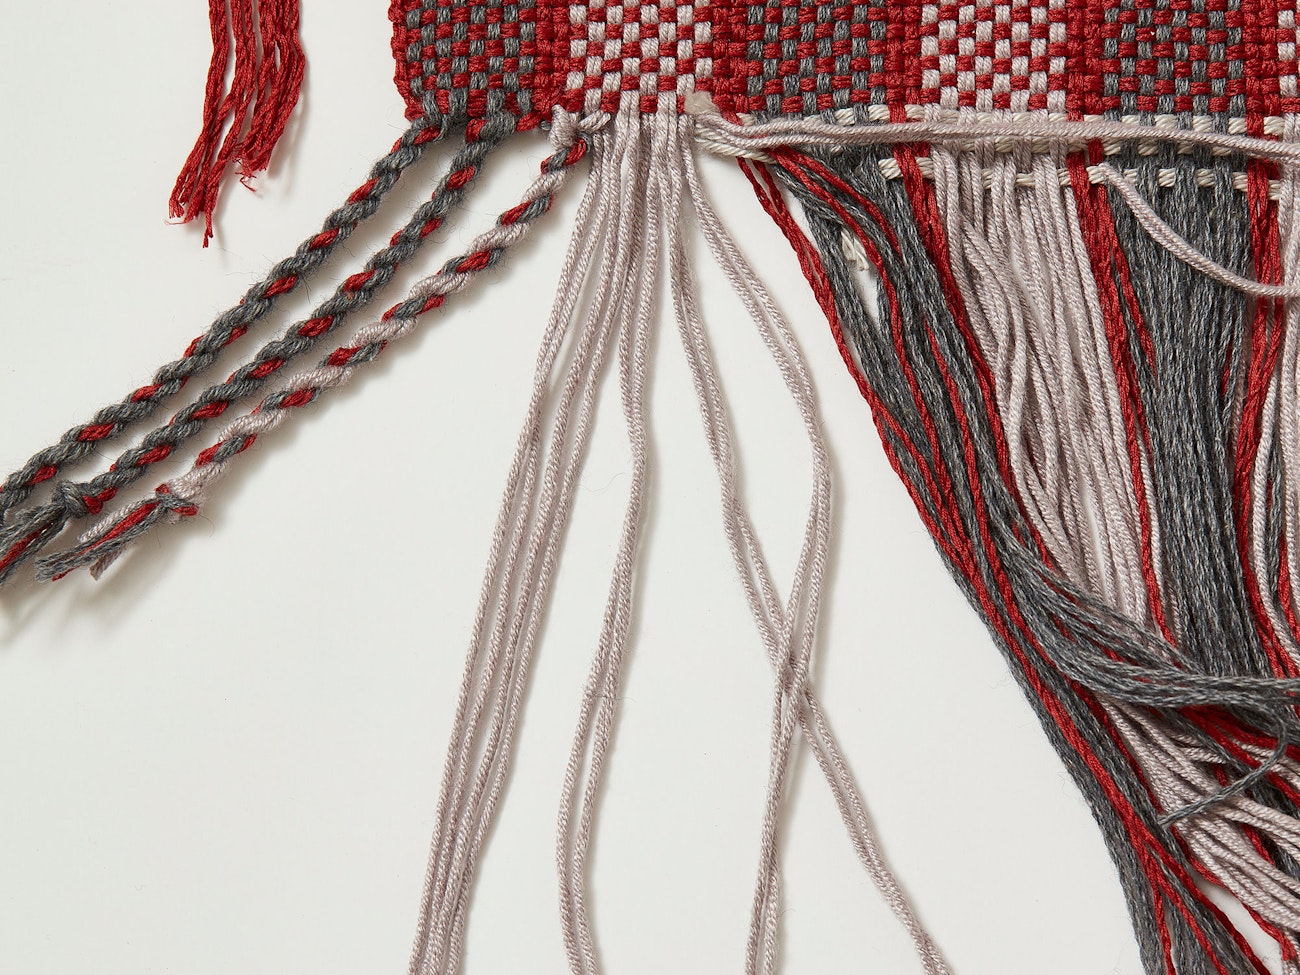
Cross the outer threads of your bundles so the edge is neater. Photo credit: George Boe
If you are adding weft, lay the cut pieces across the end between the two halves of the first bundle. Tie the weft in with the first part of a double knot, i.e., end over end, at the edge. If you are adding weft to some bundles but not all, tie the same half knot without adding the weft.
Tie added weft in with a knot at the edge. Photo credit: George Boe
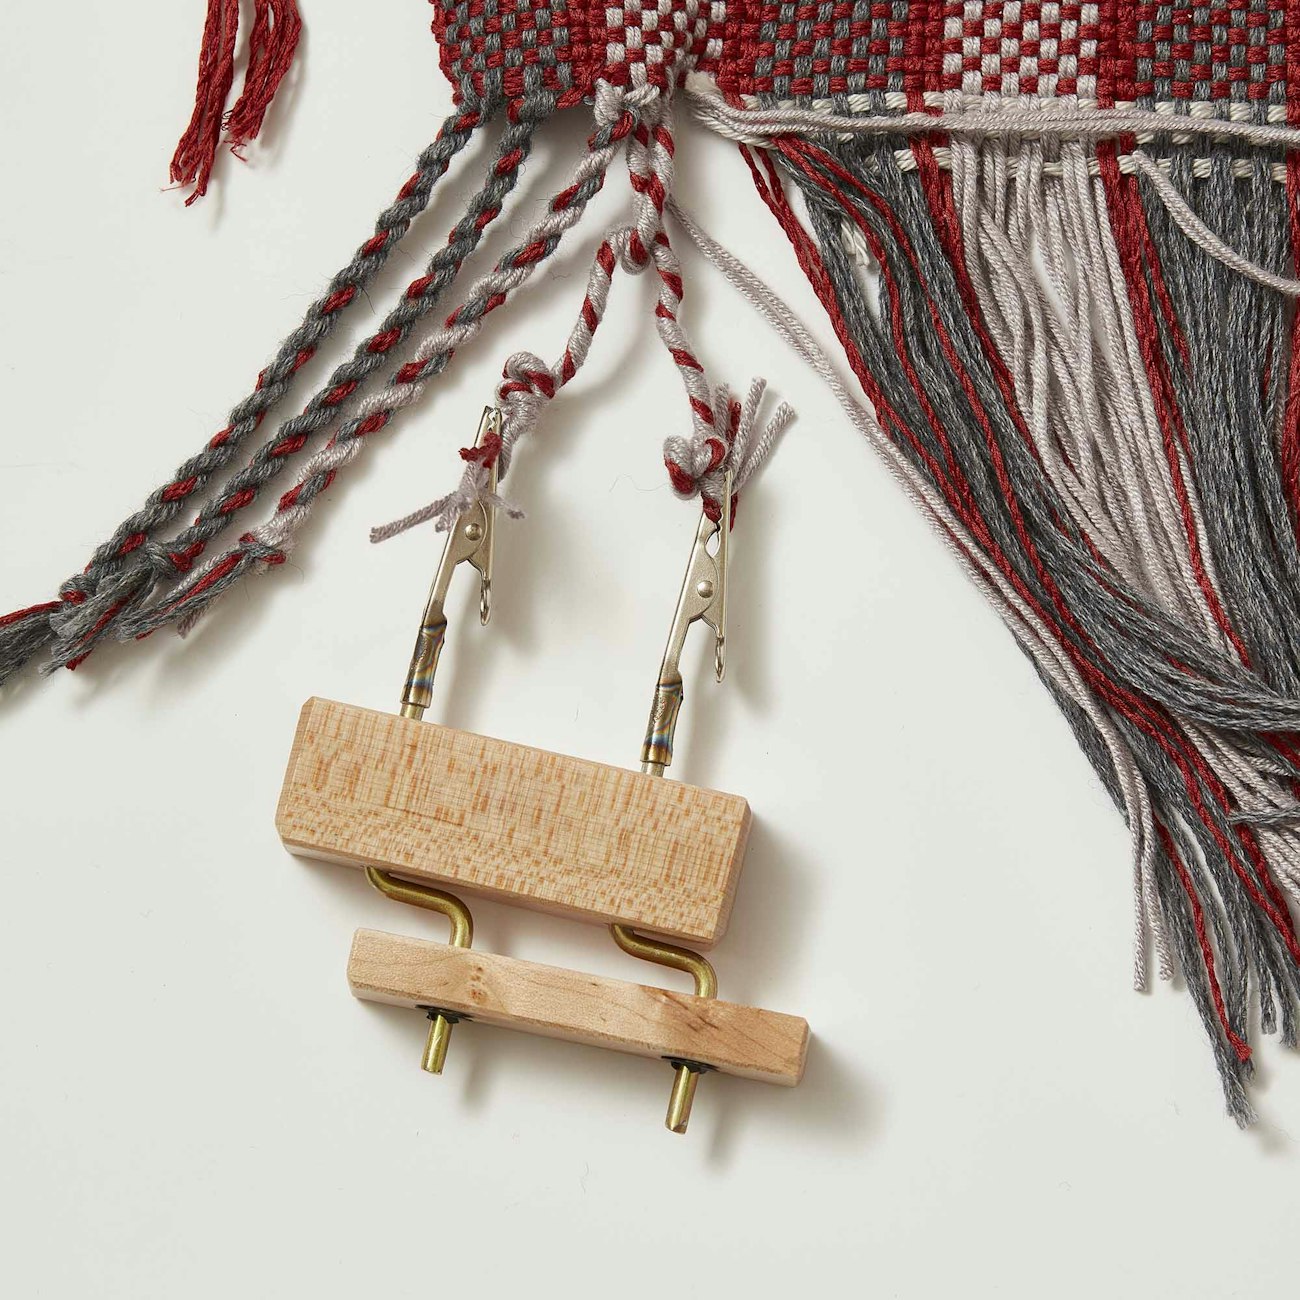
Clip half of each bundle, including the added weft if using, in a fringe twister clip at about 1 inch from the end.
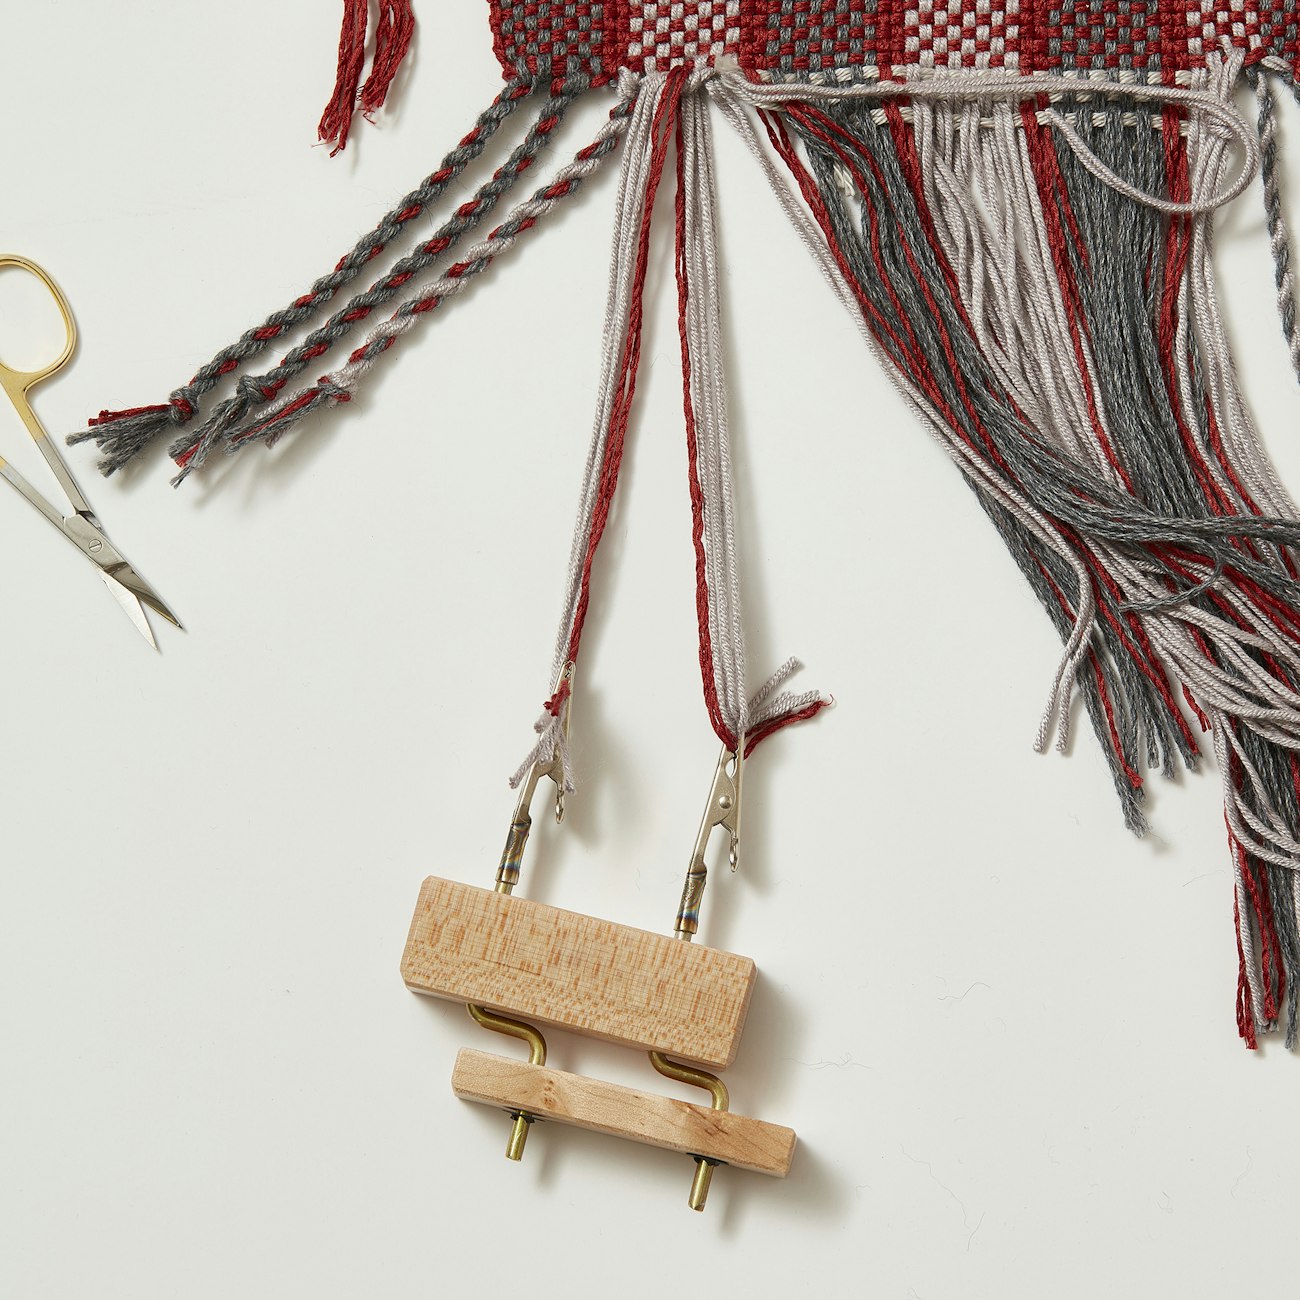
Clip half of each bundle in a fringe twister. Photo credit: George Boe
Counting twists, hold the twister in one hand, and twist with the other hand until the bundles start to kink.
Twist the warp until the bundles start to kink. George Boe
Remove the 2 bundles from the clips, and holding them tight, tie an overhand knot close to the end, and let them twist together.
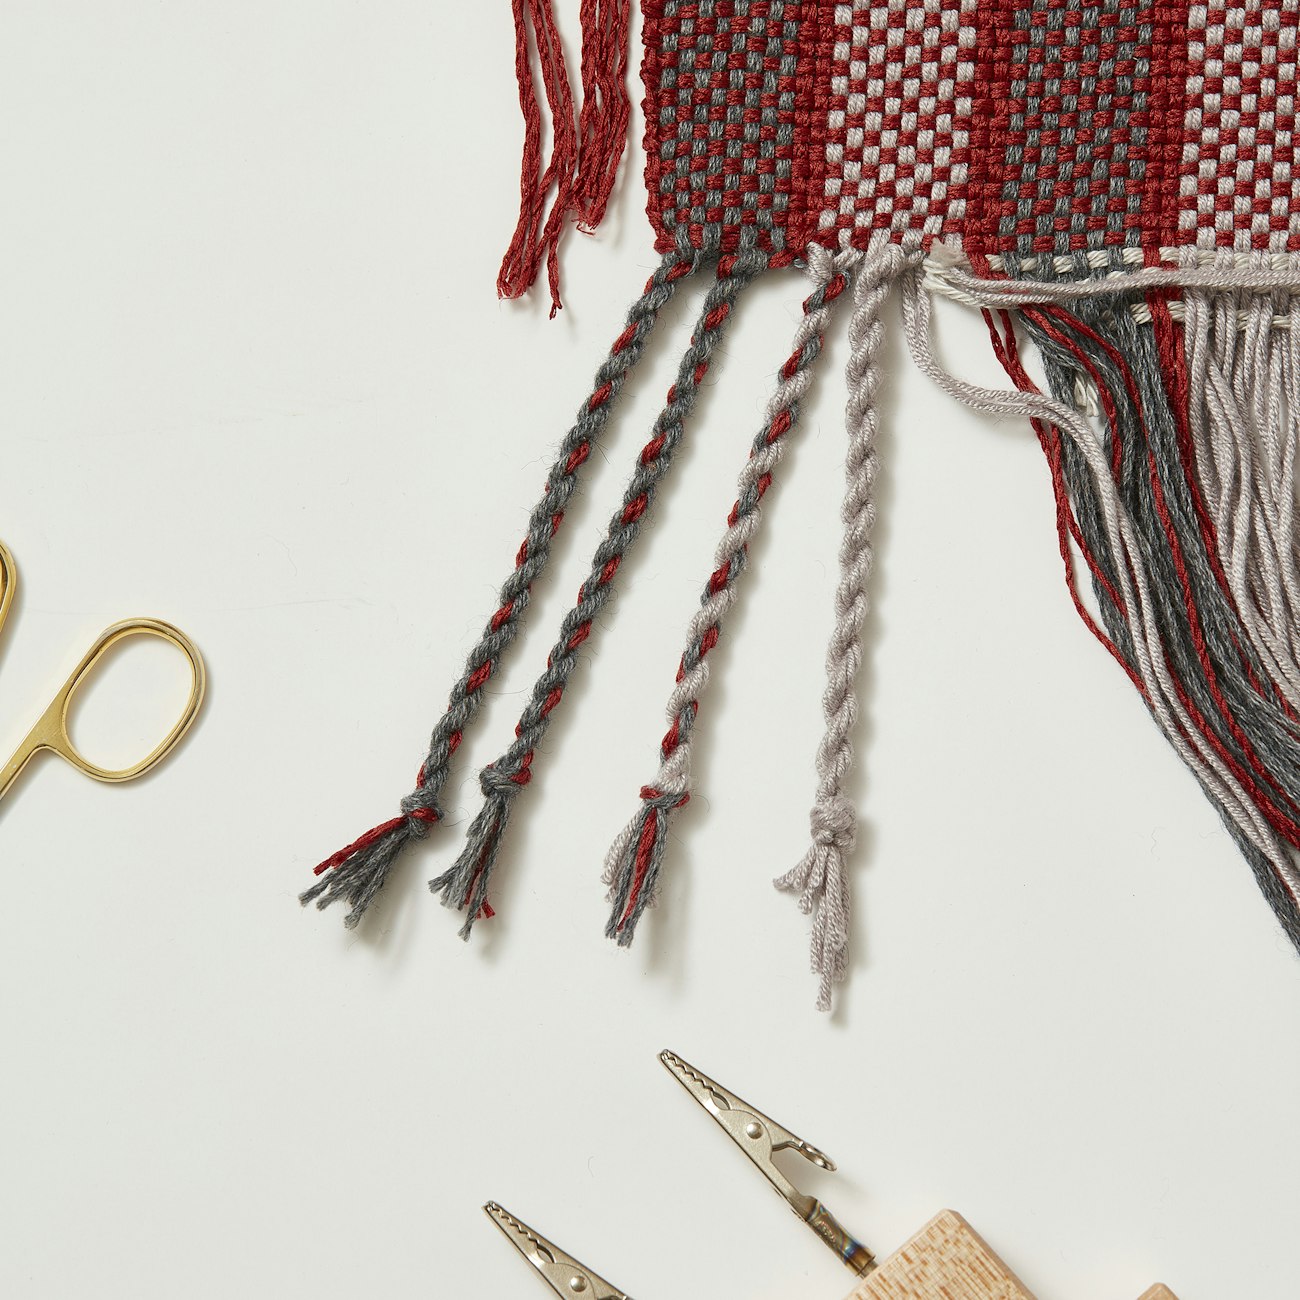
Once tied together, the bundles will twist around each other. Photo credit: George Boe
Give a slight tug to get any kinks out.
Pull some more header out, and start your next fringe, incorporating the end from the first bundle that was removed in step 5, and stealing one from next bundle in the same way.
When you have finished, adjust the knots so they are even. Trim the ends.
Finish your pieces in style and with intent, whether that means twisting fringe, hemming, or any other method. In the long run, you will be glad you did.
Weave well,
Susan
Published March 5, 2019; Revised October 14, 2022