Part 1 of this series teaches you how to plan a path on your warping board, and how and why to create a porrey cross, along with providing some general tips about winding a warp.
In this Best Practices installment, we‘ll cover a few more things you should know about winding warps: How to wind warp stripes, some tips for keeping track of how many ends you‘ve wound, and how to take your newly wound warp off the warping board without losing control of all those ends.
Striped Warps
If your draft includes stripes, you‘ll need to change yarn colors as you wind your warp. To do that, tie the last thread of the working color to either the beginning or ending peg in your warp path, depending on how many ends each stripe has. Start the next color by tying on to that same peg, and continue winding.
If the stripes all have an even number of ends and you‘ll be using a color again, you can put an inactive color “on hold.” Take the thread to the outside of the left side of the board and wrap it several times around an unused peg. When you‘re ready for the color again, simply unwrap it, bring it back up to the starting peg, and continue winding. If your stripes have odd numbers of ends, cut and tie off each color as you finish it.
Keeping Count
Whether we‘re preparing a warp or treadling a pattern, sometimes it seems like all weavers do is count! While winding a warp, you can save a bit of time and confusion with counting shortcuts.
Here‘s one—because half of your warp ends go over the first peg in your porrey cross, count the number of threads on the top of that peg and multiply it by 2. If your last warp end finished at the beginning peg, that result is the number of warp ends you‘ve already wound. If your last warp end finished at the ending peg, subtract one end from that result for the total number of warp ends wound.
Another shortcut is to loop or tie a piece of scrap yarn around groups of warp ends as you wind and count them. If you loop around the same number of ends each time (ten works well), you can count the groups and multiply by the number of ends per group to find the total number of ends you‘ve wound.
Removing the Warp
So you‘ve finished winding your warp, and double-checked the number of warp ends. Now how do you remove all those ends from the warping board without turning the whole thing into a snarled mess? The answer is ties and chains.
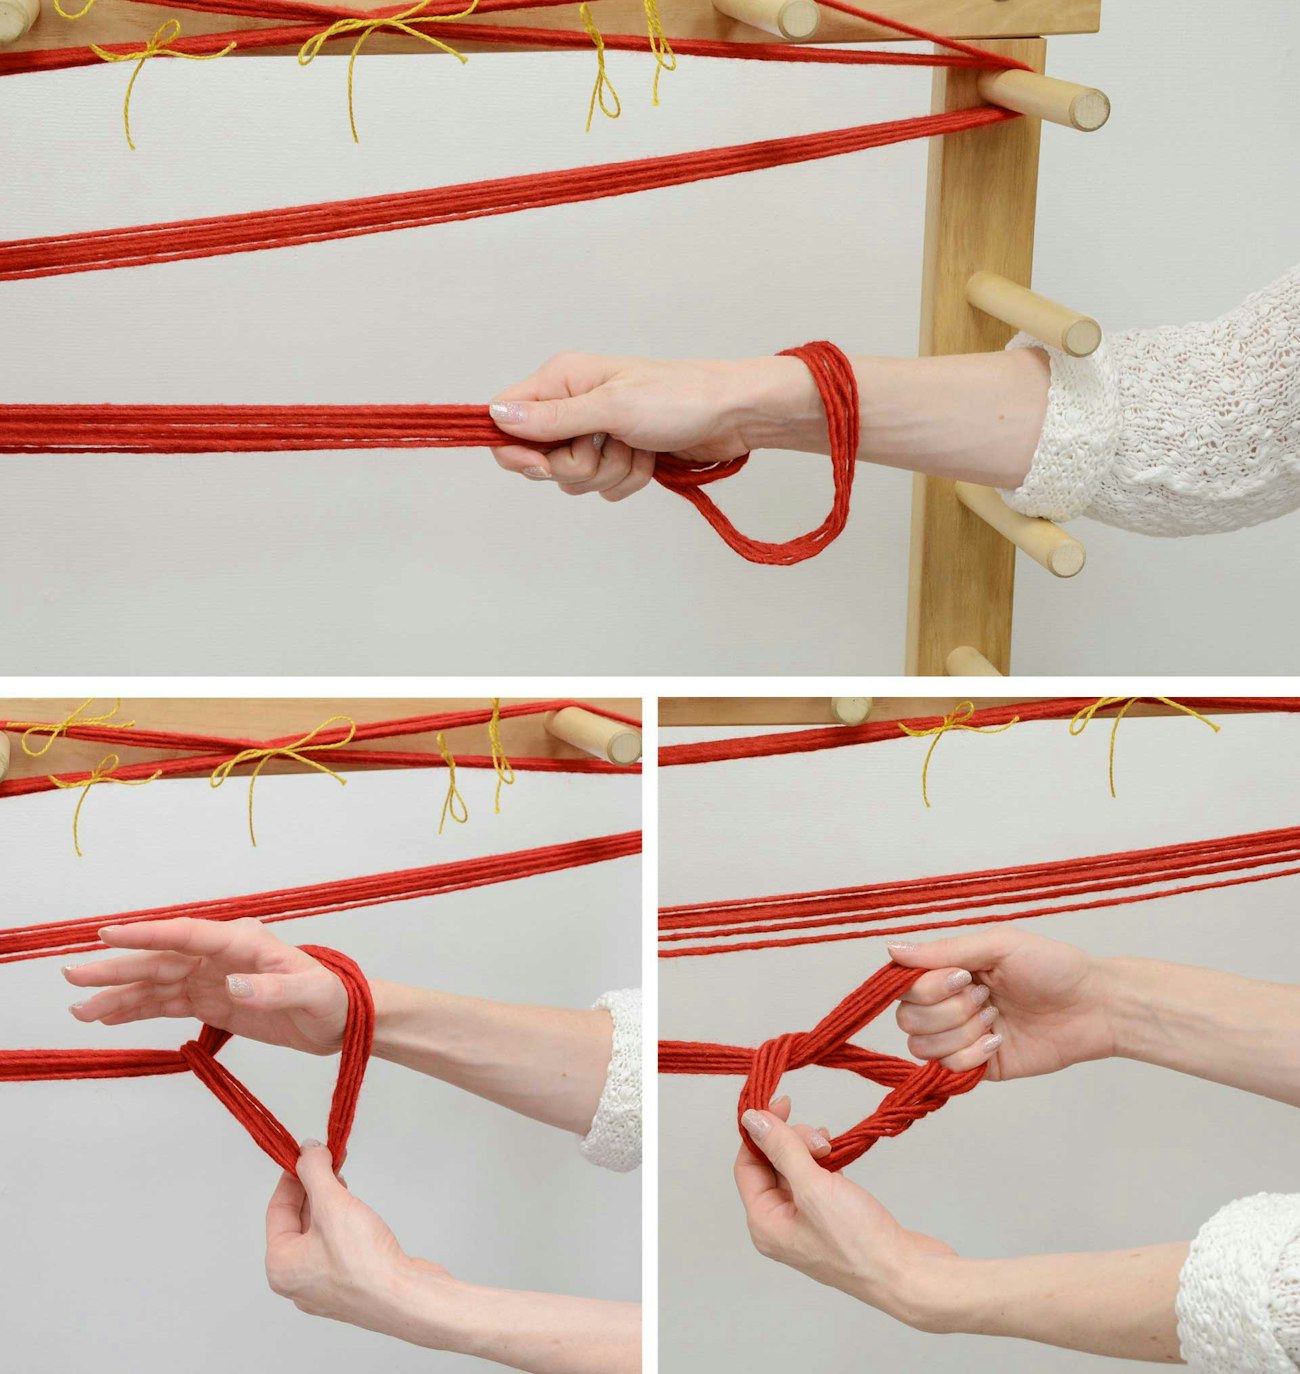
Tying: To secure the porrey cross, tie it with scrap yarn using firm bows in five places—one right around the middle of the cross, and one each on the upper and lower sections coming out of each side of the cross (see the photo of chaining a warp, below left). Don‘t use knots for these ties—you‘ll eventually want to remove them by pulling an end, rather than by using scissors (gasp!) near your newly wound warp. For extralong or slippery warps, also add firm bows at the midpoint of each yard.

Chaining the warp, beginning at the ending peg. Note the ties around the porrey cross at the lower left. Photos by Anna Hurla
Chaining: To keep your warp organized off the warping board, you’ll want to chain it as you remove it. Starting at the bottom, pull the looped threads off the ending peg while maintaining the open loop. Stick your hand through that loop and grasp the entire group of warp threads that‘s next to your hand. Pull the loop that is resting on your wrist over those threads. You‘re now holding a new loop. Push your hand through this new loop, grasp all the warp threads just beyond it, and pull them through the loop. (See photos above, beginning at the top and moving counterclockwise.) Keep a little tension on the warp as you go, so the threads don’t pop off the next peg.
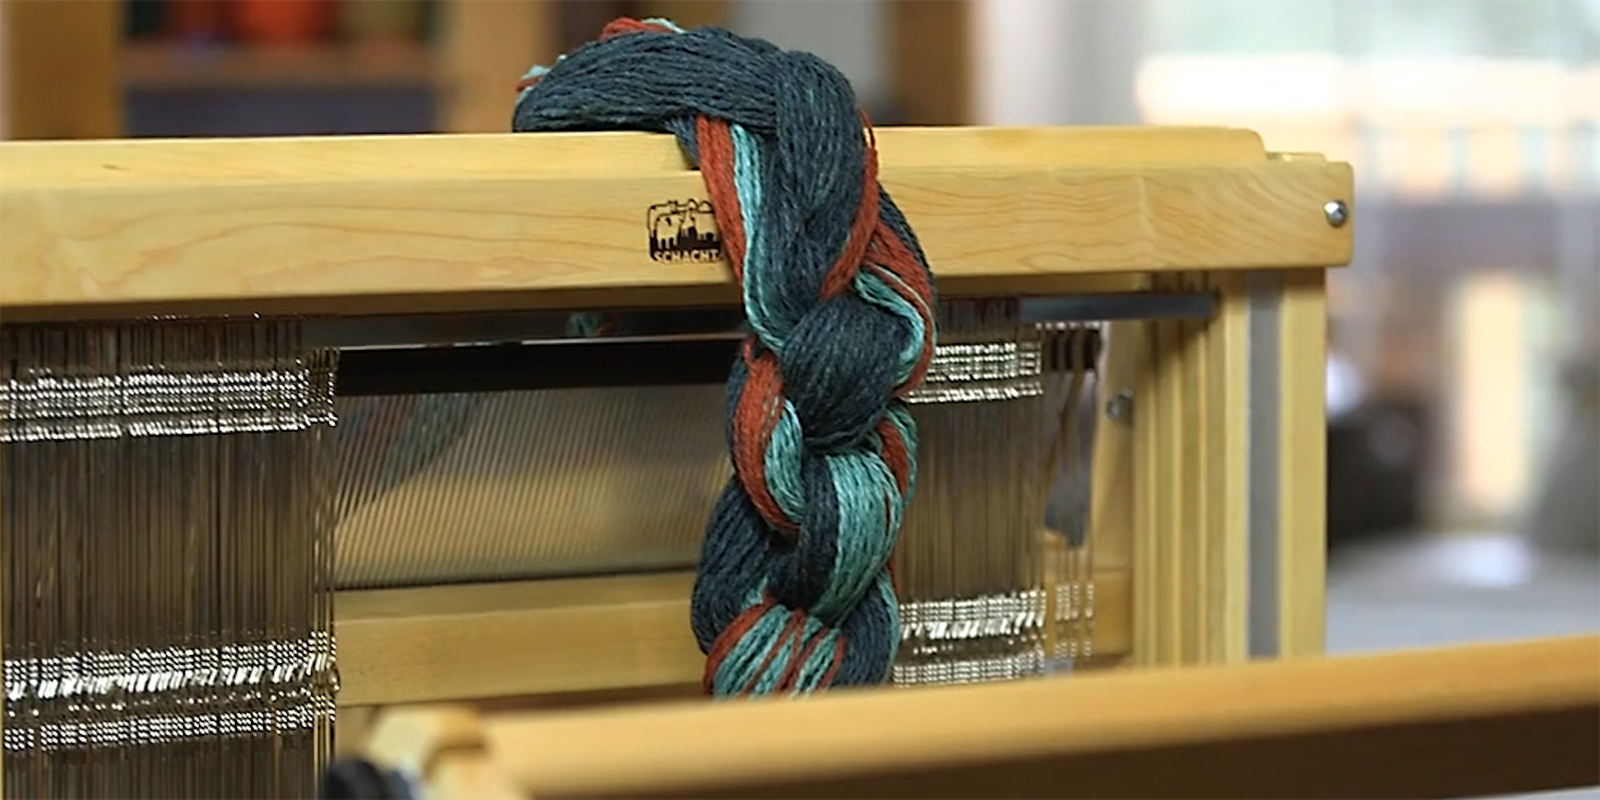
Continue chaining the warp, including the porrey cross area, until you get to the top of the board. Hang the last loop of the chain on a peg at the top of the warping board to hold it while you pull the threads off the starting peg. You can cut the loops that were on the starting peg by sliding them onto a pair of scissors, or wait to do that until you‘re ready to start sleying.
Warp Winding Tips
1: When winding an extra-wide warp, don’t wrap threads on top of other threads—instead, make multiple narrower warp chains and number them so you put them on the loom in the right order. As you finish up each warp section and tie a bow around your porrey cross, add an extra bow to indicate the last warp end of that chain. Orient the bows on the same side of the chains when you assemble them at the loom.
2: When you come across a knot or reach the end of a cone or skein, wind the yarn back to the closest starting or ending peg, and tie it off on that peg. If there is a knot, discard the section of yarn leading up to it. Then tie on the new end at the same peg and continue winding.
3: Watch out for accidentally winding warp threads that turn back before completing their full path. If you find any of these short threads, unwind them back to the starting peg and rewind following the correct path. If the problem area is a ways back and you don’t want to unwind all the way back to it, mark the short ends with a piece of scrap yarn, then simply wind on two additional threads of the appropriate color to serve as replacements. If the warp is striped, you can move the new ends to their proper place when you sley the reed. And whatever the color of any short ends, as you sley the reed you should set them aside to be discarded.
MORE: For a print-friendly version of this information, check out the Best Practices eBook. You'll learn next steps as well—including threading and sleying, winding on, interpreting drafts, and fixing mistakes.
SUSAN BATEMAN, weaver and teacher, started Yarn Barn 50 years ago. Her hobbies include weaving, working on the farm, volleyball, and bridge.
MELISSA PARSONS has been weaving since 1988. She started working with Susan Bateman at the Yarn Barn in 1992.

