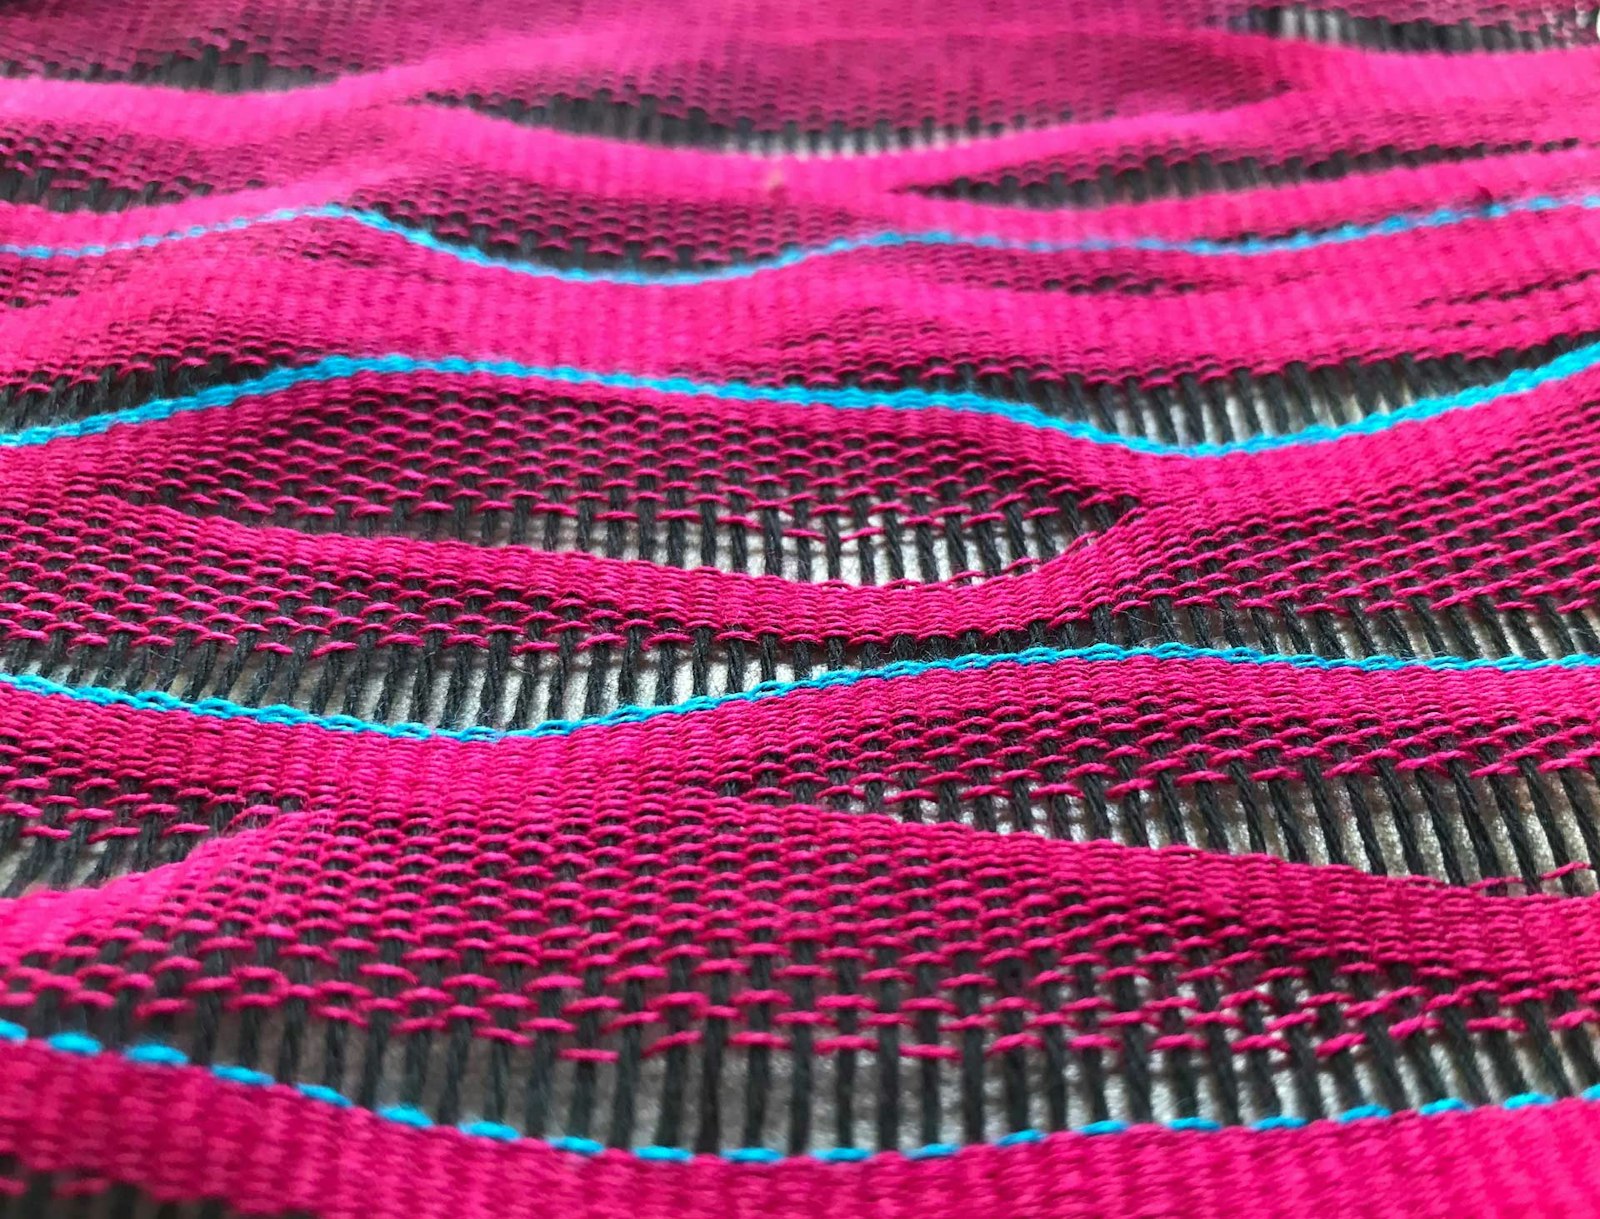
Here is an article by Kaz Madigan from Handwoven November/December 2020 describing how she uses a wave stick to add curves to her weaving. Give it a try! -Susan
At some point, many weavers discover they want a diversion from the natural grid-like, angled structure of the woven textile. There is something rebellious yet enchanting about introducing curves in weaving.
Weavers have several methods available to distort warp and weft. Fans, combs, and rail reeds all bend the warp, and there are even curved reeds that bend the weft. Each tool or technique has pros and cons depending on the effect you are seeking, but the one I like is the wave stick.
A wave stick is an easy and accessible tool for bending the weft. It acts like a weaving sword while you work, providing pressure on the weft placement in the shed and producing undulating curves in the fabric. Finished cloth woven with a wave stick is a combination of open and dense weaves, and the result is fabric that is light and airy. I find that the wefts don’t move much in the finishing process because the curves are locked in by heavy compression.
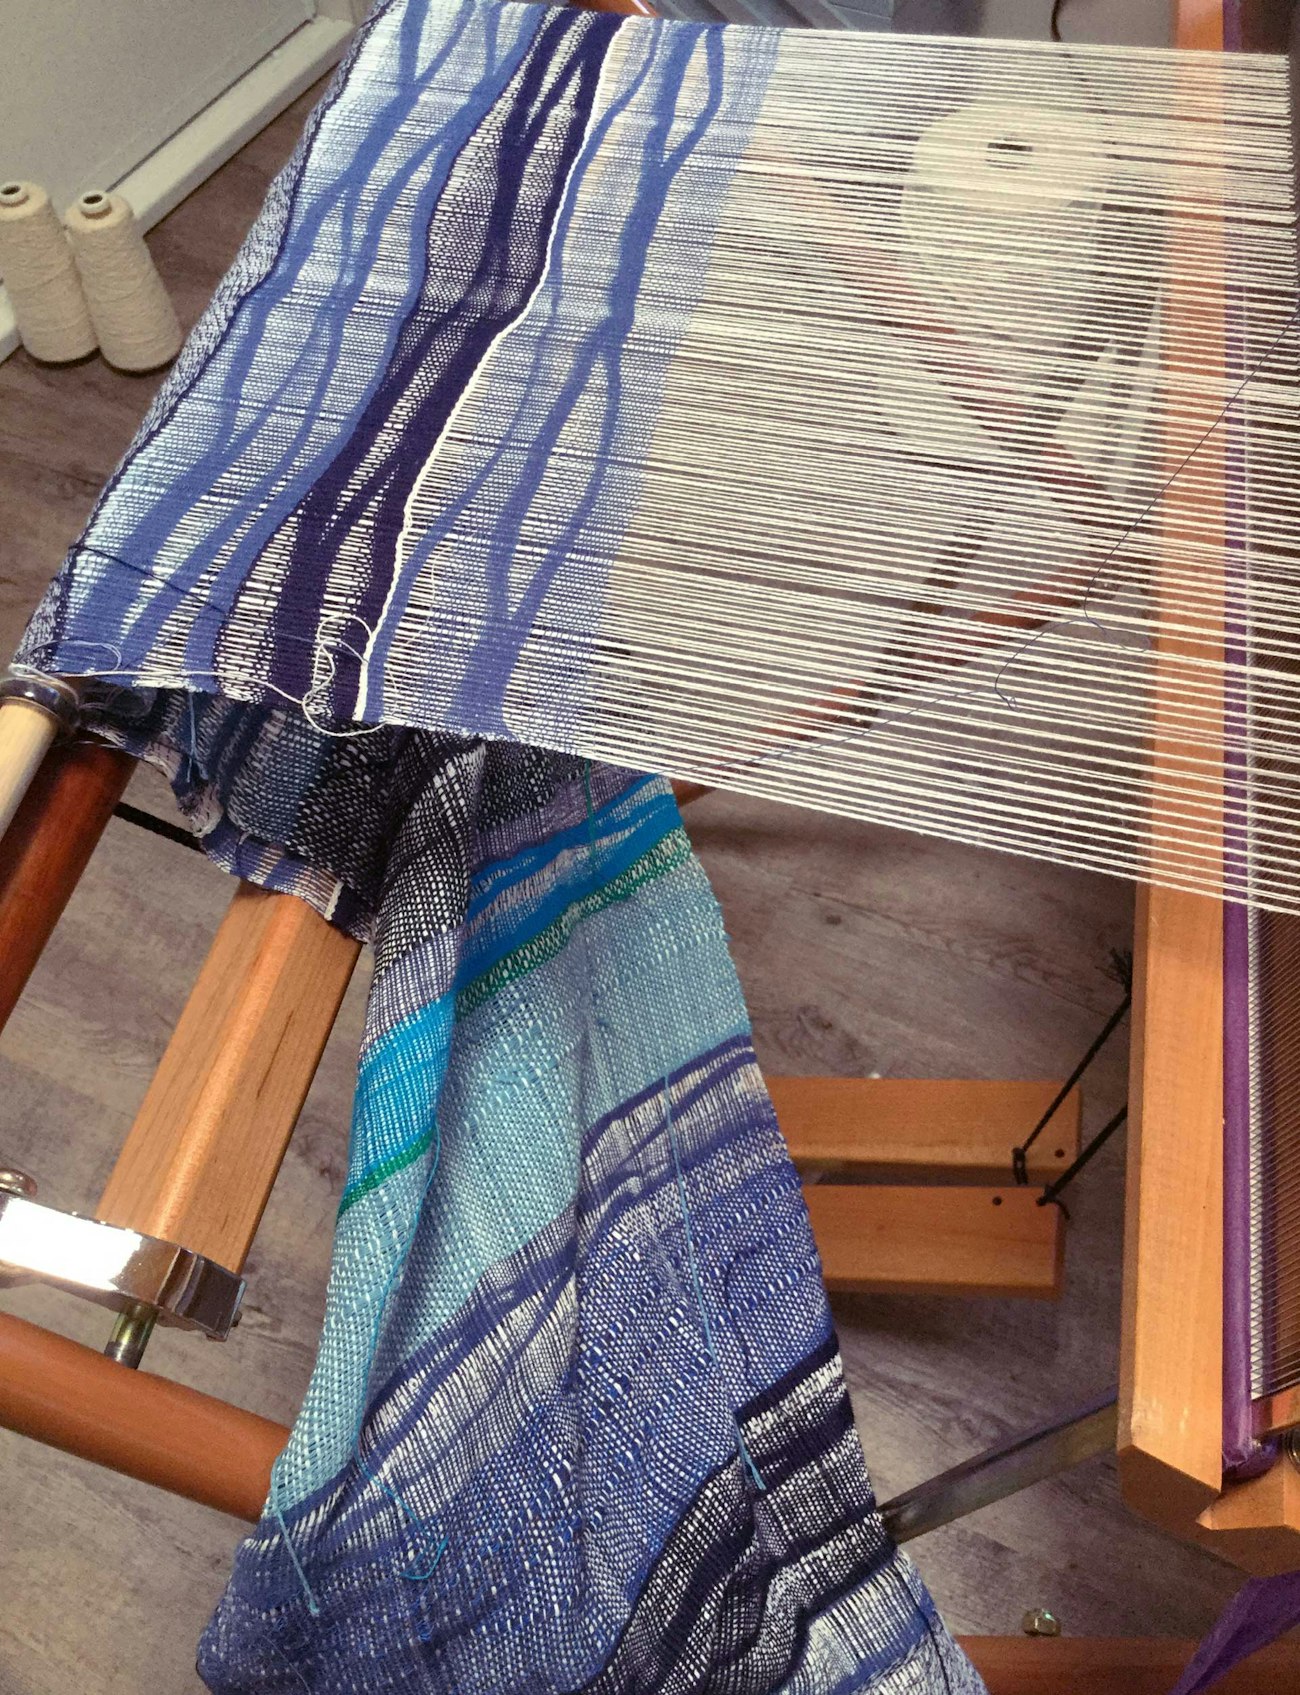
Curve placement with the wave stick on a white cotton warp with irregular dent cramming and spacing.
The Wave Tool
For someone handy with woodworking, this tool is easy to make. It is best made from wood or another hard material, such as plastic. Wooden tools should be sanded smooth and need a good beveled edge to provide a sharp line as you create the curves in the weft. The profile of the curves can vary; they can be derived freehand or mathematically determined. I have different wave sticks for different weaving widths and find that a narrower weaving width needs curves that are shorter and closer together than a wider width. Wave shuttles available from Majacraft, Ashford, and independent artisans such as Handywoman could also be used for this technique in conjunction with a standard straight shuttle.
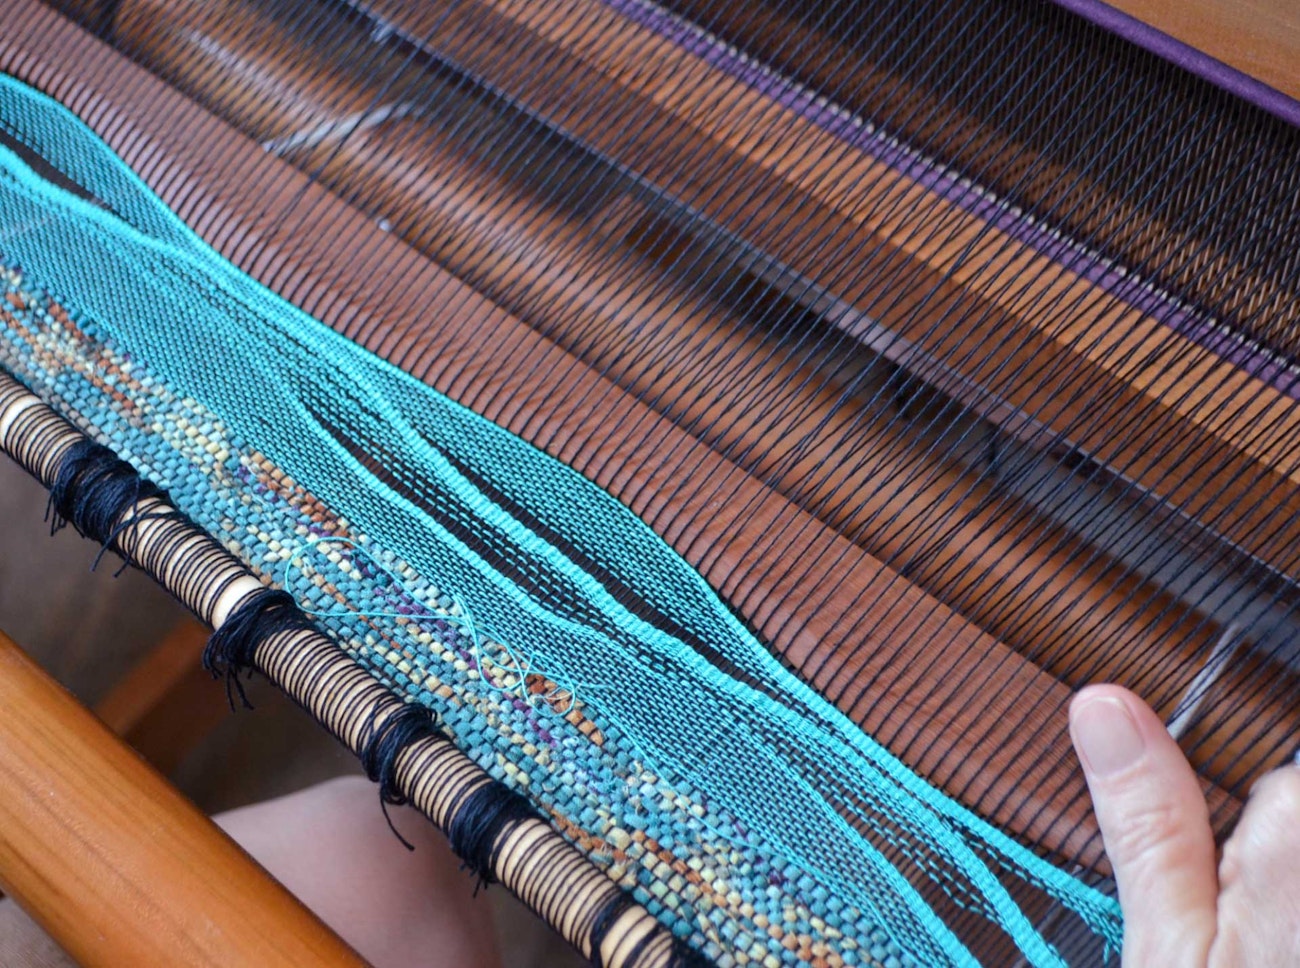
Placing the wave stick and using pressure to compress the wefts.
Setting Up For Weaving
Wave weaving can be incorporated into many weave structures, although I find that plain weave is a good choice because the curves don’t have to compete with a weave structure. For me, more important considerations are the sett and the yarn type. The sett should be more open than for a balanced weave. For example, I often use 10/2 cotton sett at 12 ends per inch with a 20/2 cotton or finer weft. The weft yarn should be smooth and have some slip in it so that the curved stick will be able to compress curved areas into a weft-dominant cloth. For the greatest impact, select fine, smooth, and even slippery yarns, such as pearl cotton, silk, Tencel, rayon, or linen. Wool or textured yarns fight back when shaping the curves and don’t tend to work as well. A wave stick can be used with most looms. Any floor loom and most table looms are suitable, and even a frame loom could be used. The tension should be taut but capable of withstanding some added pressure when you are manipulating the wave stick. Having treadles on the loom that allow you to quickly change the shed helps to provide some “grab” for the delineation of the wave line and setting the curve. If you are weaving plain weave, tie the two treadles next to each other. This keeps your treadling simple.
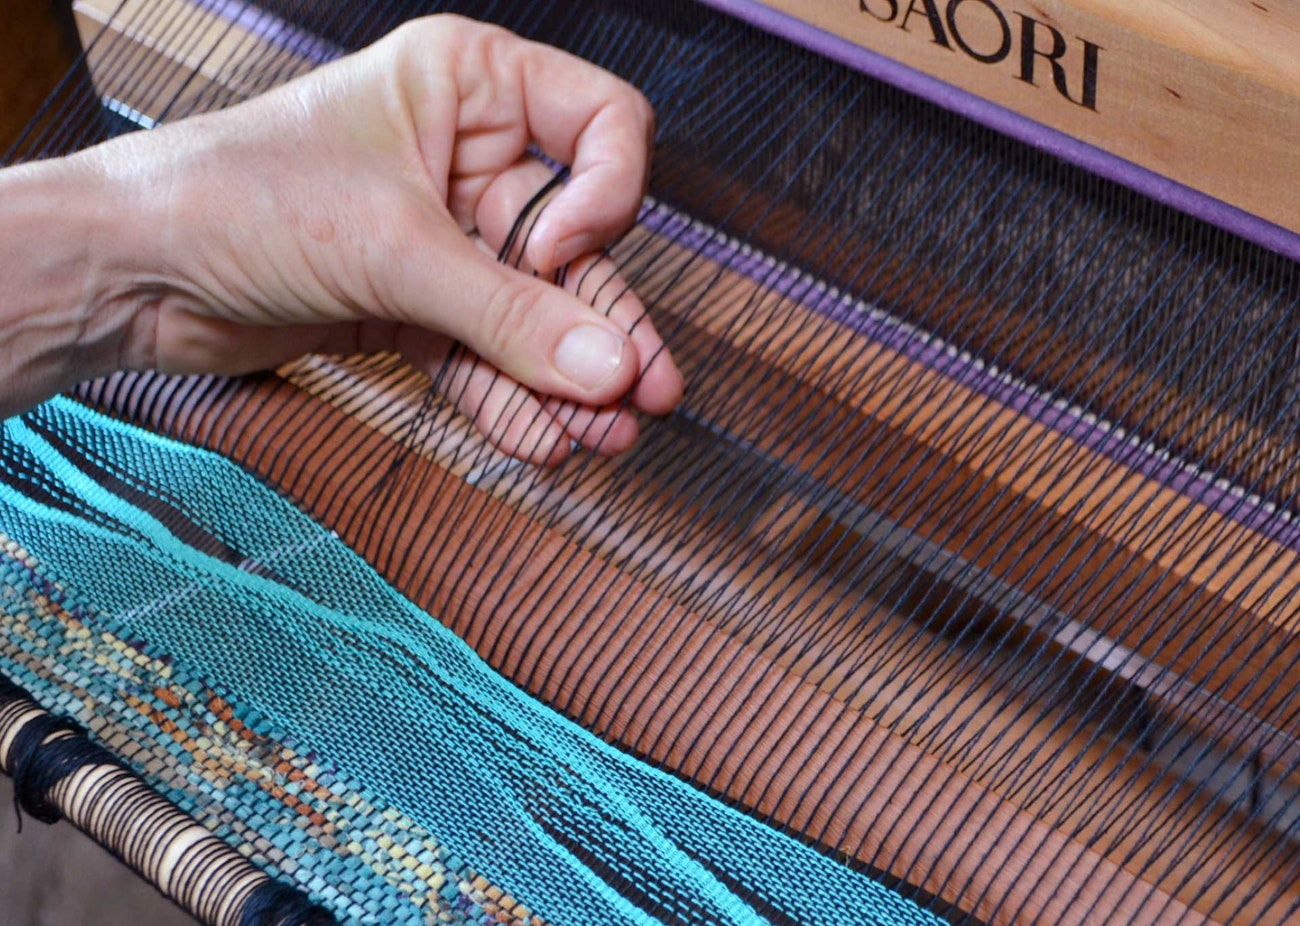
Pulling on the warp ends promotes the shaping of the curve.
Using a Wave Stick
Weaving with a wave stick is weft-dominant, requiring a lot of picks and consequently lots of weaving time. Begin by weaving straight for at least an inch to create a base before starting the curves. Weave in the normal manner, beating lightly.
After the last pick of straight weaving, change the shed. Insert the wave stick in the shed with a pleasing placement of the curves along the width of the cloth. The placement is entirely up to you. It doesn’t really matter which curve goes where, especially on the first pick. 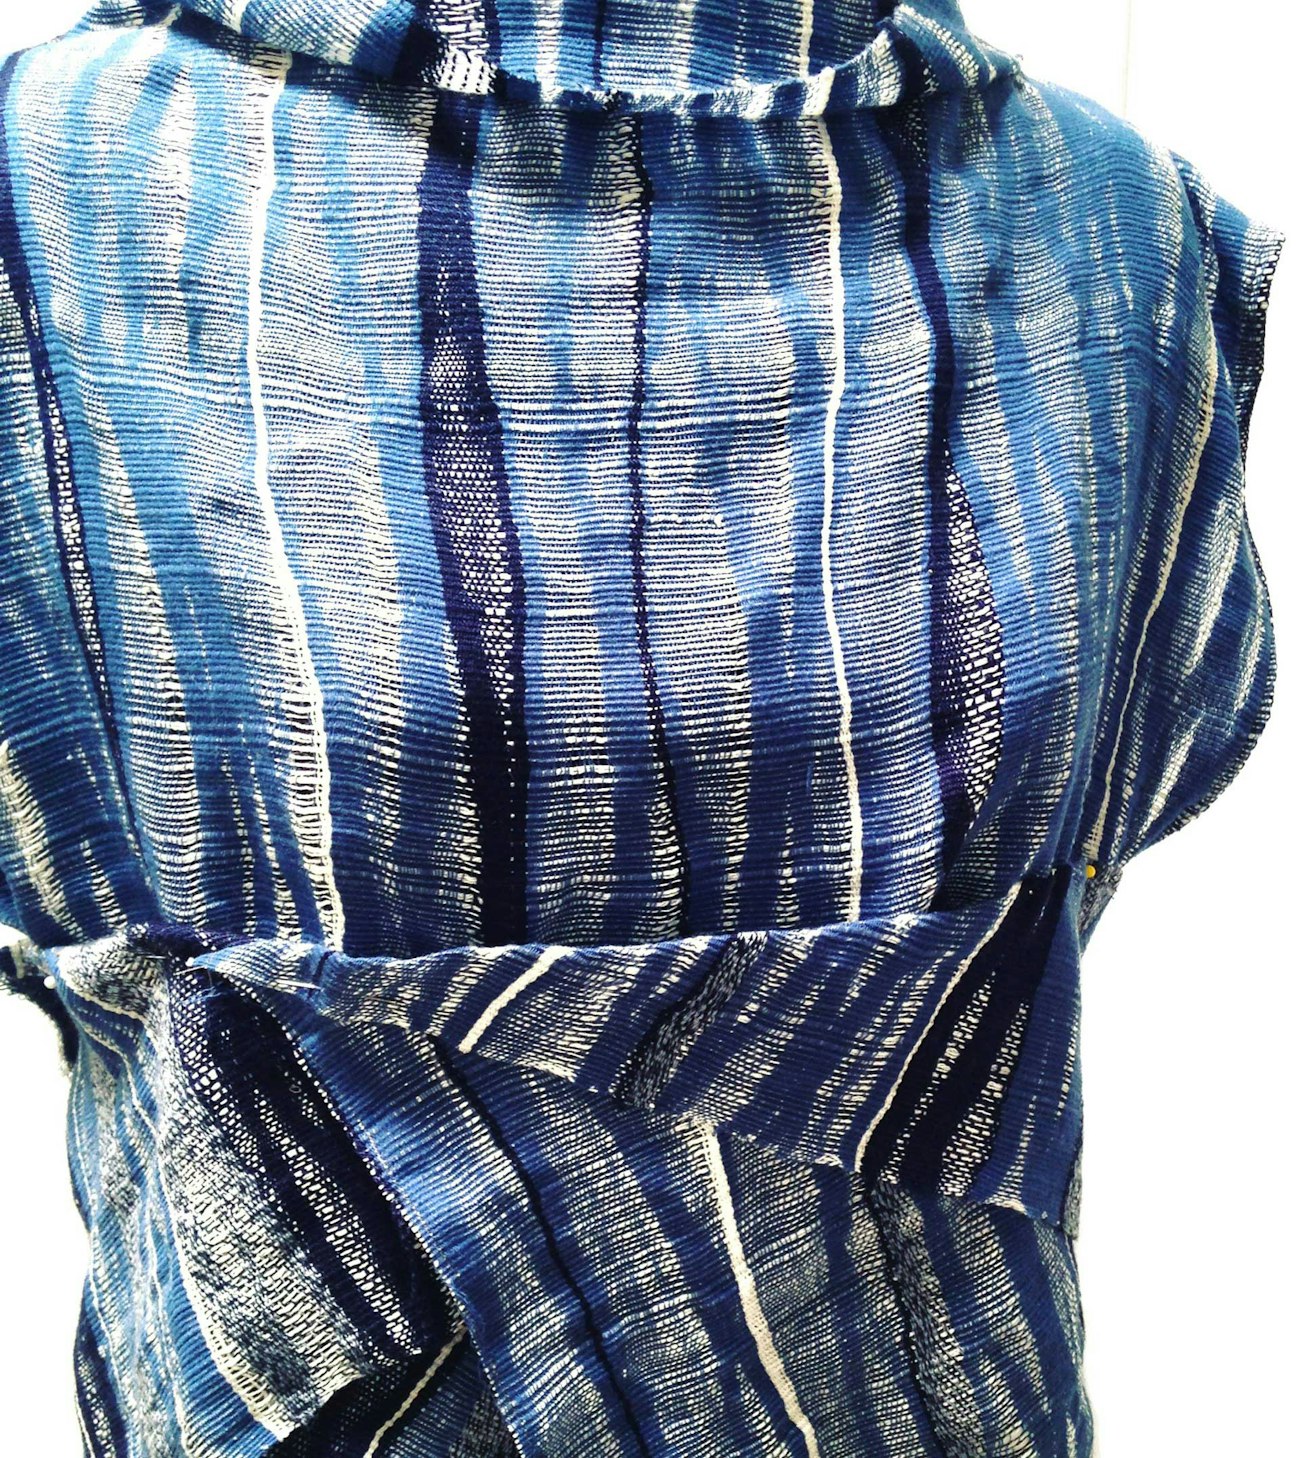
Cotton garment woven with a wave stick.
Grab the wave stick at both ends and exert firm pressure against the fell of the cloth until you see the weft collapsing into curves along the profile of the stick. Keep the position you have chosen and refrain from removing the stick from the shed until the effect you are looking for is achieved. I use the two plain-weave treadles to shuffle quickly between the plain-weave sheds as this helps to set the curve.
Pull on the warp ends with your fingers to further set the curve when you see warp ends popping out of the weave where you don’t want them. Pull the ends toward the reed, making the weft sink sharply into the shape. The wave stick should firmly compress the weft as you do this.
When you are happy with the delineation of the curve, pull the stick out and start weaving again in the normal way, using the beater to lightly beat each row into place.
After about another inch of straight weaving, use the wave stick again but consider placing it in another position so the curves look irregular and spontaneous. Continue to weave in this manner, adding curves as you desire with straight weaving in between.
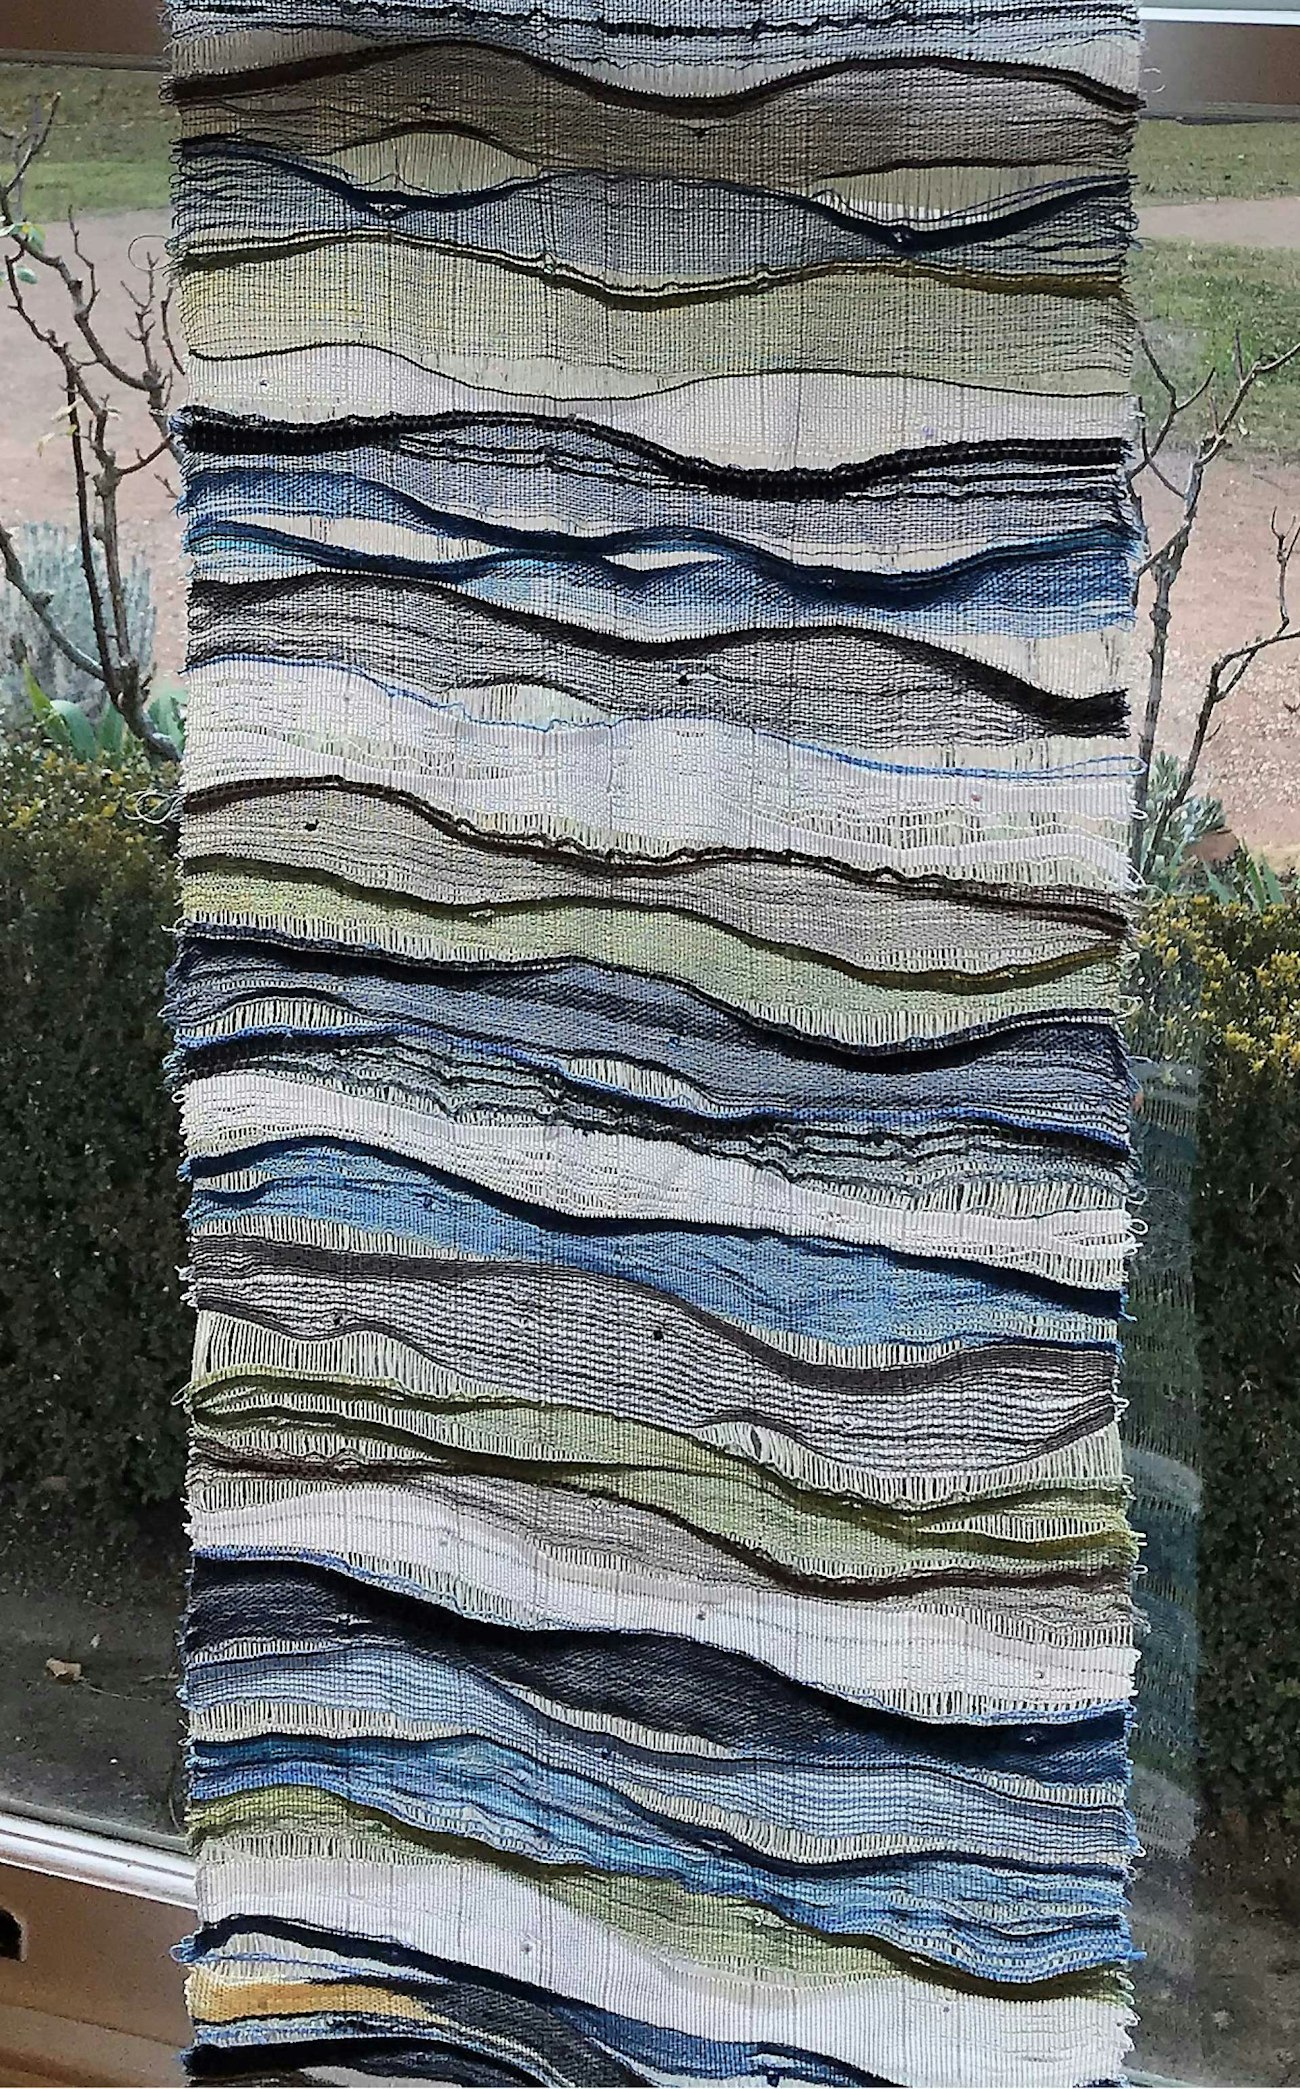
Transparency by Daisy Benjamin woven with a wave stick.
Your selvedges will tend to pull in with this technique. Adjust for pull-in by adding slightly more ease to each pick. I like my edges to look irregular, but if you prefer straighter selvedges, try using a temple.
Although the results of this deceptively easy technique are impressive, there are things you can do to change it up even further. Crammed and spaced dents add another element to the fabric, as does delineating the curve by using a different color or contrasting weft on the last one or two picks before you use the wave stick. Hand-manipulation techniques such as inlay in small amounts or building up areas of short rows will add color pops or variation in density to the fabric. The choice is yours. Grab a wave stick and get started!

