The first time I learned about the Fibonacci sequence was in my fifth grade math class and I’m involved a story about rabbits and reproduction. I remember thinking the sequence was interesting, but ultimately useless because I personally was not planning on breeding rabbits. Later, the term came up again during an art appreciation class I took in college. Certain works of art, from paintings to sculptures and all that lies between, would sometimes use the sequence to determine ratios and proportions. Again, this was interesting, but not more than a bit of Jeopardy trivia.
Then I started weaving and designing. At first I preferred symmetry, but after a while I found this to be a bit boring. So then I remembered my old friend Fibonacci and began using his sequence to help me design stripes with different width and design projects that were asymmetrical without being messy looking. At first I was a bit intimidated, but then I realized it was easy! And my stripes did look better when I used the sequence as my guide instead of randomly choosing numbers.
So here’s a little “how to” on the Fibonacci sequence and how you can use it in your designs!
What is it?
The Fibonacci sequence, also known as the Fibonacci numbers, starts with 1. The rest of the sequence is determined by adding up the two numbers previous. So after 1 comes 1 again because 1 plus nothing is 1. Next is 2, then 3, then 5, and so on into infinity. It’s possible to go into great details about the numbers, the golden ratio, and where you can find all this in nature from nautilus shells to flowers, but that’s a whole other story. For our purposes what you’ll want to know is that when you use this sequence to help you design it will create patterning that looks more “natural” and pleasing to the eye.
How do I use it?
Most commonly when it comes to weaving you’ll see these numbers used to design stripes in either the warp or the weft. In these cases the numbers can represent number of picks, treadling or threading repeats (depending on if the stripes are in warp or weft), or a set measurement, i.e. 1=1/2”. It’s up to you as to what unit of measurement to use—just make sure to be consistent.
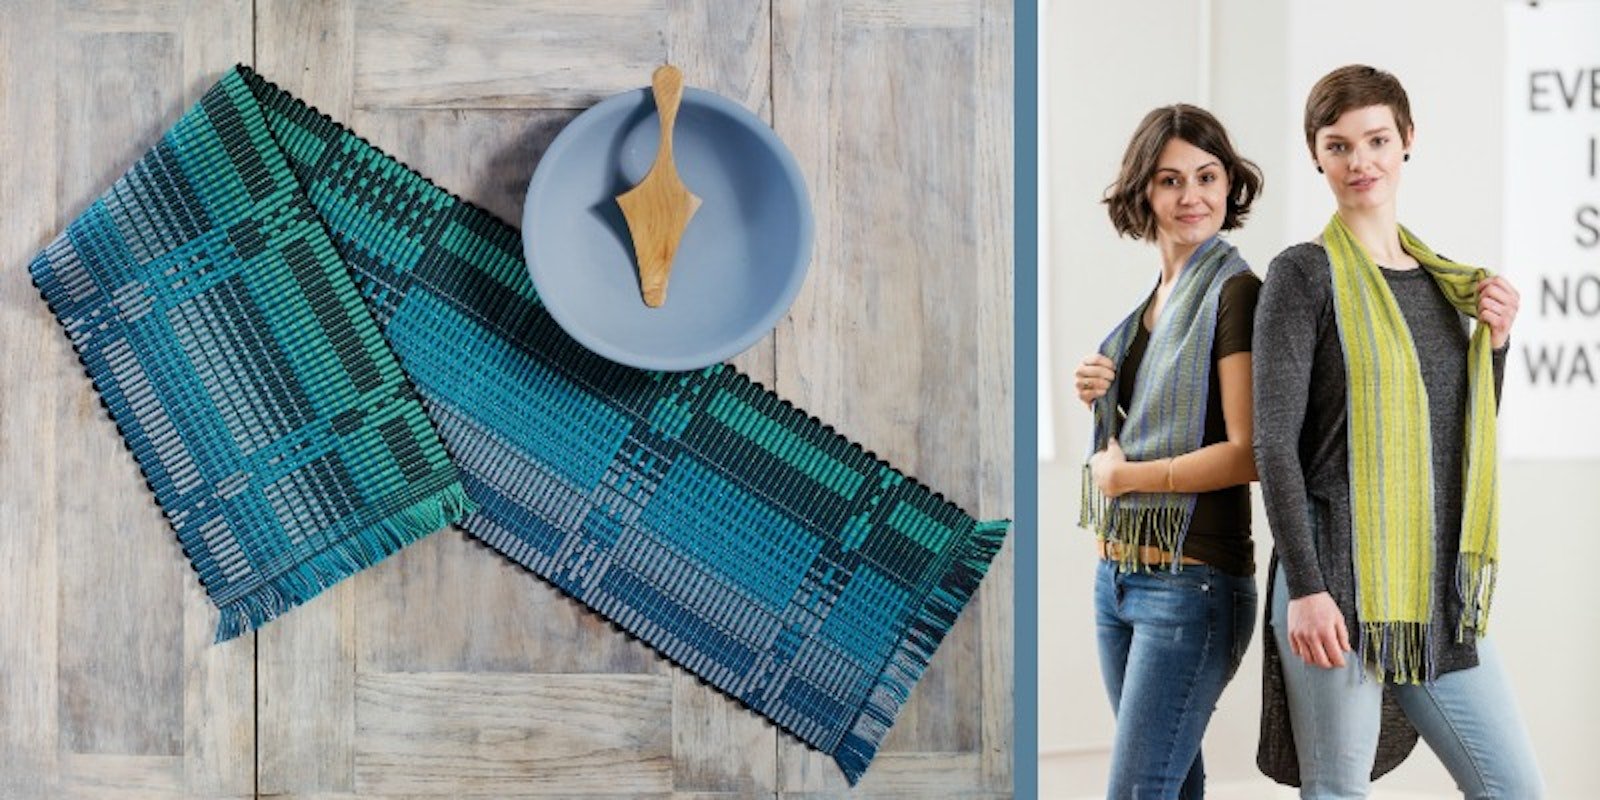
For example, in her aptly named Fibonacci in Rep Runner, Meridith Entingh (under the tutelage of Rosalie Neilson) made two yarn wraps following the Fibonacci sequence and used one wrap to design the pattern of her project and the other for the background. The result is spectacular—the more you look, the more patterning you see. The work is complex, but not messy.
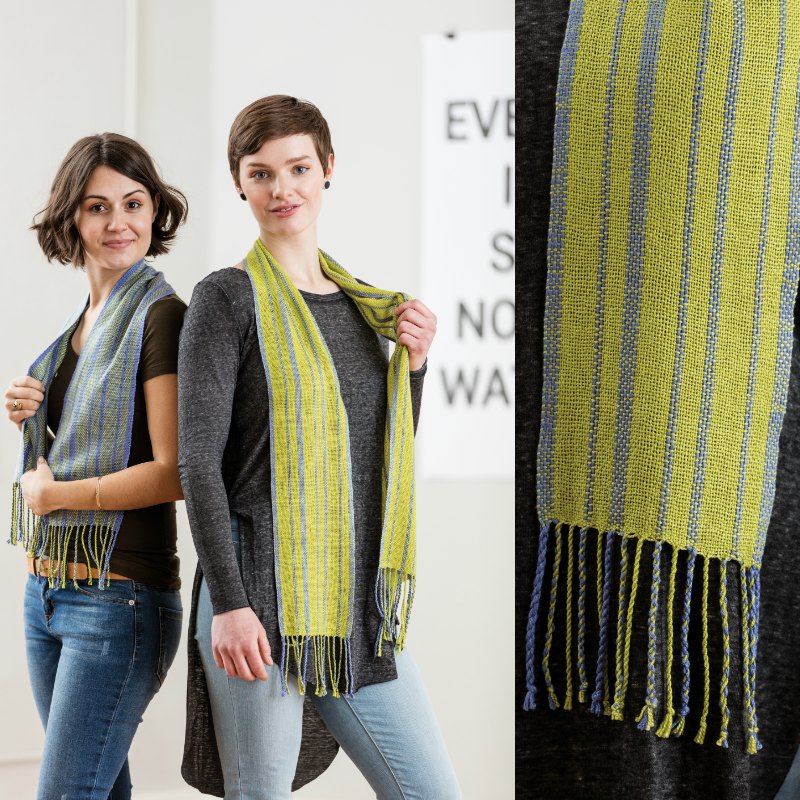
Similarly, Margaret MacMorris also uses the sequence to determine the width of her warp stripes in her Fibonacci Sequence Scarves. Once again the pattern is asymmetrical, natural looking, and pleasing to the eye.
Margaret MacMorris’ Fibonacci Sequence Scarves from the Summer 2017 issue of Easy Weaving with Little Looms. Photos by George Boe.
You might notice that neither Meridith nor Margaret used this sequence in order when determining stripe width. This brings me to another important point: You don’t need to use the sequence in order to benefit from it; you can combine any of the numbers within the sequence and get pleasing results.
If you do choose to use the sequence in order, though, you can use it to create an ombre or color change effect. To do this you’ll want to start the sequence with Color A on the left and Color B on the right. Going from left to right, the stripes of Color A will get wider as those of Color B get narrower. Because this happens so gradually it can trick the eye into making it look like the two colors are melting into one another.
While it might sound rather intimidating, the Fibonacci Sequence really is just another tool you can put in your design belt. Once you know how to use it in your weaving you can really have some fun! If you’d rather use somebody else’s project as guidance, you can find Meridith’s 8-shaft rep pattern here and Margaret’s rigid-heddle scarf pattern here.
Happy Weaving! Christina


