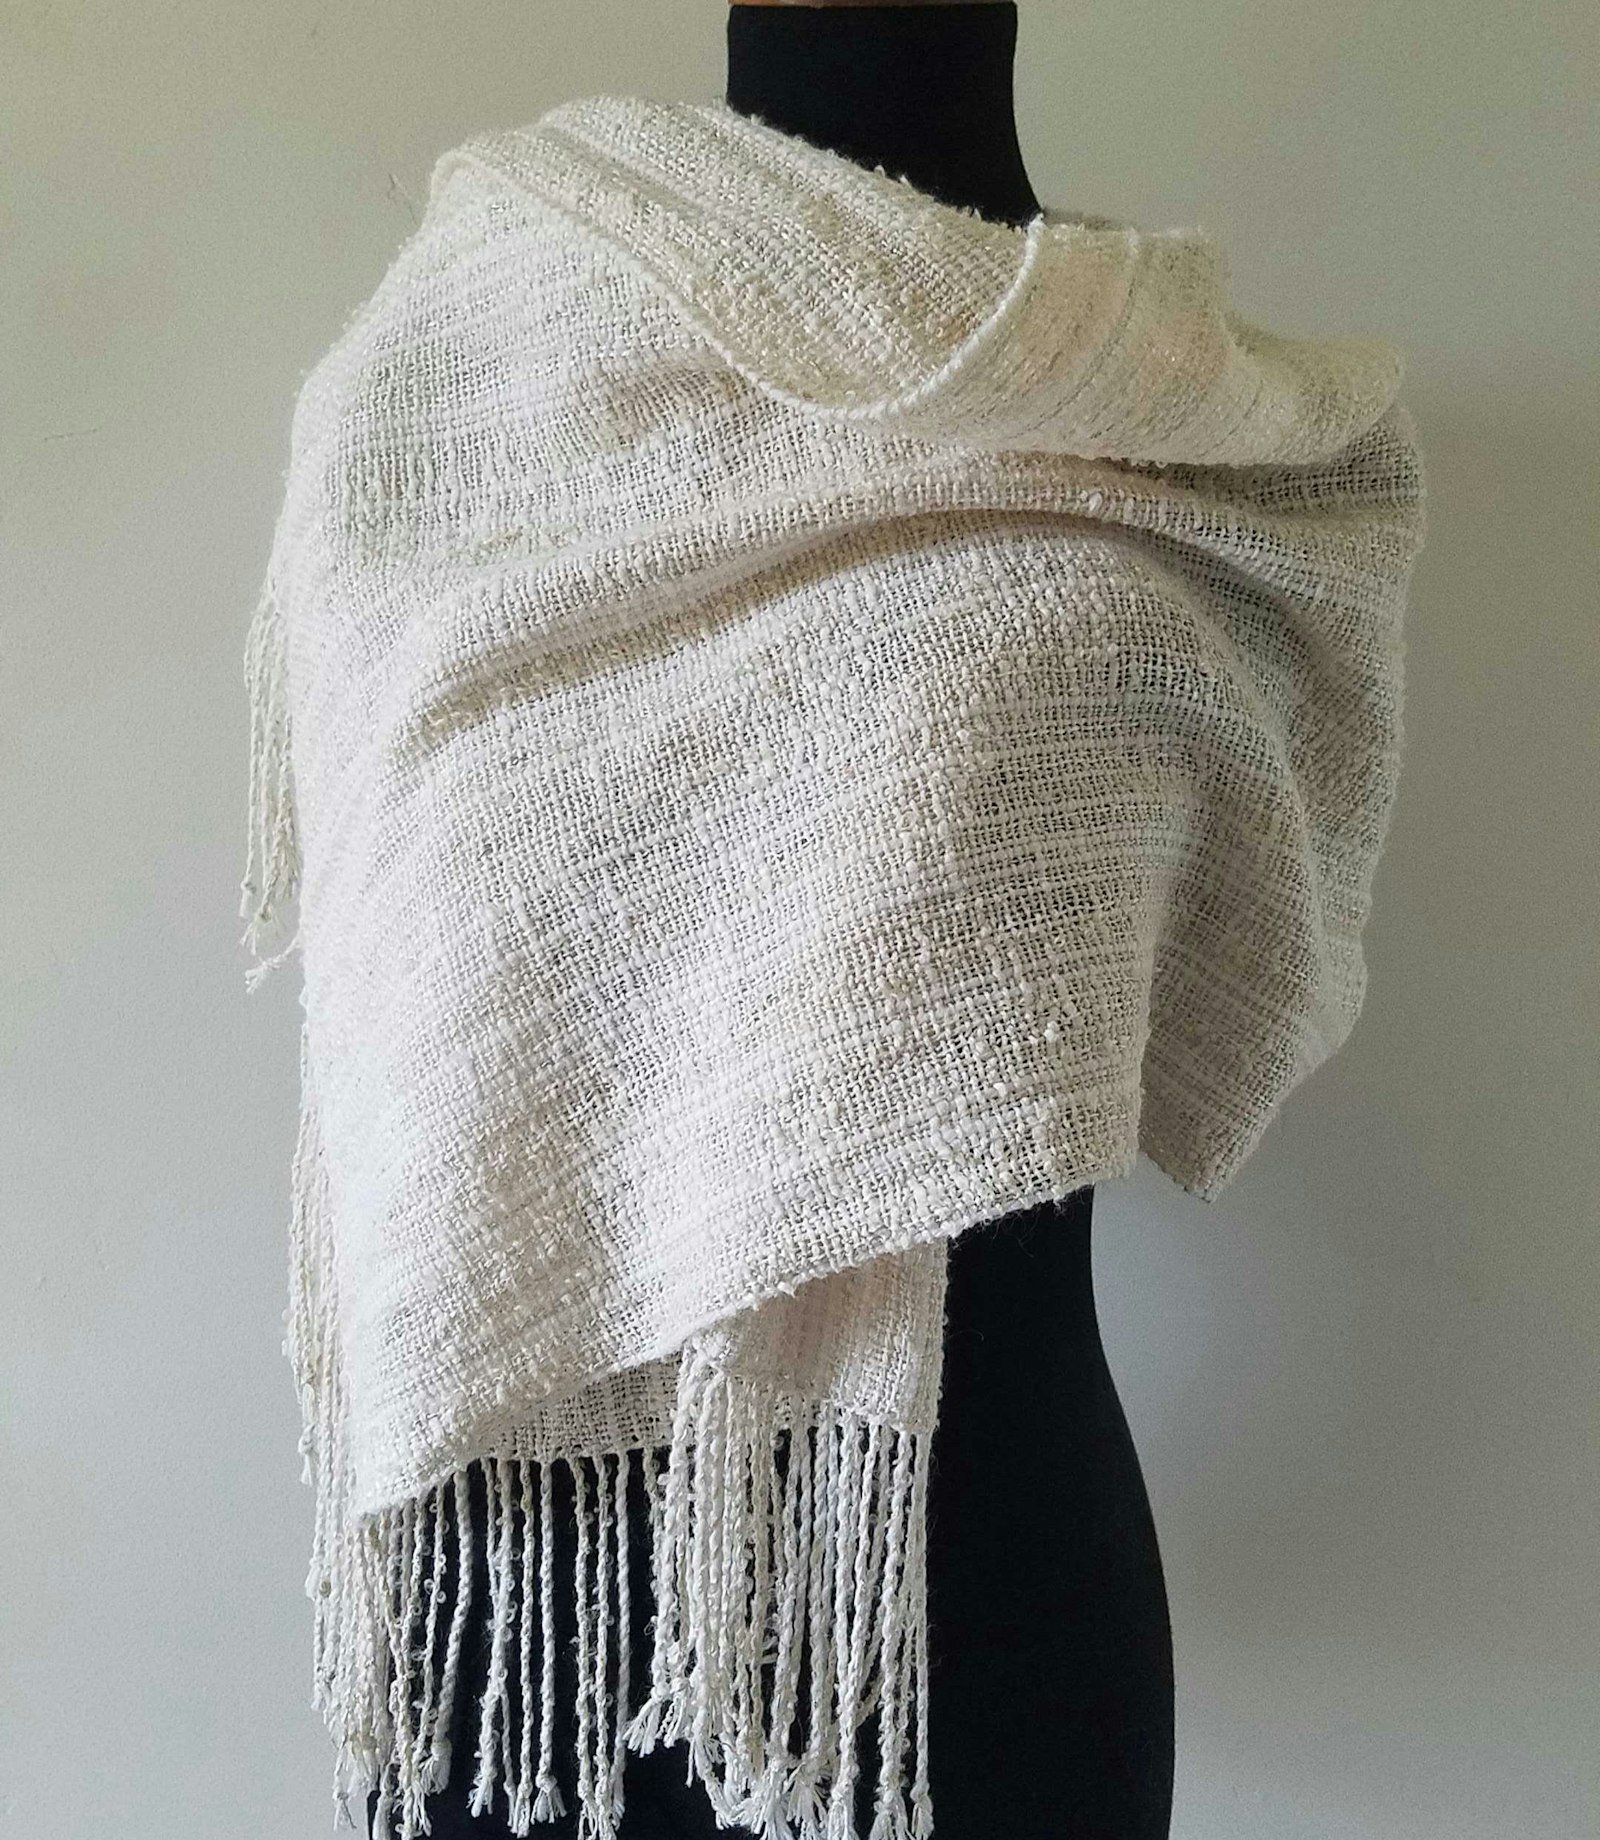
Over the weekend, I was working on a few projects: a shawl on my rigid-heddle, a kumihimo band for a small purse, and the ribbing on a sweater. I rotated among the projects interspersing them with making some bread and weeding the front yard. For the shawl, my goal is to make a circular shawl, and to gauge the woven length I needed, I got out an old shawl, did some pinning, and made some back-of-the-envelope calculations.
The shawl I was measuring with was about 10 years old, the product of a guild warp exchange. For the exchange, participants wound a 3-yard warp of some number of ends, traded warps, and then returned with a woven project at the end of the summer. The warp I got was a white mixed-warp. The six yarns came from a stash given to the guild, a stash without yarn labels. I crossed the warp with something white and slubby, hemstitched the ends and left the fringe loose. It turned out to be a useful shawl, one that I grabbed when I was going to an outdoor event, but I didn’t pay it much attention.
Here’s where things got weird. As I was looking at it, I realized that the reason I didn’t care about it was the loose fringe. It looked unprofessional and frankly messy. I decided to twist it (thereby abandoning my other projects!). And that is when I learned something, or maybe more accurately, I learned how to fix a problem.
You may have noticed that when you have fringe bundles of different sizes, the length of the fringe after being twisted will be a different length even though they may have been the same length at the start and you twisted them in exactly the same way. That’s because as the yarns twist, they are going around different thicknesses and being taken up at different rates. A thick bundle will be shorter than a thin bundle. For a mixed warp, that problem is exacerbated by different fiber types and stretchy versus unstretchy yarns.
Below is a picture of some loose fringe on my shawl. Next to it is a picture of that same fringe twisted. The ends were all the same length to start, and I twisted them in the same way. Some of the yarns are stretchy, one is metallic and not at all stretchy, and one of the yarns is a boucle.

Because the different yarns in the warp are of different sizes, types, and composition, when twisted they behave differently.
After twisting the first few bundles and seeing how ragged they looked, I developed the method below to create even fringe, and it’s a technique that I'm going to keep in my back pocket.
1) Twist a few fringes to determine what length you want them to be from the edge of the piece to the fringe knot.
2) Cut a piece of cardboard that length.
3) Twist all of the fringe bundles the same number of turns but rather than securing with a tight knot, knot them loosely. Let the two halves of the bundles twist around each other as usual.
 A piece of cardboard and a blunt needle are all you need to place your fringe knot at the correct spot.
4) Place your cardboard on the fringe between the edge of the weaving and the knot, and use a needle to move the knot so that it is even with the end of the cardboard. Tighten the knot.
5) If you have something like a boucle in a bundle, pull it to release the boucle. Trim the ends.
6) Wet-finish the piece. Once dry, press the fringe and adjust any bundles that aren’t quite the same length. Retrim.
 Mixed-warp fringe will probably never be perfect, but it can still be pretty.
Never once in this shawl’s previous life did anyone ever comment on it. To me, the new fringe makes it pretty enough to attract a comment or two. I hope I get asked if I wove it! “This old thing? Yes, I did weave it, and I have a little story to tell you about it.”
Weave well,
Susan

