In this article from Handwoven November/December 2019, Deb Essen describes her methods for warping that make it an enjoyable part of weaving. Even accomplished weavers may find a tip or two that will make their own warping process easier. ~ Susan
When I first learned to weave, warping my loom made me tense—really tense. But you have to warp to be able to weave, so I put on long warps to avoid warping as often, and then got bored weaving off those long warps. When I decided to complete the Handweavers Guild of America’s Certificate of Excellence and faced weaving 40 different samples, I resolved to confront my warping aversion. I began by establishing a routine to make warping easy and fast. I practiced, improved, tweaked, and learned. Now I love to warp my loom!
I’ve discovered that little changes can have a big impact on my enjoyment of each aspect of weaving. Here are some tips I’ve found that will make your warping faster, easier, and more enjoyable.
1. Secure warp chains with bow knots.
Secure your warp with choke ties placed about every yard along the warp chain and on the ends. Wrap each tie twice around the entire chain, and use bow knots rather than square knots. Banish tight square knots. Use yarns such as 3/2 and 5/2 cotton for ties so you aren’t battling a sticky yarn, such as wool, when untying the ties—these ties can be used over and over because they don’t need to be cut off.
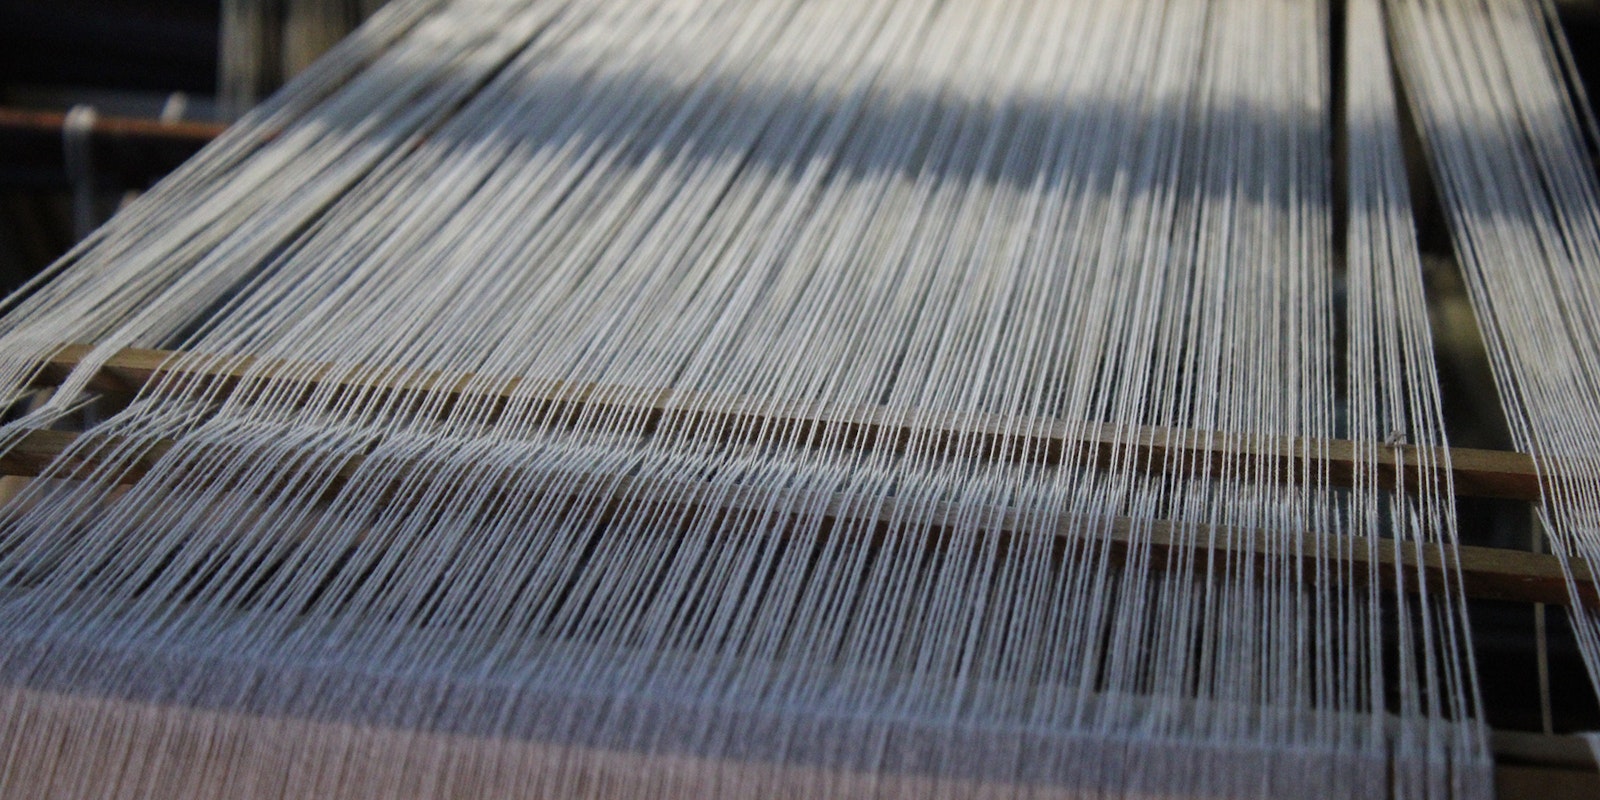
2. Use a counting thread at the cross to separate the warp into 1-inch sections.
a Measure a length of cotton yarn to about twice the measurement of the warp width in the reed.
b Starting from the side nearest you, insert one end of the counting thread into the opening between the warp layers on one side of the cross, bring the end around the back of the cross, and insert it into the opening between the warp layers on the other side of the cross.
c Starting at the back of the cross (where the counting thread loops around), count out a 1-inch section of warp threads. Separate these threads from the others slightly and pull the ends of the counting thread through that opening, then overlap to trap the warp ends.
d Count out another 1-inch section worth of threads, insert the ends on each side of the cross, and overlap. Continue until you have the entire cross in sections with the counting thread and secure with a bow knot. If you warp back to front, the counting thread conveniently separates the threads into 1-inch increments to place in your raddle.
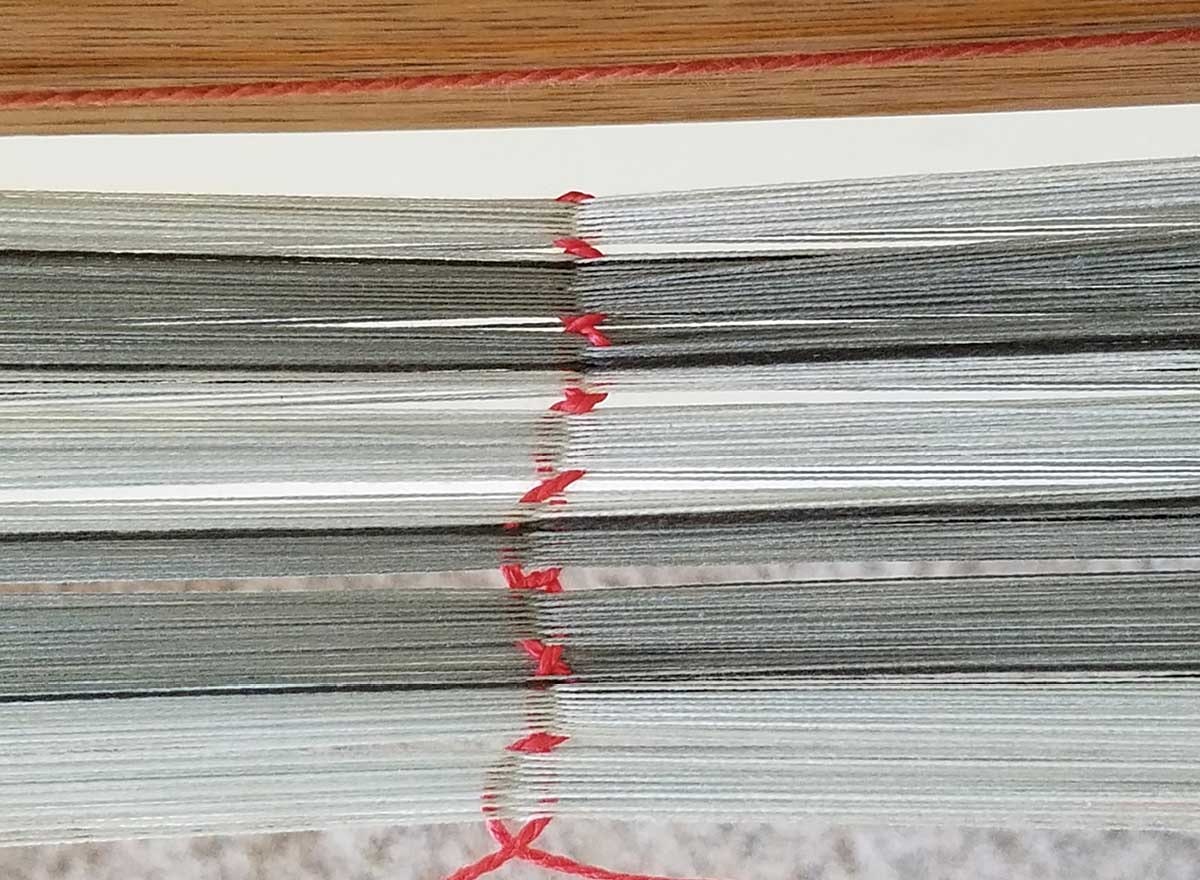
Use a counting chain to separate your warp into 1-inch segments. Photo by Susan E. Horton
3. Use paper to tie the top two warp layers on each side of the cross.
Instead of using yarn to tie all four warp layers on each side of the cross, use pieces of paper. Fold the pieces around the upper warp layers and secure them with a pin. Insert your lease sticks by simply lifting the pieces of paper to create an opening between top and bottom layers. After you have inserted the lease sticks on both sides of the cross, remove the paper and store it for your next warp.
If you warp front to back, don’t cut the end of the warp until you have inserted the lease sticks and are ready to sley the reed. If you use your hand or a cross holder instead of lease sticks for sleying front to back, the papers help you find the warp layers easily.
Using paper is also handy if you need to wind multiple warp chains for a wide warp. Number the papers in the order the warp chains should be placed on the loom and place them all on the loom with the paper on the top.
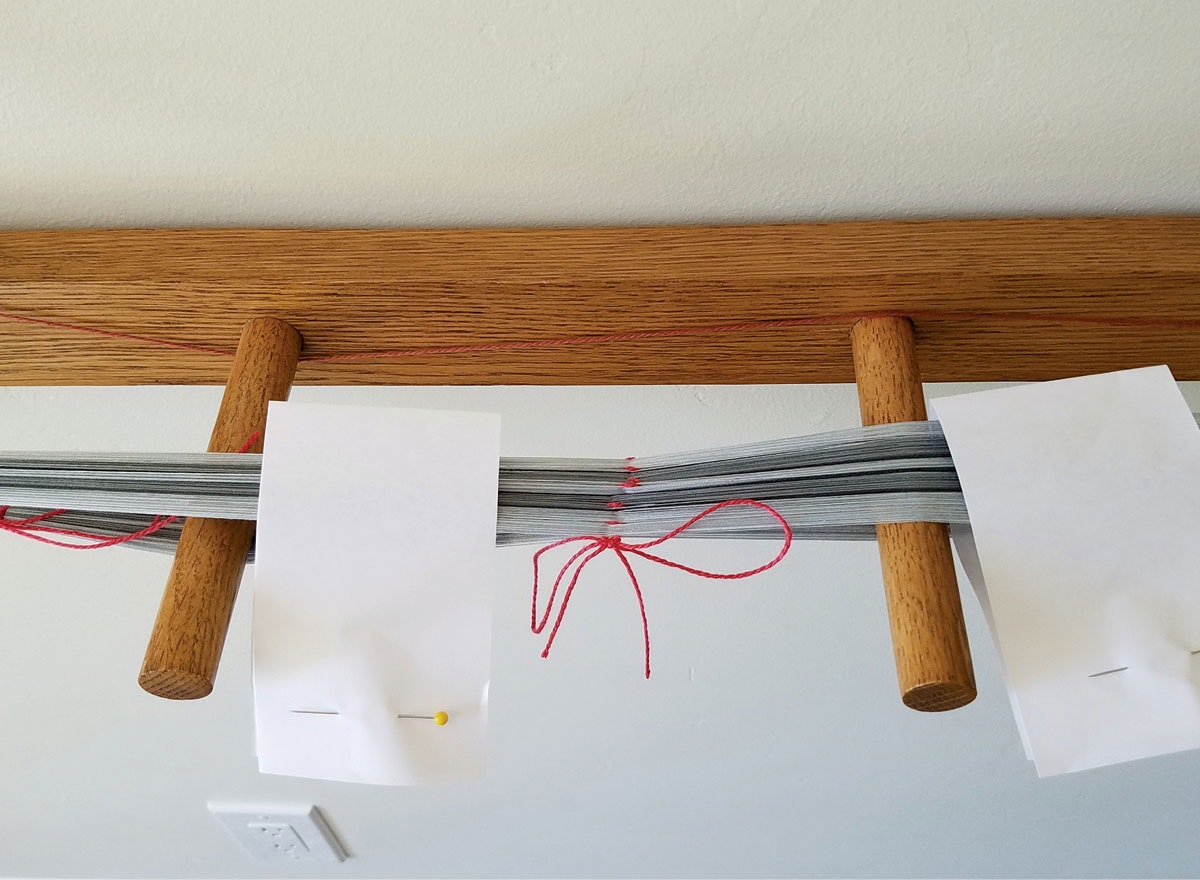
Use paper on the top layer of your warp’s cross to easily find the top layer when inserting lease sticks. Photo by Susan E. Horton
4. Secure your lease sticks for sleying and threading.
When warping front to back, place your lease sticks through your cross and use hook and loop straps to attach them to your front beam while sleying the reed.
If you warp back to front, you may want to use this tip from Susan Bateman at Yarn Barn of Kansas on how to hold lease sticks that are keeping a cross on small table and floor looms:
a Cut a length of sturdy yarn (I use 3/2 cotton) that is twice the measurement of your loom’s depth plus some extra for tying.
b Tie the yarn so that it goes from the front beam through the outside of the shafts, around the back beam, and back to the front. Pull taut and tie securely with a bow knot. Repeat on the opposite side with another length of yarn.
c Pull the bottom yarn above the top yarn, creating an opening, and insert one end of a lease stick. Repeat on the other side.
d Pull the bottom thread up again to create a second opening. (The two openings will make a figure eight in the yarn.) Insert the end of the second lease stick. Repeat on the other side.
After threading, remove the lease sticks and undo the ties.
5. Use bamboo blinds or placemats as warp separators.
My favorite tip gleaned from Laura Fry’s The Efficient Weaver video (see Resources) is using a bamboo blind instead of cardboard, paper, or sticks to separate the layers of warp on the back beam. Matchstick bamboo blinds are inexpensive, easily available, and are better behaved than cardboard or paper. Remove all the blind hardware. Place one end of the blind just as you would when using paper and wind on the warp. As you weave and advance the warp, the bamboo blind folds neatly into a little pile on the floor. For skinnier warps such as for scarves, use a set of bamboo placemats. A set of six is usually enough for one scarf.
Ties that go from the back to the front of the loom hold lease sticks securely. Note the bamboo placemats used as warp separators. Photo by Harper Point Photography
6. Use a weight to keep even tension on your warp as you beam.
I used to wind a segment of warp, run to the front, and pull out the slack, run back, etc. One day, I realized that by wrapping the warp around the front beam one time and hanging a weight on the end, I could wind on the warp without running back and forth! Now I only go to the front of the loom to remove choke ties. Try using two 4-ounce fishing weights as shown in the photograph. When the weighted end of the warp passes over the front beam, simply hang it down in front of the shafts and continue winding until you have the length you need for threading and the front ties.
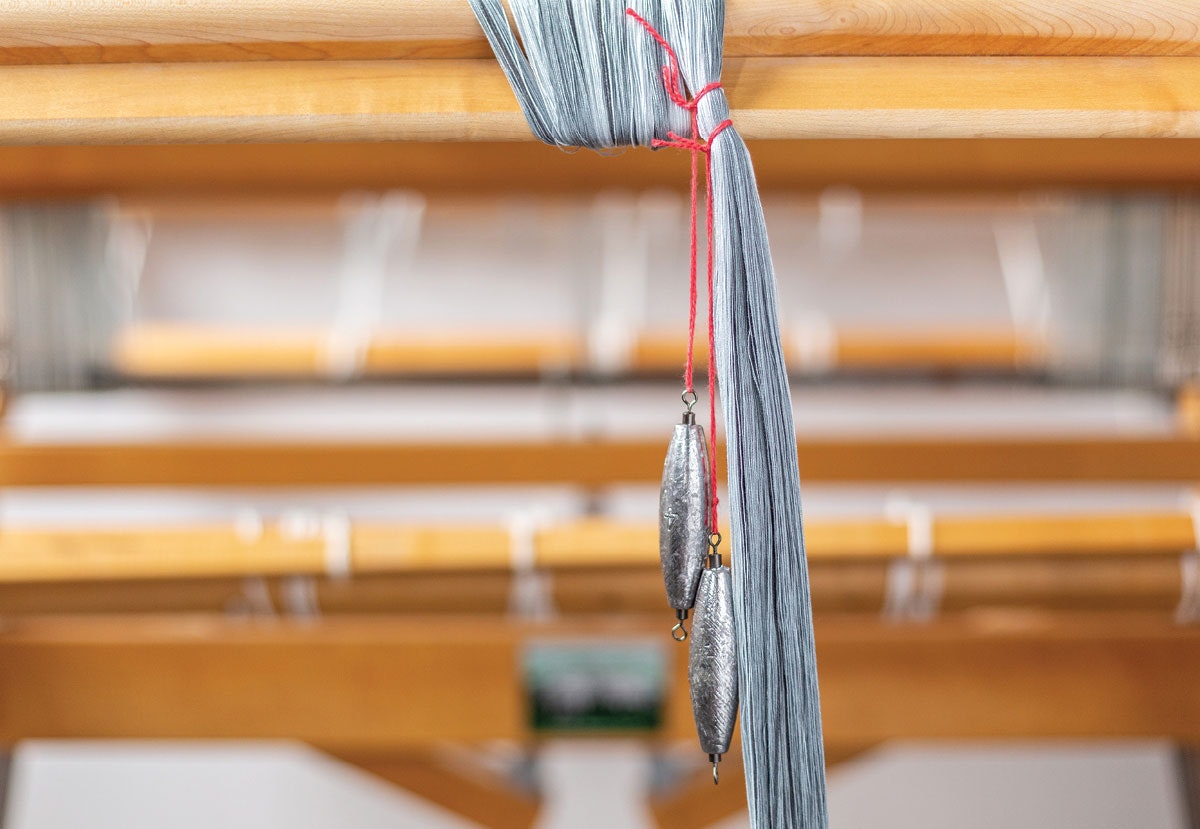
Weights will help you roll the warp onto the back beam with even tension. Photo by Harper Point Photography
Learn to enjoy warping your loom by practicing often, which means you’ll be weaving more often. Beautiful things happen when we weave.
Resources
Fry, Laura. The Efficient Weaver, Fort Collins, CO: Interweave, 2014. Video download. Available from shop.longthreadmedia.com.
Originally published 01/09/2020. Refreshed 12/14/2022