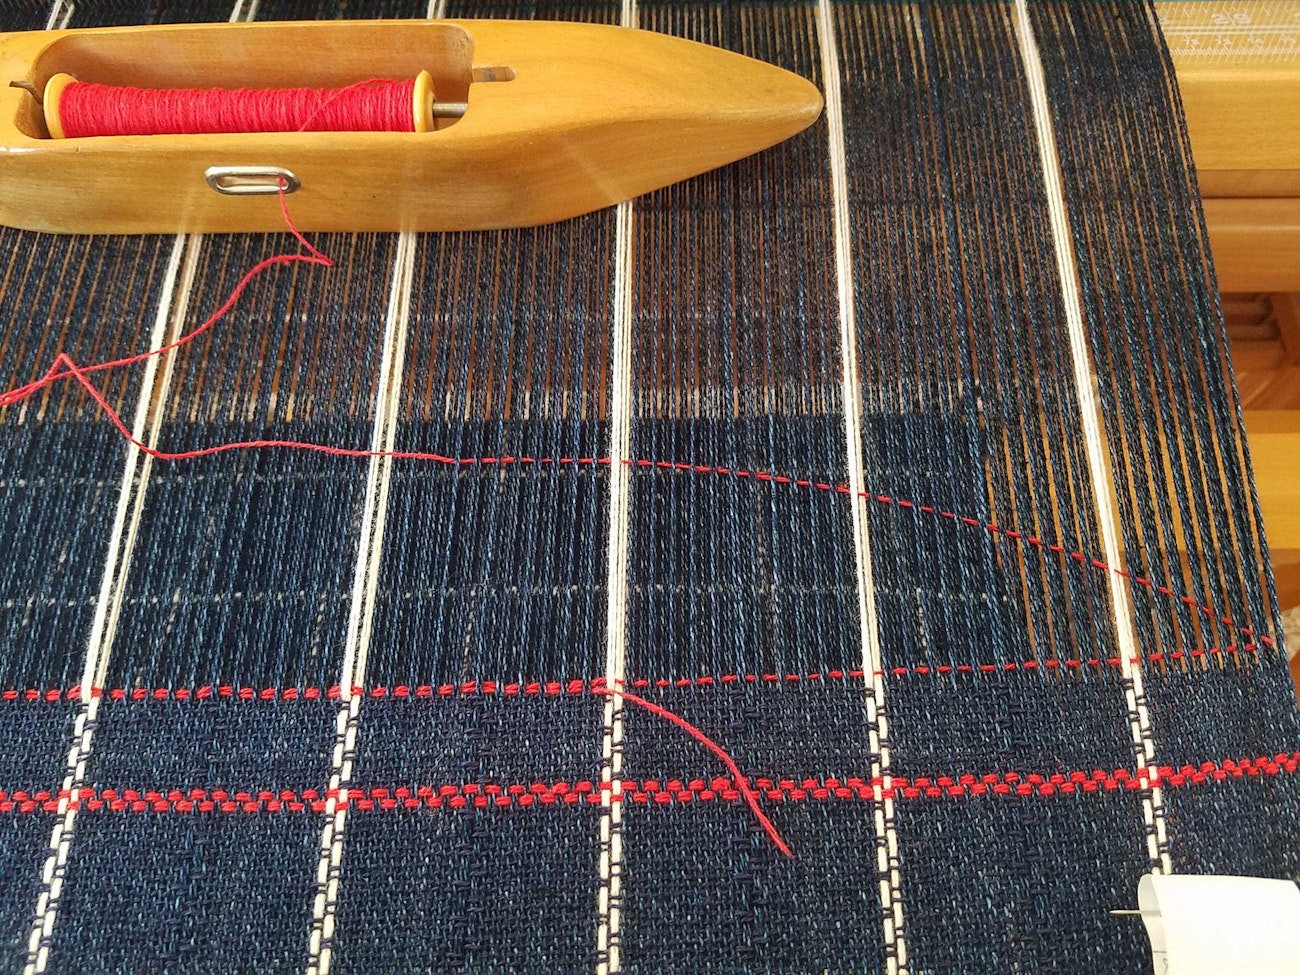
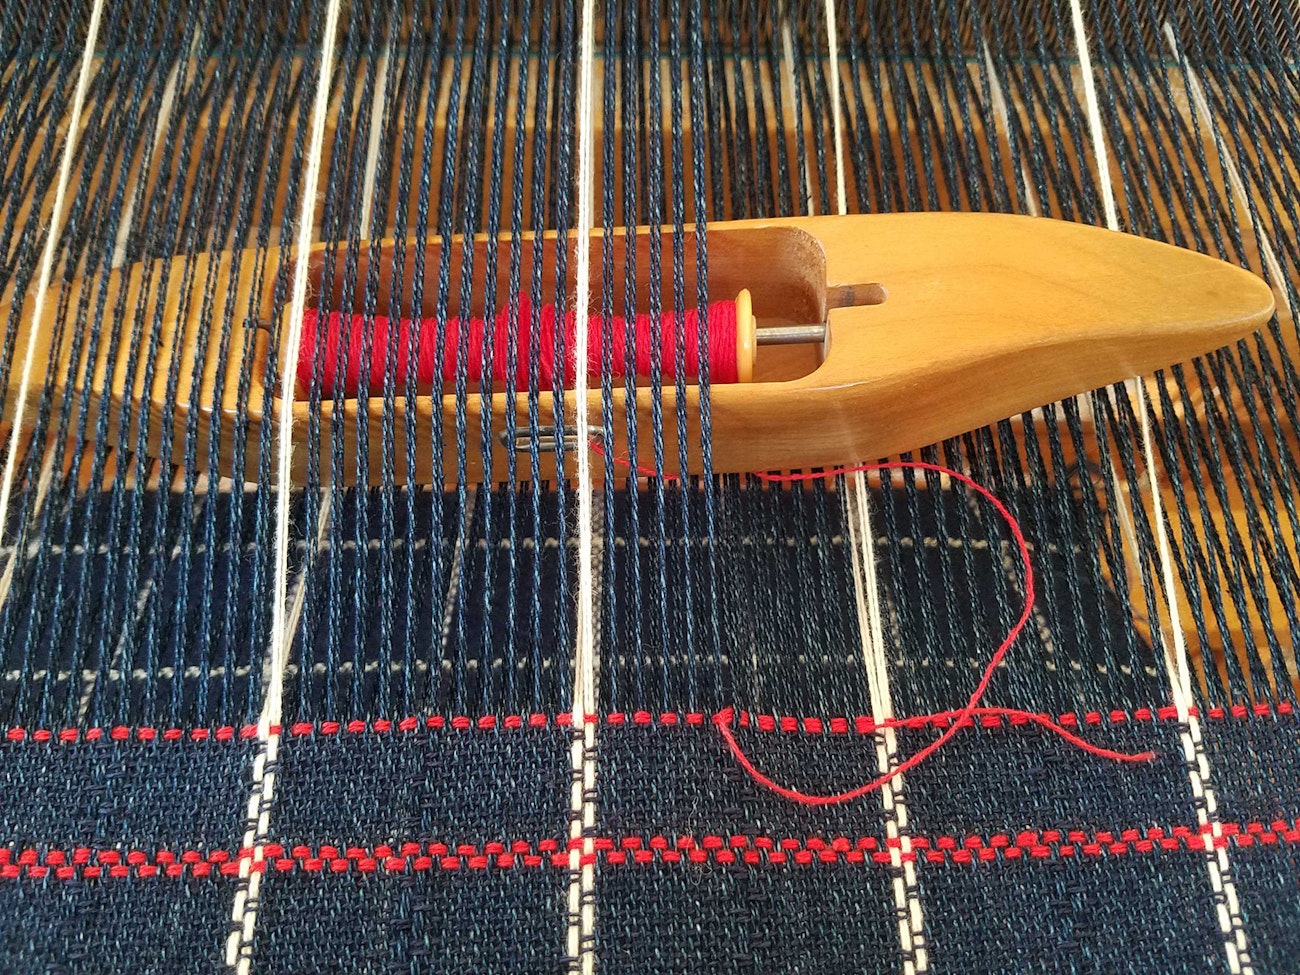
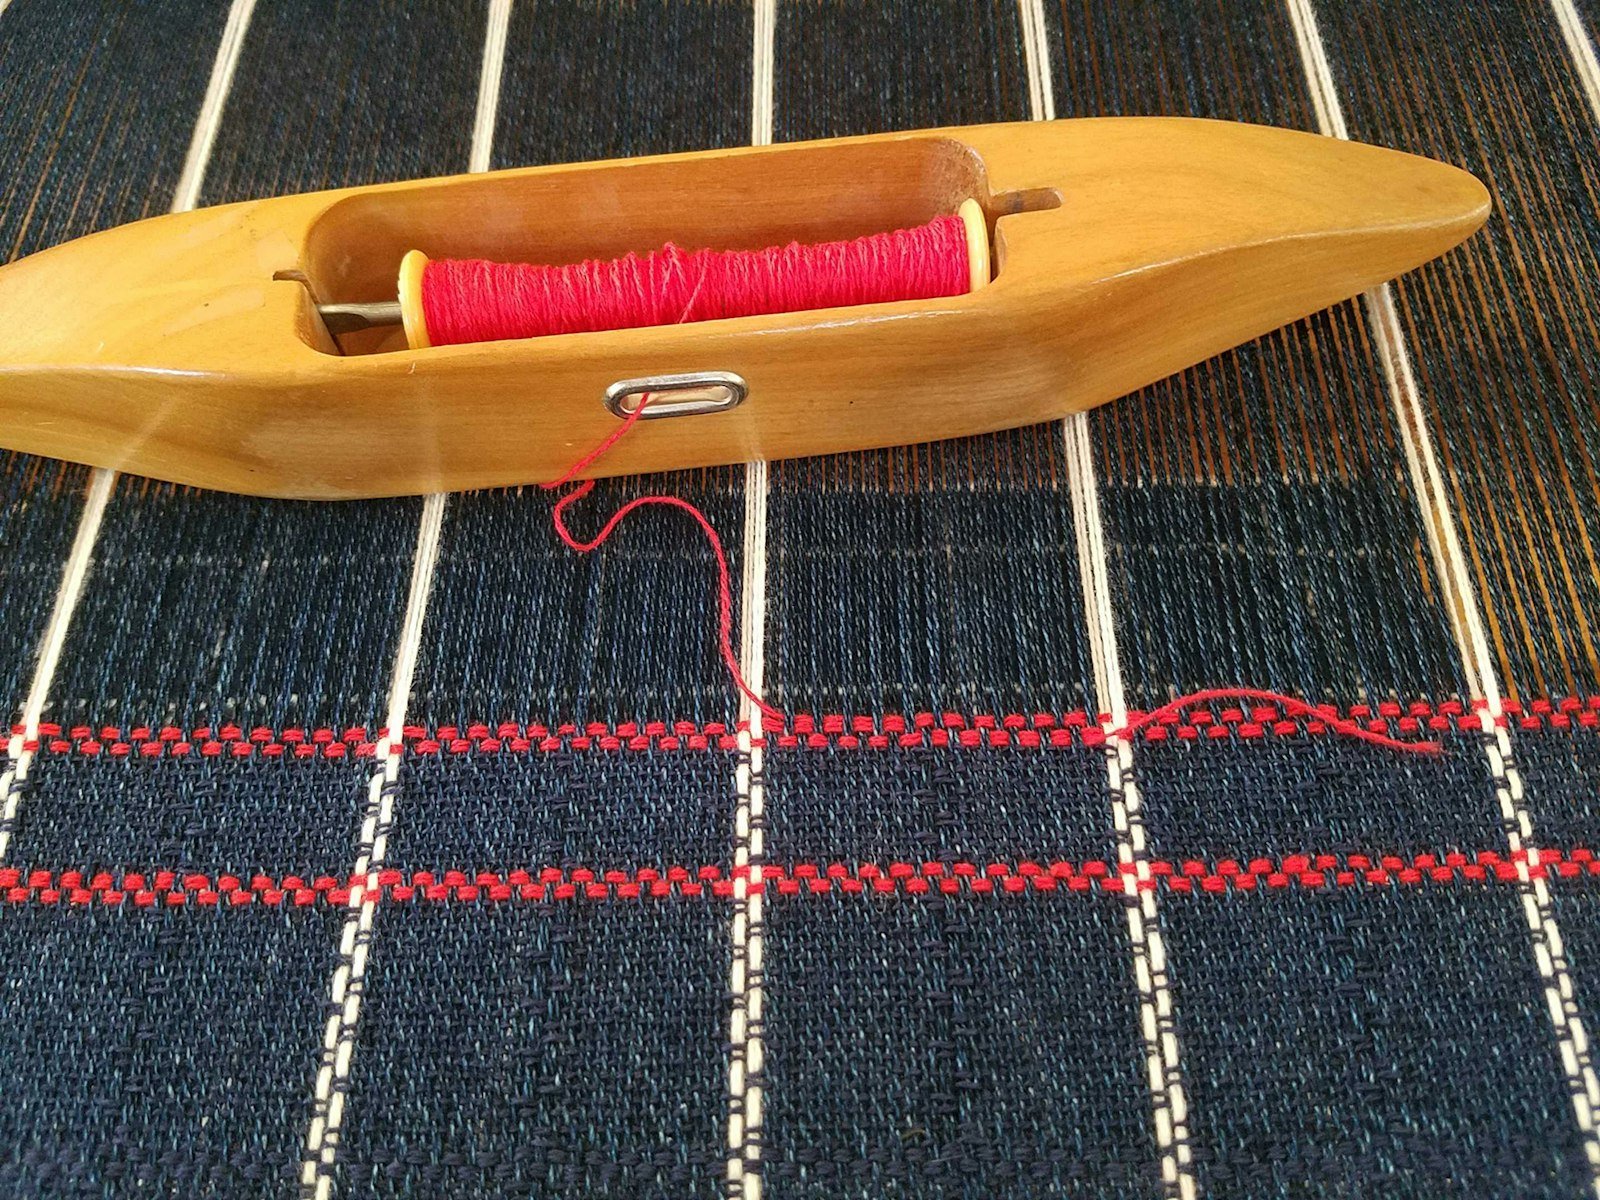
I'm not sure that I made up this technique’s name (Two-Pick Trick), but I’ll take credit regardless! When we worked together on the Team Colors Weave Along, Elisabeth Hill seemed to know what I was referring to when I used the term. The two-pick trick is a way to hide your weft ends when weaving only two picks of a color. Instead of putting the tails at one selvedge where they might be noticeable, you place them within the body of the cloth.
The Two-Pick Trick
- Insert new weft leaving a long tail.
- Beat.
- Change sheds.
- Bring the long tail into the shed from one side and bring the cut end up through the raised warp ends.
- Bring the shuttle into the same shed from the opposite side and out through the raised warp ends about 1" past the point where the cut end has been brought up so that the two tails overlap.
- Cut the weft from the shuttle.
- Beat.
Move the position of the overlap within the width of the cloth for every subsequent 2-pick color change to prevent weft buildup. If you are using a two-ply, you can even split the plies and further hide your overlaps.
 Plain weave with accents of basketweave on 6 shafts
That’s the basic two-pick trick. Over the holidays, I had a few days off and decided to put a napkin warp on my loom. It’s a simple, mostly plain-weave design with 4-end wide stripes of basketweave and matching 4-pick stripes weftwise. I often hem napkins on all four sides, but this time I want to have selvedge edges, meaning I want nice-looking edges. Weaving four picks would put both weft tails on the same side of my weaving; 8/2 cotton is thin, but I still wanted another solution. After fooling around with this and that idea, I came up with a variation on the two-pick trick for four picks of basketweave or two picks of a doubled weft.
The Two-Plus-Two Pick-Trick Variation (for basketweave or doubled weft threads in two picks):
- Open first shed and place one strand of weft, pulling the end into the cloth where you want the overlap to occur and pulling a short tail to the top of the warp. Beat gently on a closed shed to place the weft in this step and in the next steps.
- Open the same shed, wrap the shuttle around the edge thread to anchor it and pass it through the shed to the opposite side. Beat gently.
- Open the same shed a third time. Wrap the edge thread and pass the shuttle back to about 1" past the weft tail and bring it out of the warp. Beat gently.

In step 3, you have completed all of the passes needed in the first shed, so you bring the shuttle out of the warp about 1" past the initial weft tail.
- Change to the next shed. Insert the shuttle down through the warp into the new shed at the same spot and bring it out at the edge. Beat gently.

In step 4, push the shuttle back into the warp but in the second shed.
- Open the same shed. Wrap the edge thread with the shuttle before you send it back through the shed to the opposite side. Beat gently.
- Bring the shuttle around the edge thread and into the shed, bringing it up about 1" past where it initially went in. Clip the weft. Beat gently. You should have two small areas of three weft ends in two picks next to each other. (See the photo at top.)
Just like with the two-pick trick, I move my weft overlaps around in my cloth and avoid stacking them up, placing them where they will be within the warpwise basketweave, or putting them directly in the middle. At the point where the shuttle enters the warp in step 4, you will have a weft thread crossing over two warp ends (four ends for basketweave), but I find they all but disappear and you can position them on the back of the napkins.
I hope either the original or this new variation of the two-pick trick will be helpful additions to your weaving tool kit.
Weave well,
Susan

