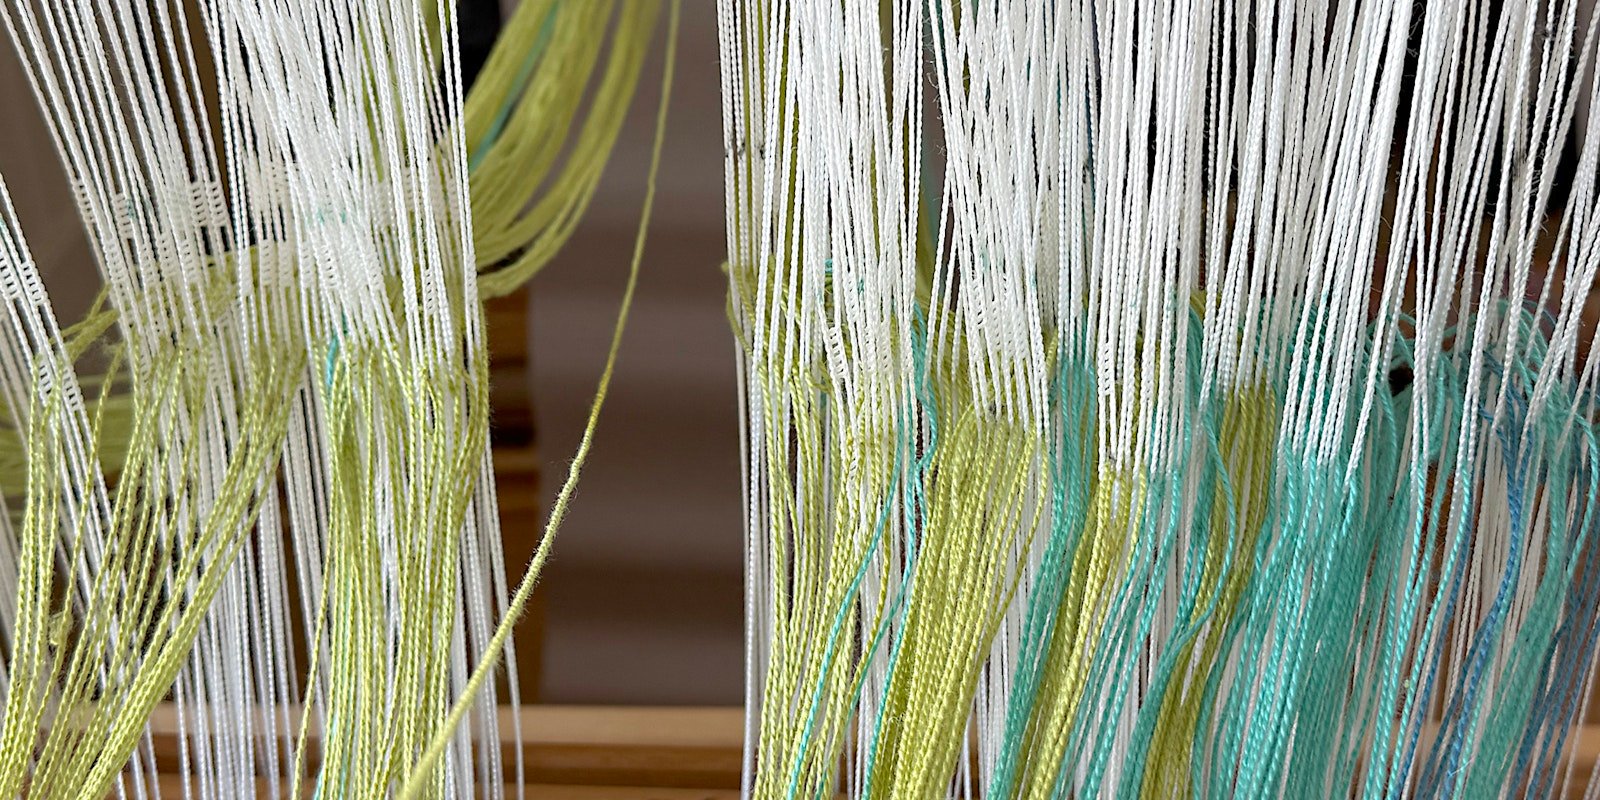
We all make our fair share of threading errors—but why do they always seem to happen in the middle of a warp, where fixing a missed end means unthreading everything in one direction or the other?
There is a quicker alternative to rethreading, of course. Just add a repair heddle right where it’s needed in a warp. The tricky thing is that repair heddles need to be the right size for your loom, and the eye for threading has to align with those in all the other heddles.
Here are four ways to make them on the spot or prepare yourself with a few ahead of time, plus options for buying ready-made. If you keep a few repair heddles on hand, you won’t be slowed down when those inevitable threading errors arise!
Make Your Own Repair Heddles
1. On the loom, using string: Here’s an article about how to tie on a new string heddle in place, along with a square knot refresher if you need one. The step-by-step pictures show the process on a shaft pulled off a loom and laid flat on a table. It looks simple!
But in practice we’ve found ourselves bending into a pretzel as we try to tie repair heddles directly on the loom, in the correct spot, and with the eye of the heddle at the right level. While the process eventually works, it can be frustrating. This is not our favorite method.
2. Off the loom, using string: Turns out, we could be creating repair heddles in comfort off the loom. Check out these downloadable instructions, which walk you through the steps for making reusable repair heddles with a couple of safety pins and some yarn. You’ll use a current heddle as a template. Hint: If you follow these directions, check first to make sure your safety pins are able to fasten around your heddle bars—you may need larger pins than you think, which will affect the size of the heddle you tie.
3. Off the loom, using string, version 2: You might consider an adjustable jig like the one here for tying your repair heddles before attaching safety pins to the ends, especially if you have several looms using various sizes of heddles.
4. Off the loom, using Texsolv: If your loom has Texsolv heddles, here’s a great repair heddle trick Susan E. Horton learned in a class from Jannie Taylor. No measuring is required, and no heddles are damaged in the process. All you need are two Texsolv heddles and a piece of yarn.
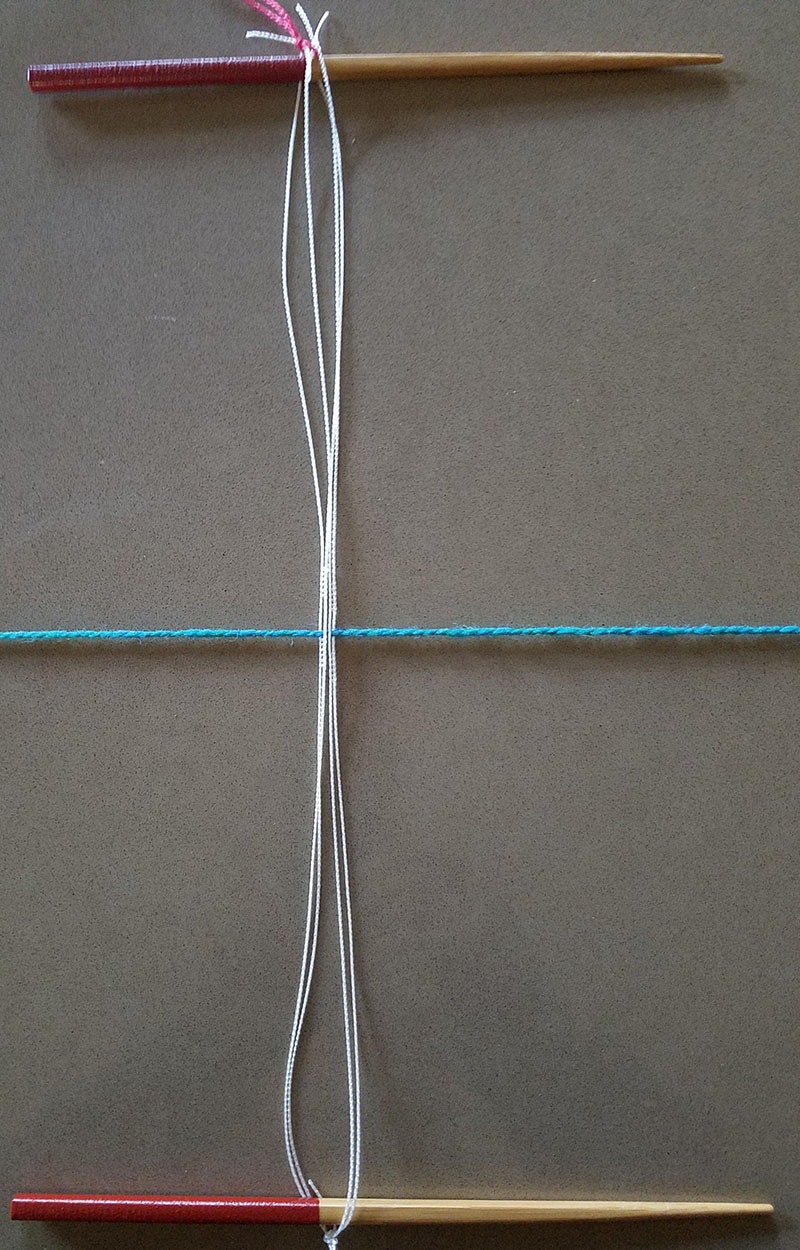
Here’s what your Texsolv repair heddle will look like. Imagine that the chopsticks are the top and bottom heddle bars! Photo by Susan E. Horton
- Fold the end of one heddle through the end of a second heddle, and pull the long end of the first one through the loop to join them end to end. The join will be the bottom of your repair heddle.
- Cut a 5" piece of smooth yarn.
- Place the joined heddles around the bottom heddle bar where the repair heddle is needed, and carry the unjoined ends up to the top heddle bar. Pass the piece of yarn through the top loops and tie them together tightly.
- Thread the mis-threaded end through both heddle eyes as if they were one.
Buy Repair Heddles Ready-Made
If you’re weaving on a LeClerc (or some Schacht models) with metal heddles, you may be able pick up repair heddles without making them yourself.
You can find individual snap-in repair heddles in three lengths here, or 12-packs of twistable repair heddles in three lengths here.
One weaver we know says, “I resisted this purchase for many years and got barked-up knuckles making string repair heddles as a result. I finally gave in and bought some metal snap-on ones...so worth it!”
Published Feb. 4, 2020; updated Feb. 9, 2026