
Weaving on a pin loom is easy and fun—once you know how to do it! If you've ever wanted to know how to weave with a pin loom, this tutorial can help you get started. Once you get comfortable with this method, you can change it up and weave different yarns for warp and weft, different yarns for each layer, or two thinner yarns used together.
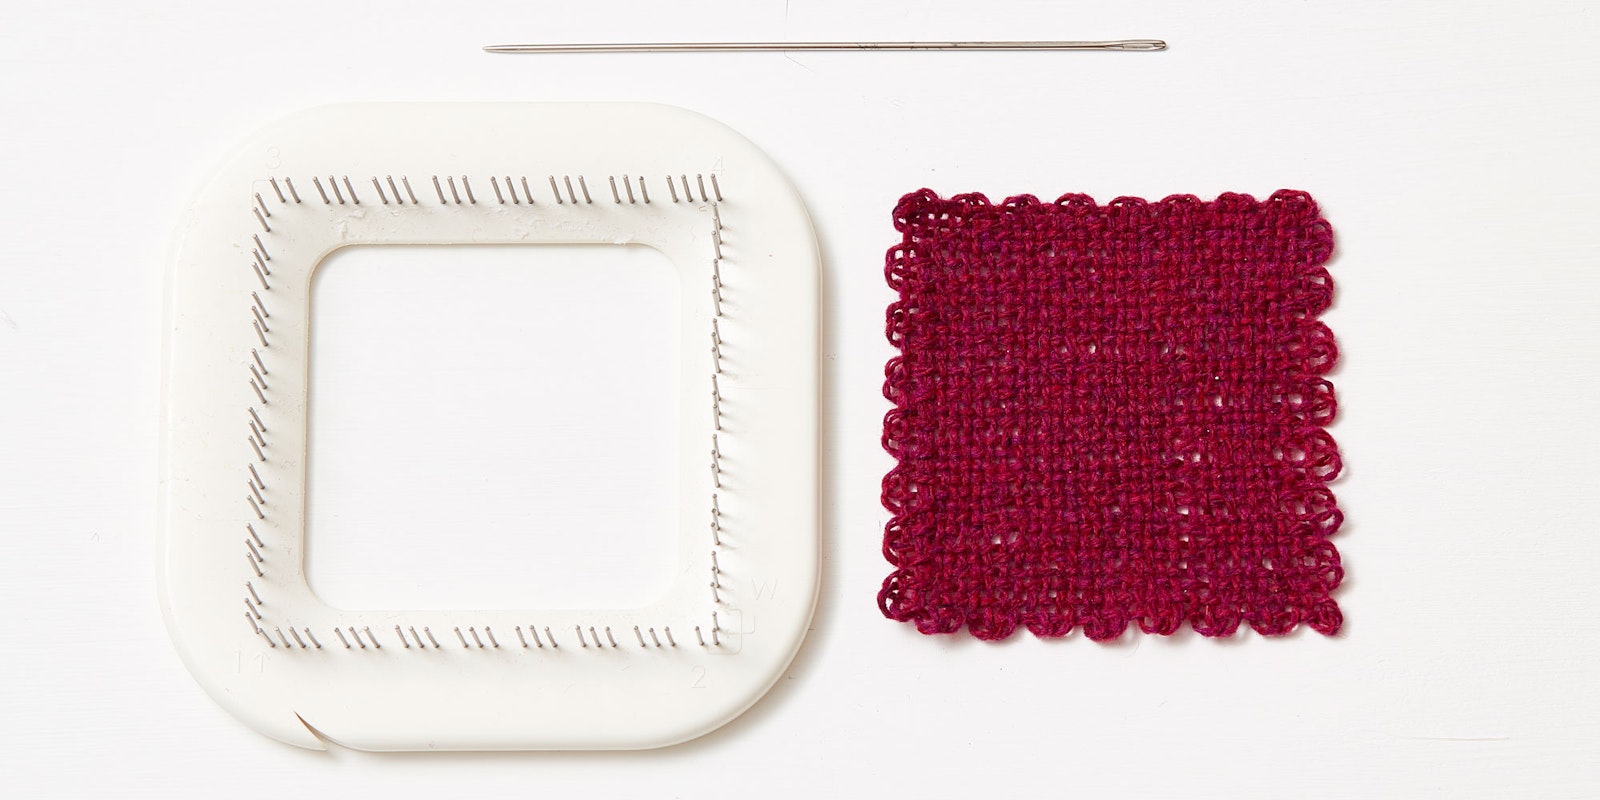
How to Weave with a 3-Pin Style Pin Loom
This tutorial focuses on the 3-pin style pin loom so called because the pins are grouped (mostly) in sets of 3. Other pin looms have pins spaced equally throughout and can be woven using this same technique or continuous strand weaving, which we'll cover in a later article.
When you warp this type of pin loom, you’re actually laying down three warp layers. You’ll use a long needle to weave in the fourth layer, the weft layer, that will lock everything in place.
Remember while setting up a pin loom that loose tension is essential for a successful weaving experience.
1) Start by securing the yarn to the loom with a knot, a piece of tape, or a slot in the loom. Leave a 6” tail so that you can weave it in later. Notice that the pins on this loom are grouped in sets of 3 or 4. The first move is to bring the yarn to the left of the set of 4 pins on the lower left.

2) Bring it around the 2 pins on the upper left, between pins 2 and 3 on the lower left, and up between pins 1 and 2 at the top. For the rest of this layer, you will go between pins 1 and 2 and around 3 on both the top and bottom.

3) When you reach the top right corner, turn toward the bottom between pins 3 and 4, then between 1 and 2 at the bottom. Weft 2: Turn the corner, wrapping around both pins on the bottom of the right edge. Cross to the left edge, passing between pins 1 and 2.

4) Continue going between 1 and 2 and around 3 until you reach the top left corner and pass between 1 and 2. Turn the corner and go between pins 1 and 2 on the upper left. Notice that you’re passing between two pins that have been wrapped around on the Warp 1 layer. At the bottom, pass between pins 1 and 2.

5) For the rest of this layer, go around pin 1 and pass between pins 2 and 3. When you reach the bottom right corner, go around pin 1.

6) Now you’ll use the loom itself as a tool to measure out the length of yarn needed for the second weft pass. Beginning at the bottom right corner, wrap the yarn around all the pins 5 times and cut.

7) Wrap around the bottom peg and bring the needle over the loop outside the pins on the left edge, under the first warp thread, and continue across.

8) Repeat until you reach the top left corner.

9) Weave the last pick by wrapping around the two top pins on the left edge and weaving across. It is essential to weave the last pick—it locks the whole piece in place.

10) Weave in the starting and ending tails and pop the square off the loom.
After you’ve gotten the hang of weaving pin-loom squares and you have a whole stack, the next step is to join them. Use this tutorial to learn how to join two squares together using a whip stitch, and check out our other pin-loom weaving articles for other great tips, tricks, and techniques.
Posted April 19, 2016. Updated March 5, 2019; June 1, 2022.