I don’t like to dye. Normally I would live with that just as I live with the fact that I don’t like to bungee jump . . . except that sometimes I would really love to be able to create the precise color I want. You know the one—it resides exactly between two colors that are commercially available. However, I have a couple of major factors working against me in the pursuit of the elusive “in-between” color.
One, I don’t have access to water or a heat source in my barn studio. This makes the kitchen my only dye studio option, which means I worry about switching my dyepot with my pasta pot, having to clear and set up for cooking meals, and filling my normally soup-and-bread-smelling kitchen with an aroma that my son claimed was a cross between Jergens lotion (active ingredient lanolin) and poop. That’s a pretty accurate description of the smell of simmering fleece, I think.
Two, I don’t think I have enough life left to become a dyer with the skill required to get the exact shade I want in whatever fiber I want. Most of my dyeing experience has yielded colors that I am happy to use but very few that I set out to achieve.
So you can imagine my (skeptical) delight when I read about Bengala mud dyes. They are natural mineral dyes that require no heat, can be used for protein or vegetable fibers, are nontoxic, are very attractively packaged, and are sold in sample packs perfect for the reluctant dyer. Too good to be true, right?
I decided to see for myself. I searched for mud dyes online and found Loop of the Loom, a website and storefront shop with locations in Manhattan and Brooklyn that sell Bengala mud dyes and host SAORI weaving and dyeing classes. I read through the very good FAQ pages on mud dyes and purchased sample packs A, B, and C, which gave me a total of nine colors, as well as a small bottle of the prefixer recommended by Bengala. The company provides a full, detailed fact sheet on the composition of the prefixer and the dyes as well as info about the Global Organic Textile Standard certification of fabrics dyed using its products that I recommend reading if you have questions. I then made twelve 250-yard skeins of natural cotton slub.
The instructions that came with the dyes were simple. Soak the yarn in water and prefixer for 20 minutes, then mix the dye with the appropriate (surprisingly small) amount of water for each skein. Work the dye through the skein by massaging until the dye is exhausted or the desired color is achieved. I used two 4-cup glass measuring cups from previous dyeing sessions to mix my dyes and submerged each skein in them. Using two containers allowed me to let one sit while mixing up the next color. Skeining the yarn probably took longer that the whole dyeing process. I added an extra squirt or two of dye to get a deeper color for a couple of the skeins, and I used three of the dye mixtures a second time to get lighter shades, but for the rest of the skeins, I got the color I wanted and expected on the first go.

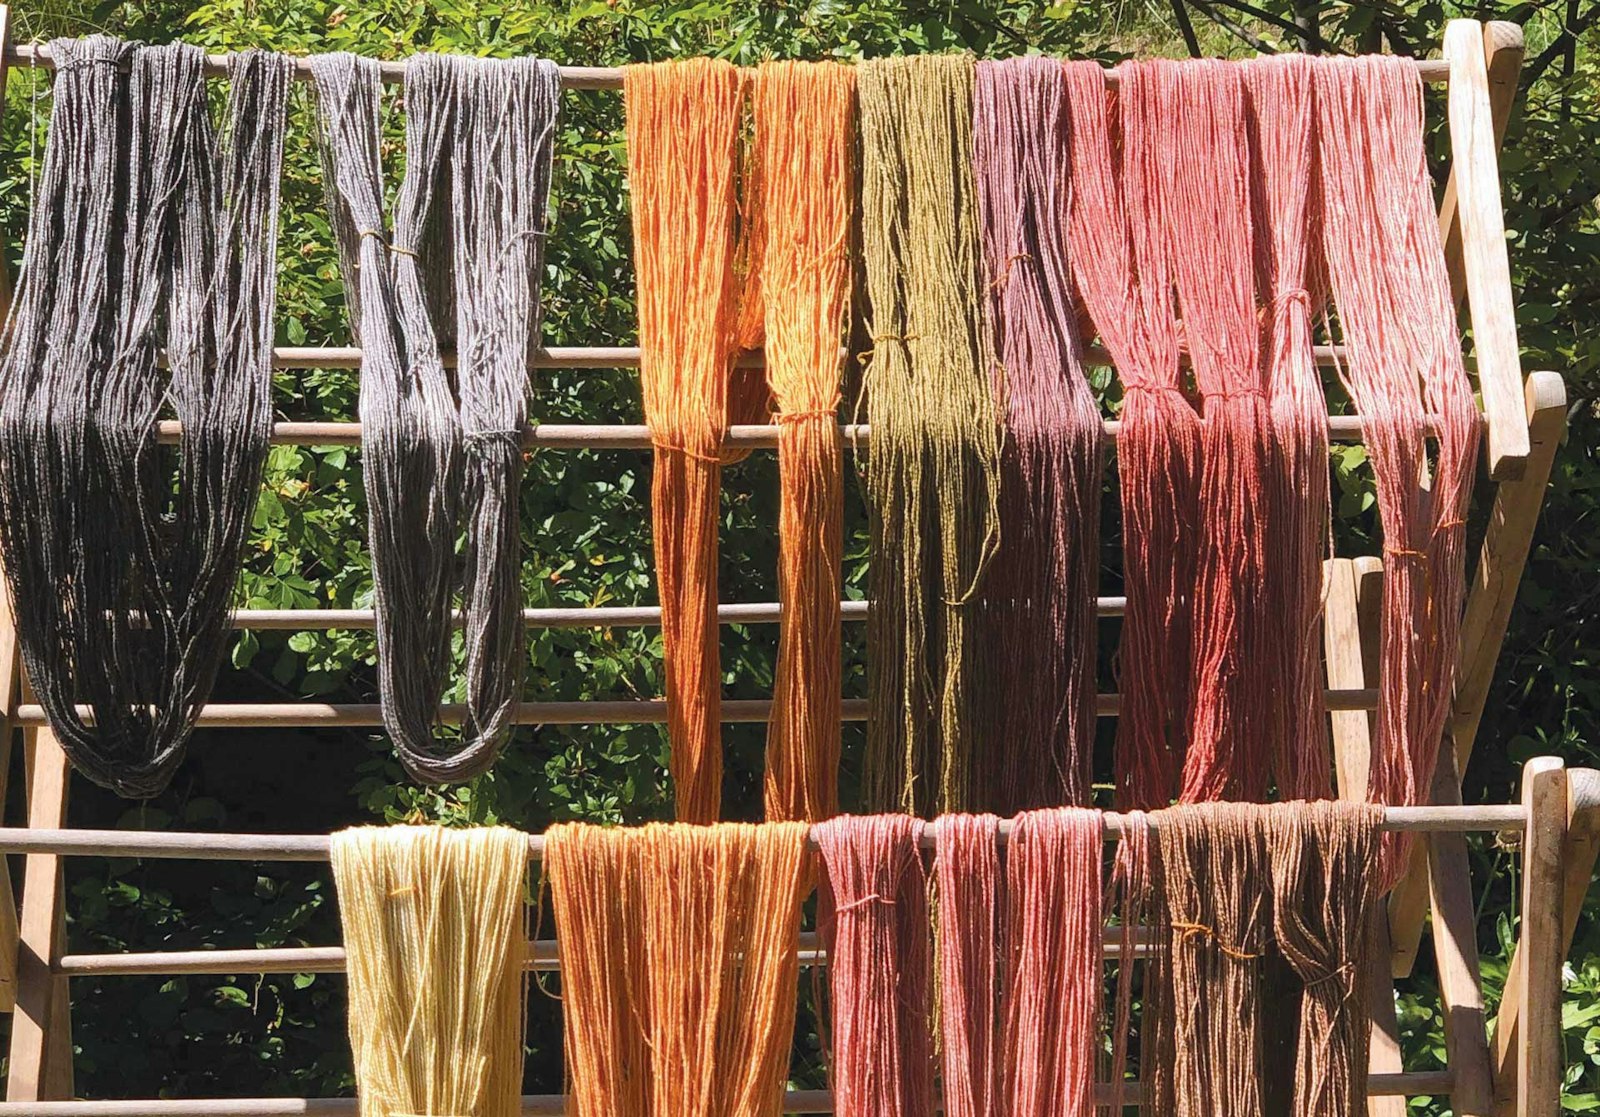
1. The fully dried mud-dyed skeins. 2. Elisabeth warped her rigid-heddle loom and wove with the mud-dyed yarns immediately after drying. 3. The finished napkin yardage washed and hung out to dry. Although Elisabeth did not test for colorfastness or prewash the dyed skeins, her colors did not bleed. 4. The finished napkins. Photos by Elisabeth Hill
I squeezed out the excess water and hung the skeins on a drying rack on my patio. The skeins must dry completely before being rinsed and washed. This brought up a question for me about the “hypoallergenic natural latex” listed on the website as a component of the dyes. I wanted to weave some lunch napkins with the yarn, and the combination of the latex element and the instruction to dry completely before rinsing made me a little wary that the dyes would give the yarn a plasticky coating similar to latex paint, but I pressed on and let the skeins dry completely. I then had to decide if I wanted to wind balls and dress my rigid-heddle loom or wash the skeins, dry them, and then dress. I took a risk and pretty much dressed my loom directly from the dyepot. I got a slightly sticky residue on my fingers when winding balls and on my heddle during the weaving process, but the dyeing went so quickly and the colors were so lovely that a little residue seemed like a small price to pay.
I finished weaving the napkins, and only then did it occur to me that weaving a set of napkins using newly dyed yarn before testing for washfastness might not be so clever. Did I mention that I don’t like to dye?
Sigh! I decided that if my napkins emerged from the gentle cycle in their predyed state, it would simply confirm that dyeing is not for me, and I threw them into the washer. I was gobsmacked when I opened the washer door and the colors remained their lovely, muted selves, and the fabric was soft and absorbent—there was no plasticky feeling whatsoever. I promptly wove another set in a different colorway.
From the “sweet shop” aesthetic of the packaging, to the ease of use, to their eco-sensitive approach, to the final result, my experience with Bengala mud dyes and Loop of the Loom has turned me from a “Never Say Dye” weaver into an enthusiast.
If you enjoyed Elisabeth’s article and want to dye and weave your own set of napkins, you can find her full project in the next issue of Easy Weaving with Little Looms in spring of 2020.